

 Nitrided Steel
 Standard Hole
 Diagonal Hole
 50x50mm
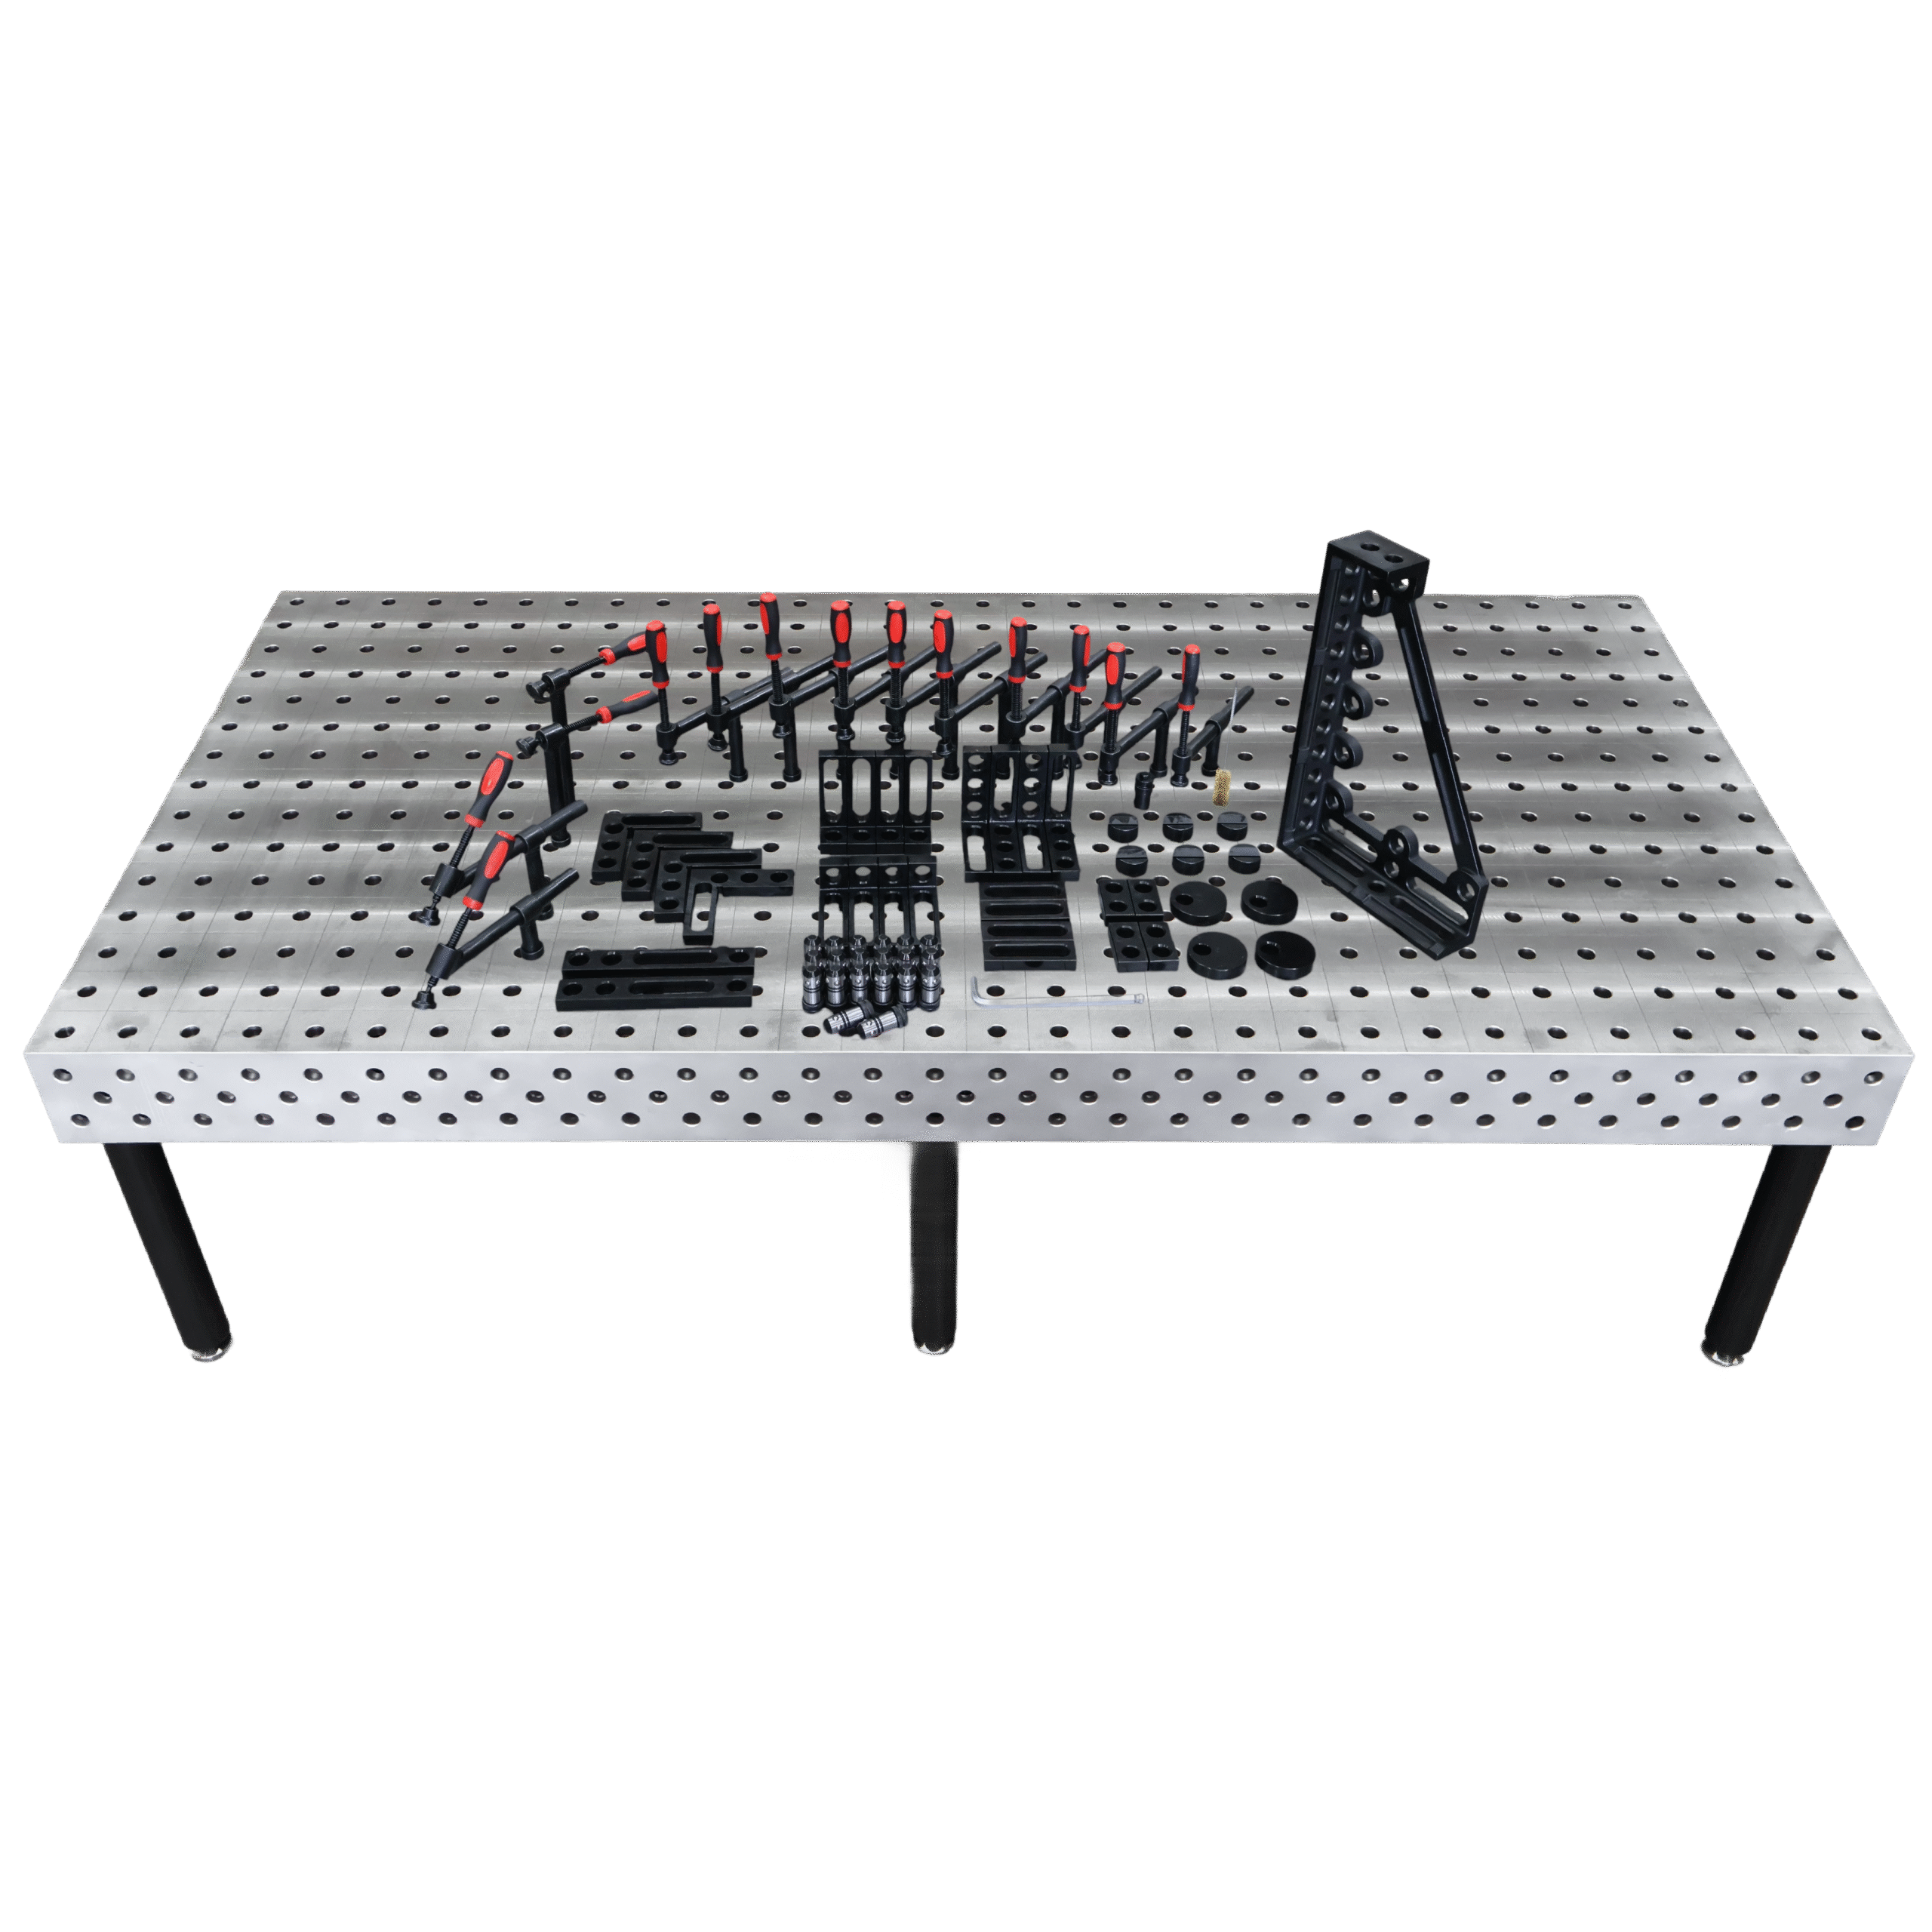


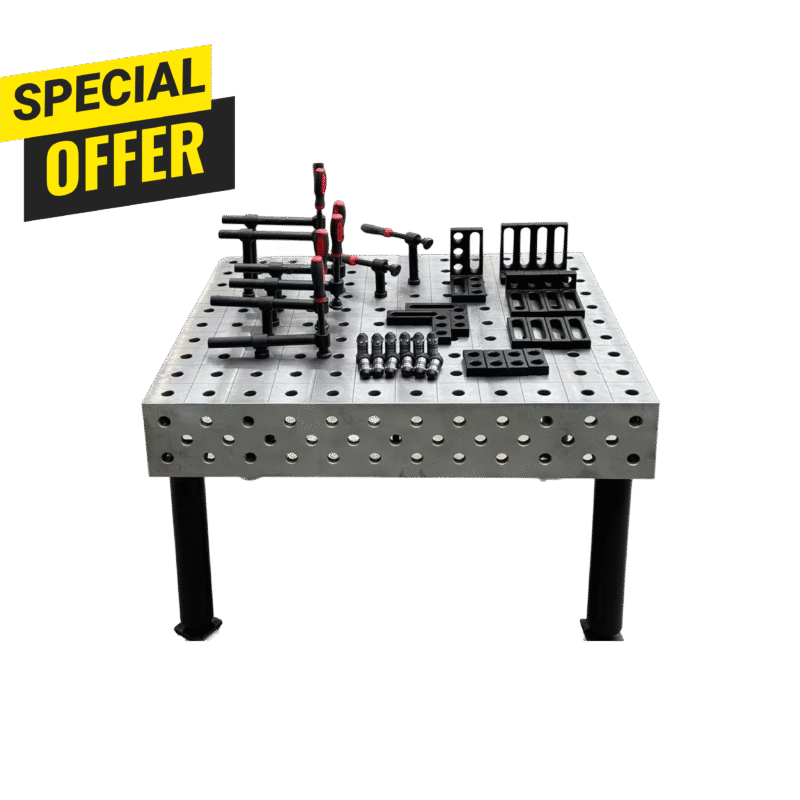


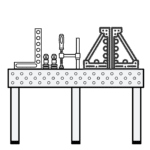
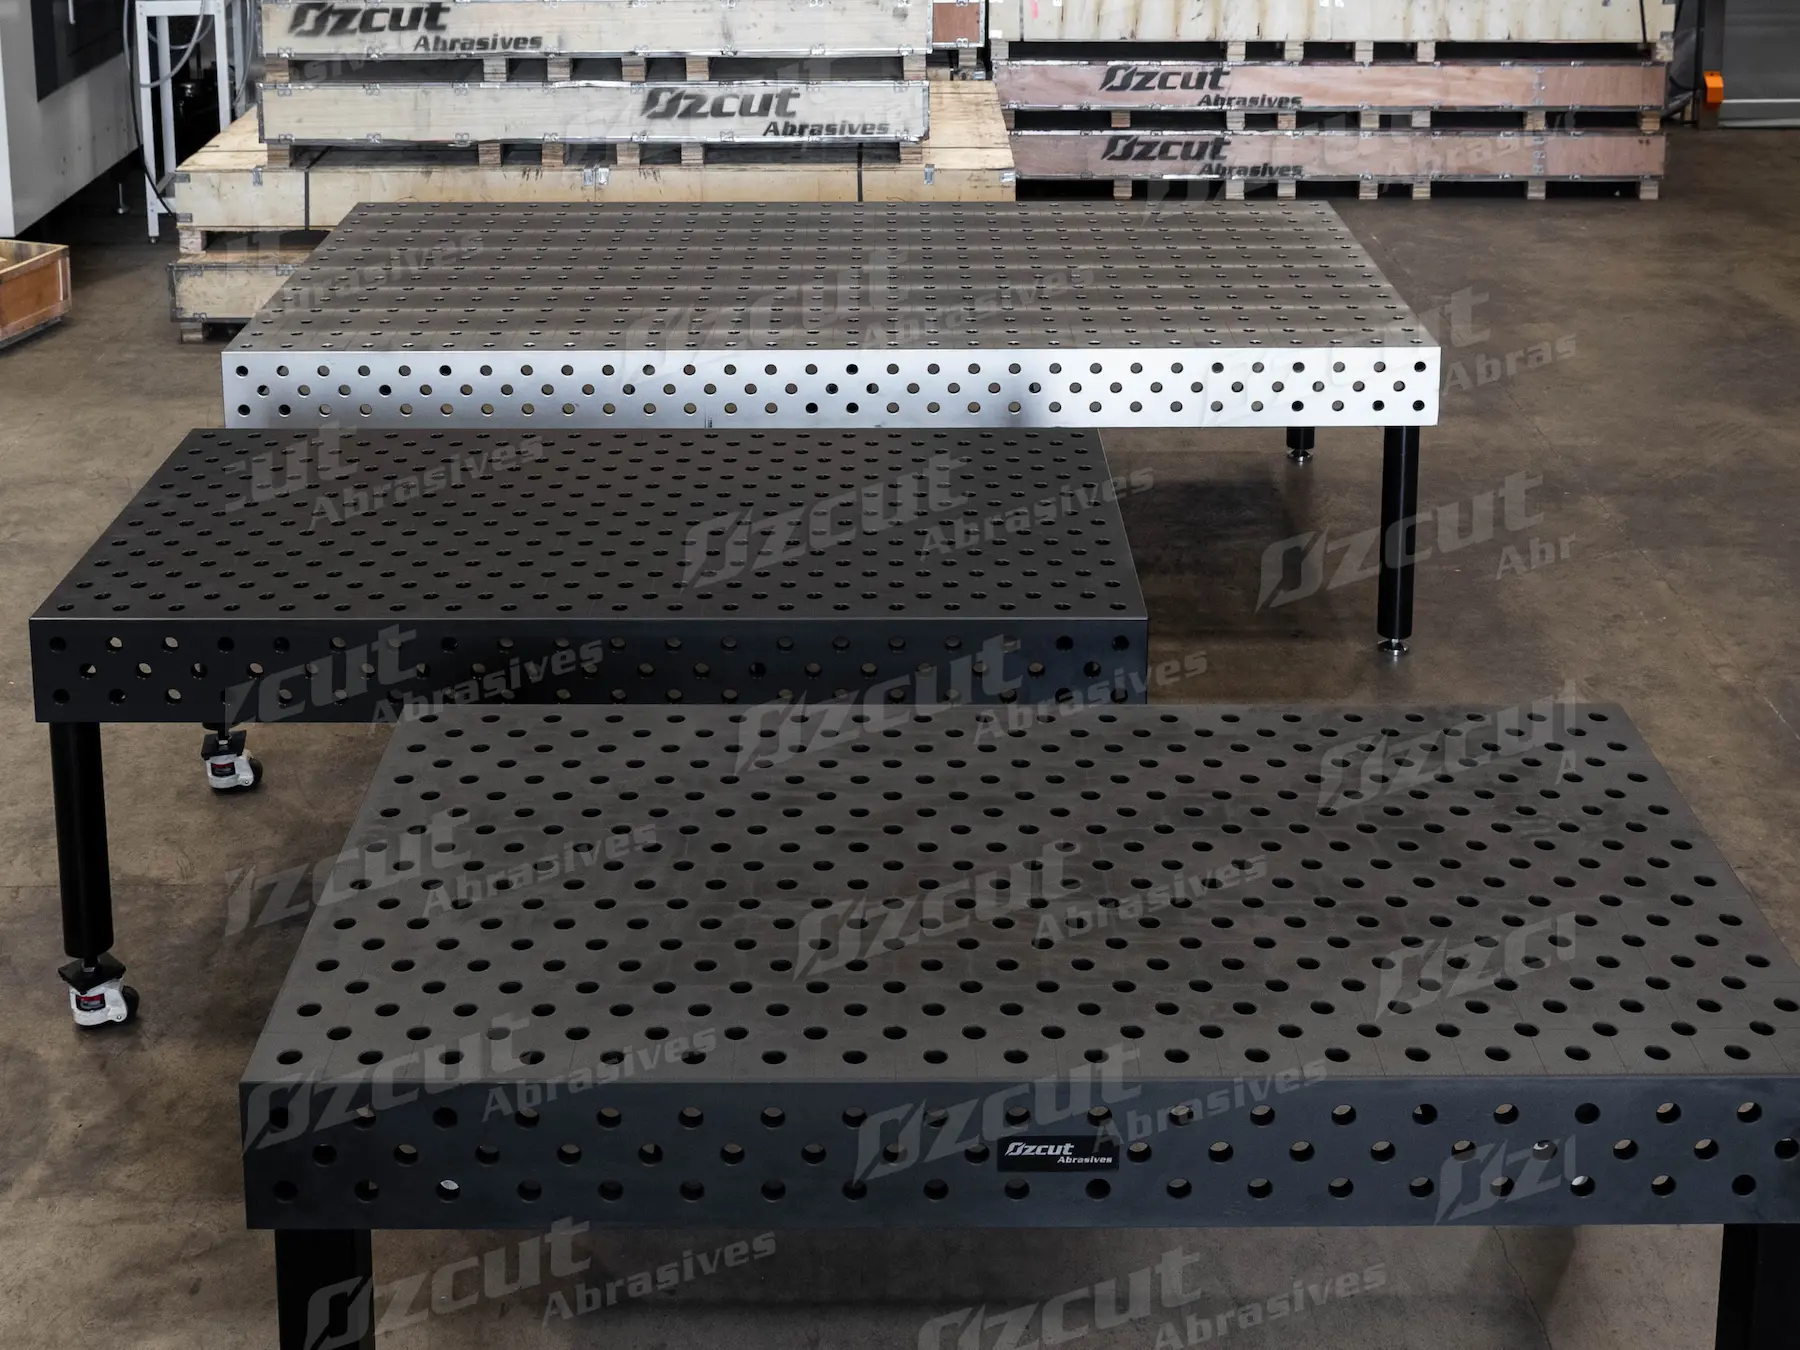
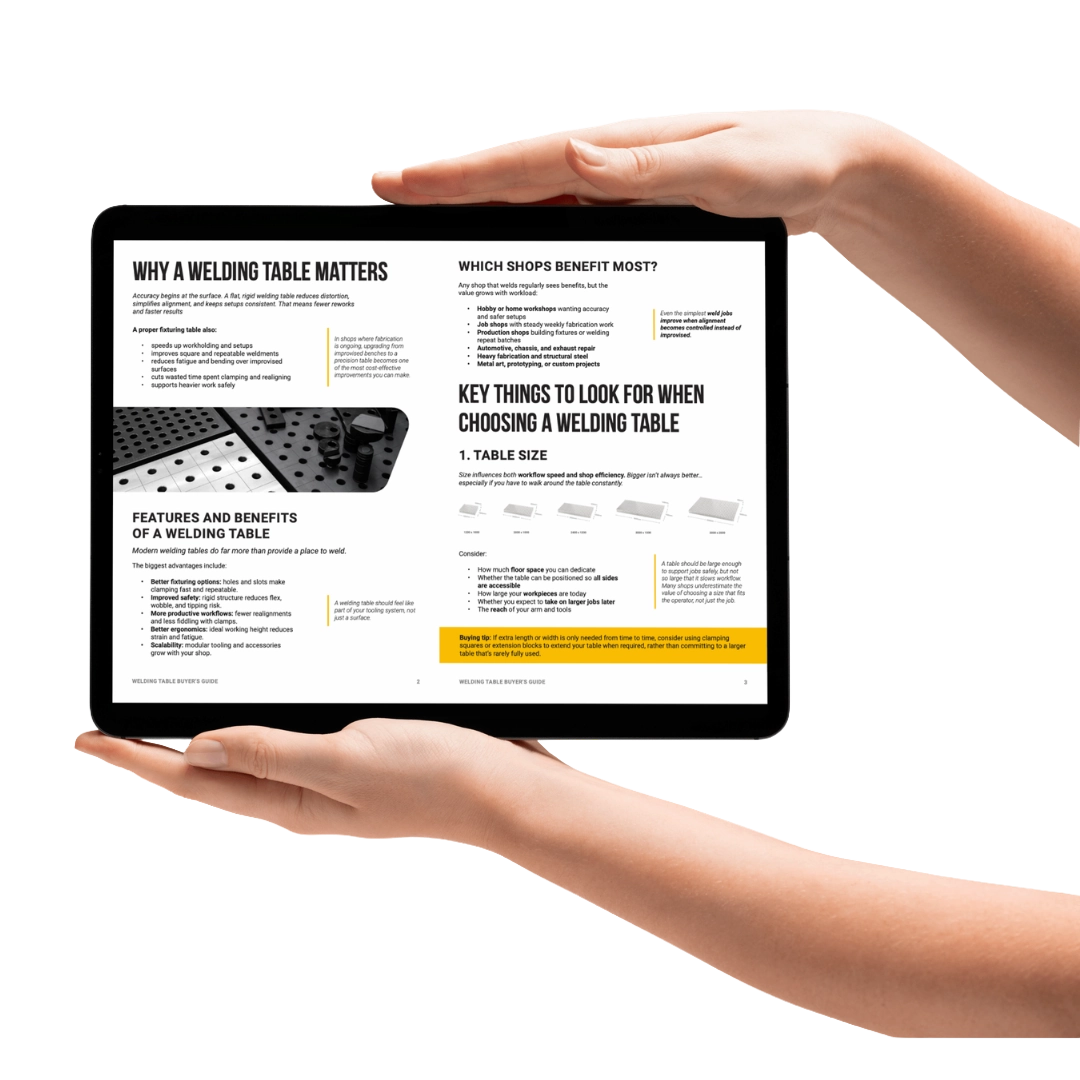
How to Choose the Right Welding Table for Your Workshop
Cast Iron
Cast iron tables are popular for their natural flatness and vibration-damping. Welding spatter is less likely to stick compared to plain steel, making cleanup easier.
They’re a solid choice for general fabrication work.
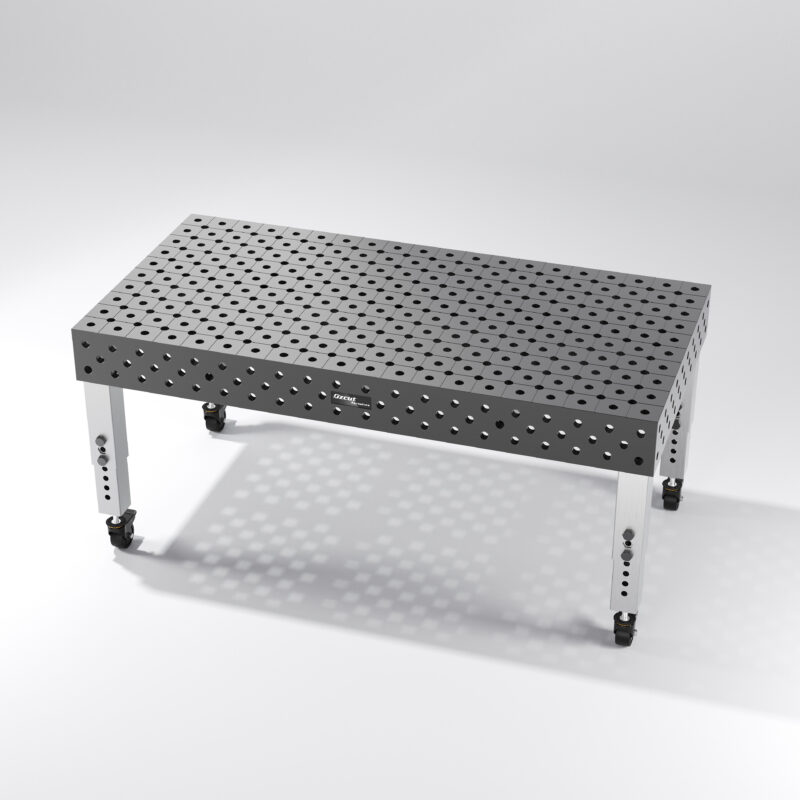
Nitrided Cast Iron
Nitriding hardens the surface of the cast iron, improving wear resistance and corrosion protection.
You get the same spatter resistance as standard cast iron, with a longer-lasting surface.
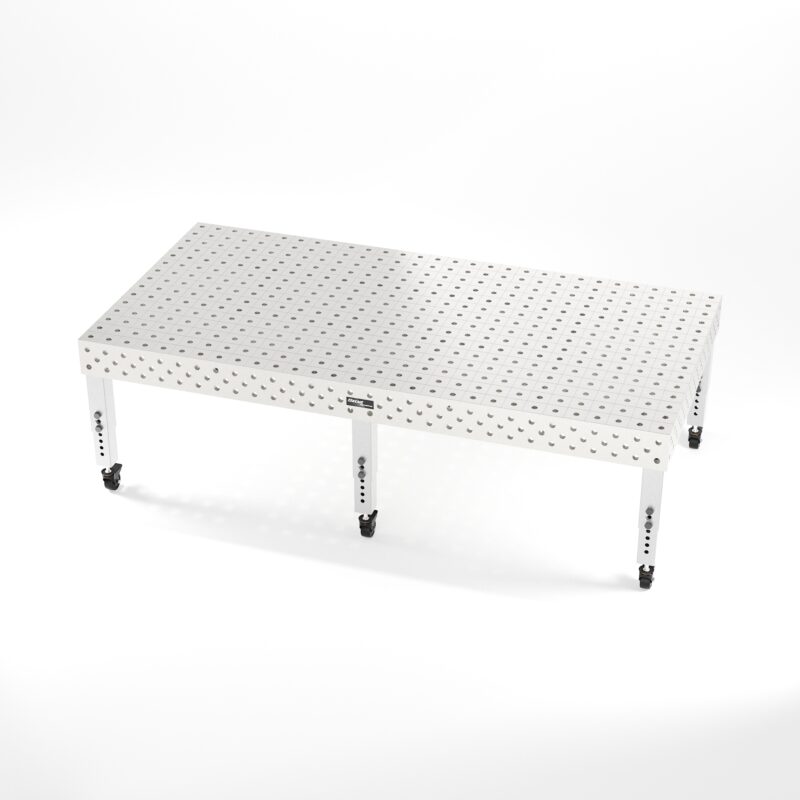
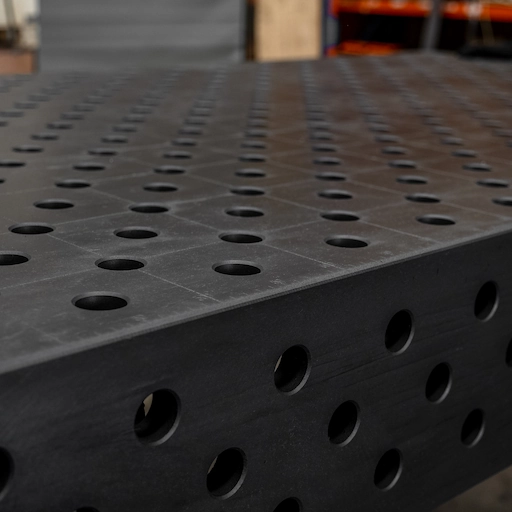
Nitrided Steel
High-tensile steel that’s been nitrided offers excellent surface hardness and durability. It’s well-suited for heavy-duty fabrication where strength under load is critical.
The right choice depends on your workload, environment, and how hard you plan to push the table.
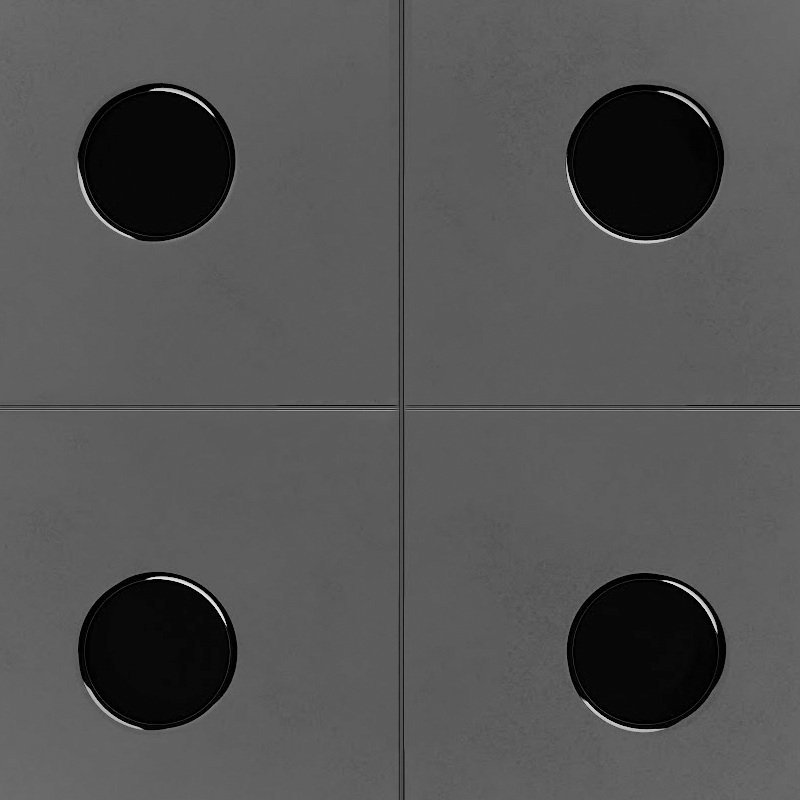
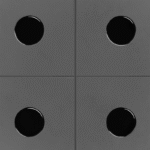
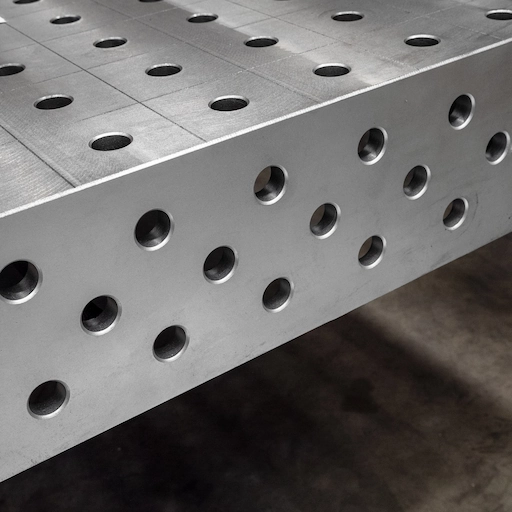
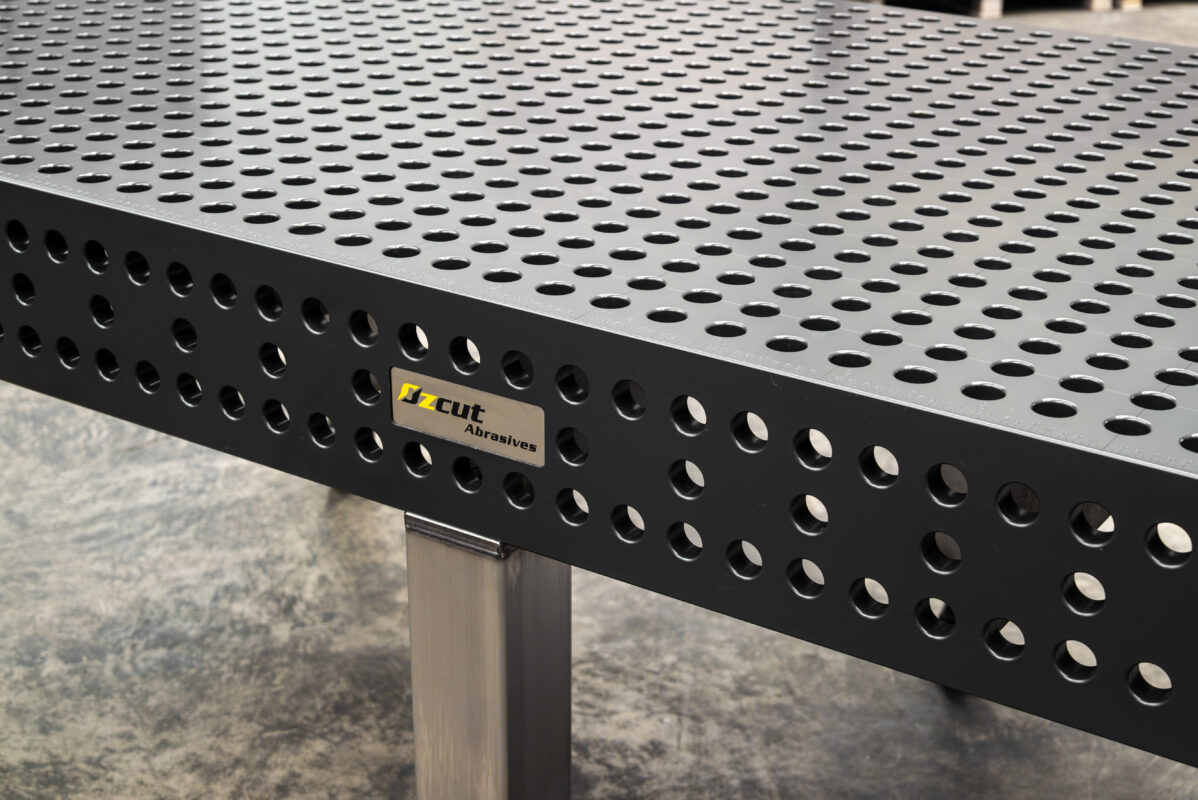
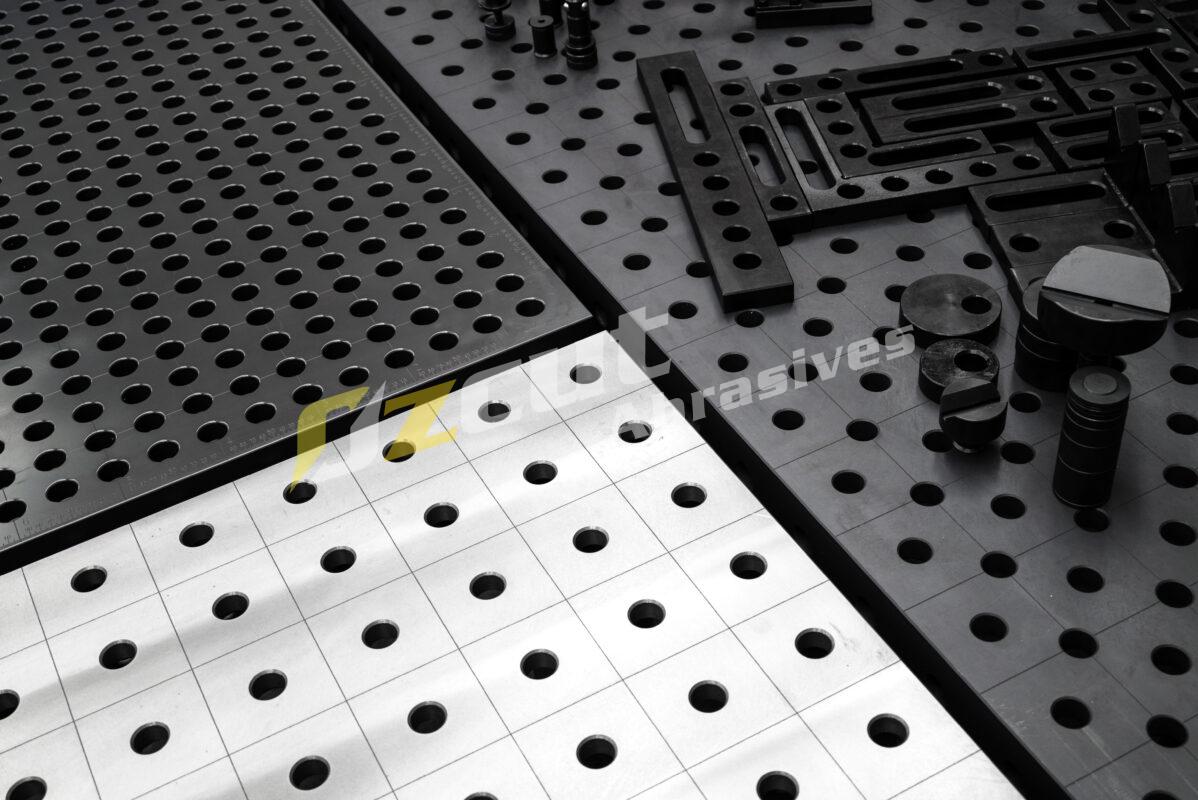
Standard Hole Pattern
A classic square spacing that supports most fabrication layouts. Easy to visualise and ideal for general welding work.
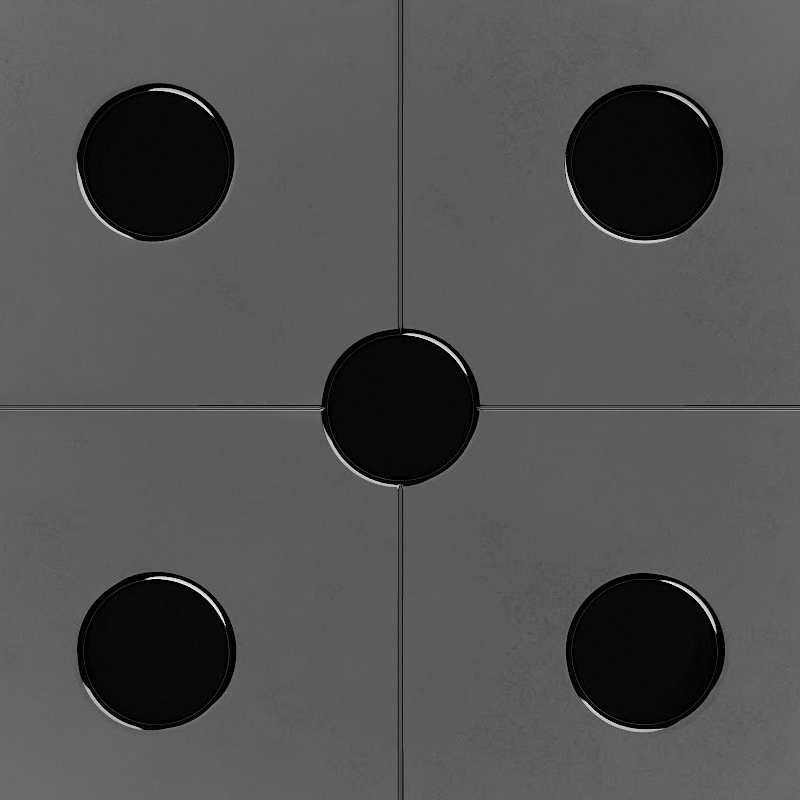
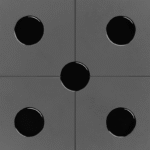
Diagonal Hole Pattern
Adds angled locating options between holes, offering more clamping positions and flexibility without crowding the surface. Useful for more complex assemblies.

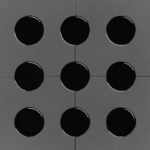
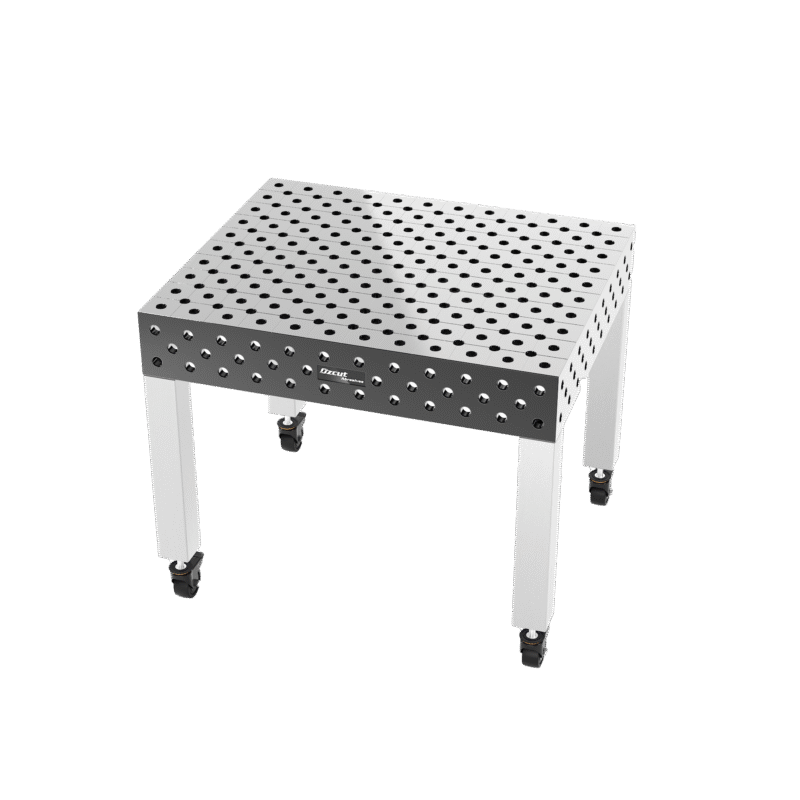
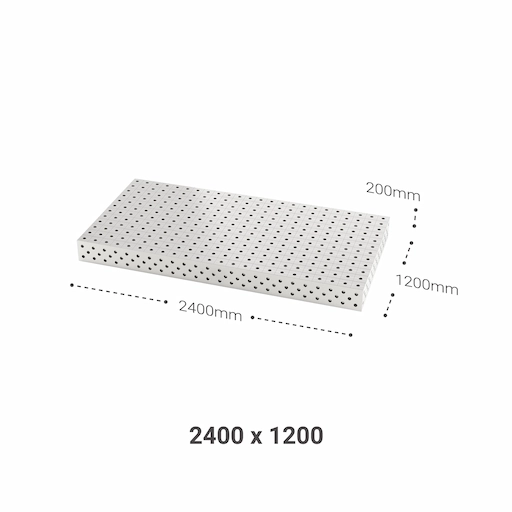
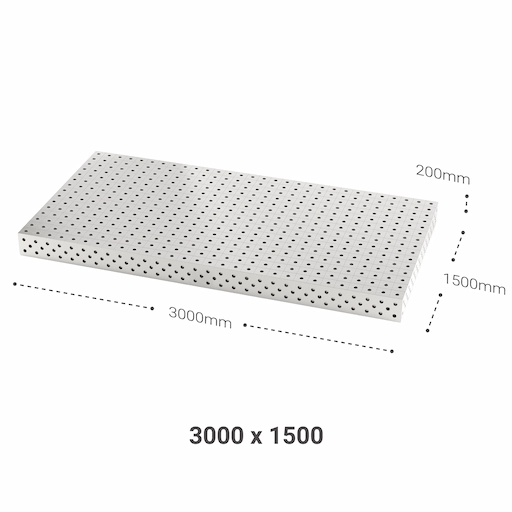
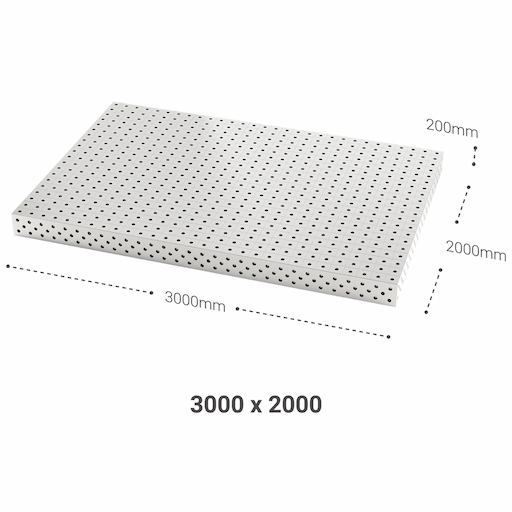
50x50mm Hole Pattern
A tighter pattern that gives maximum clamping versatility, especially for smaller parts or detailed weldments. Great for production work where setups repeat frequently.
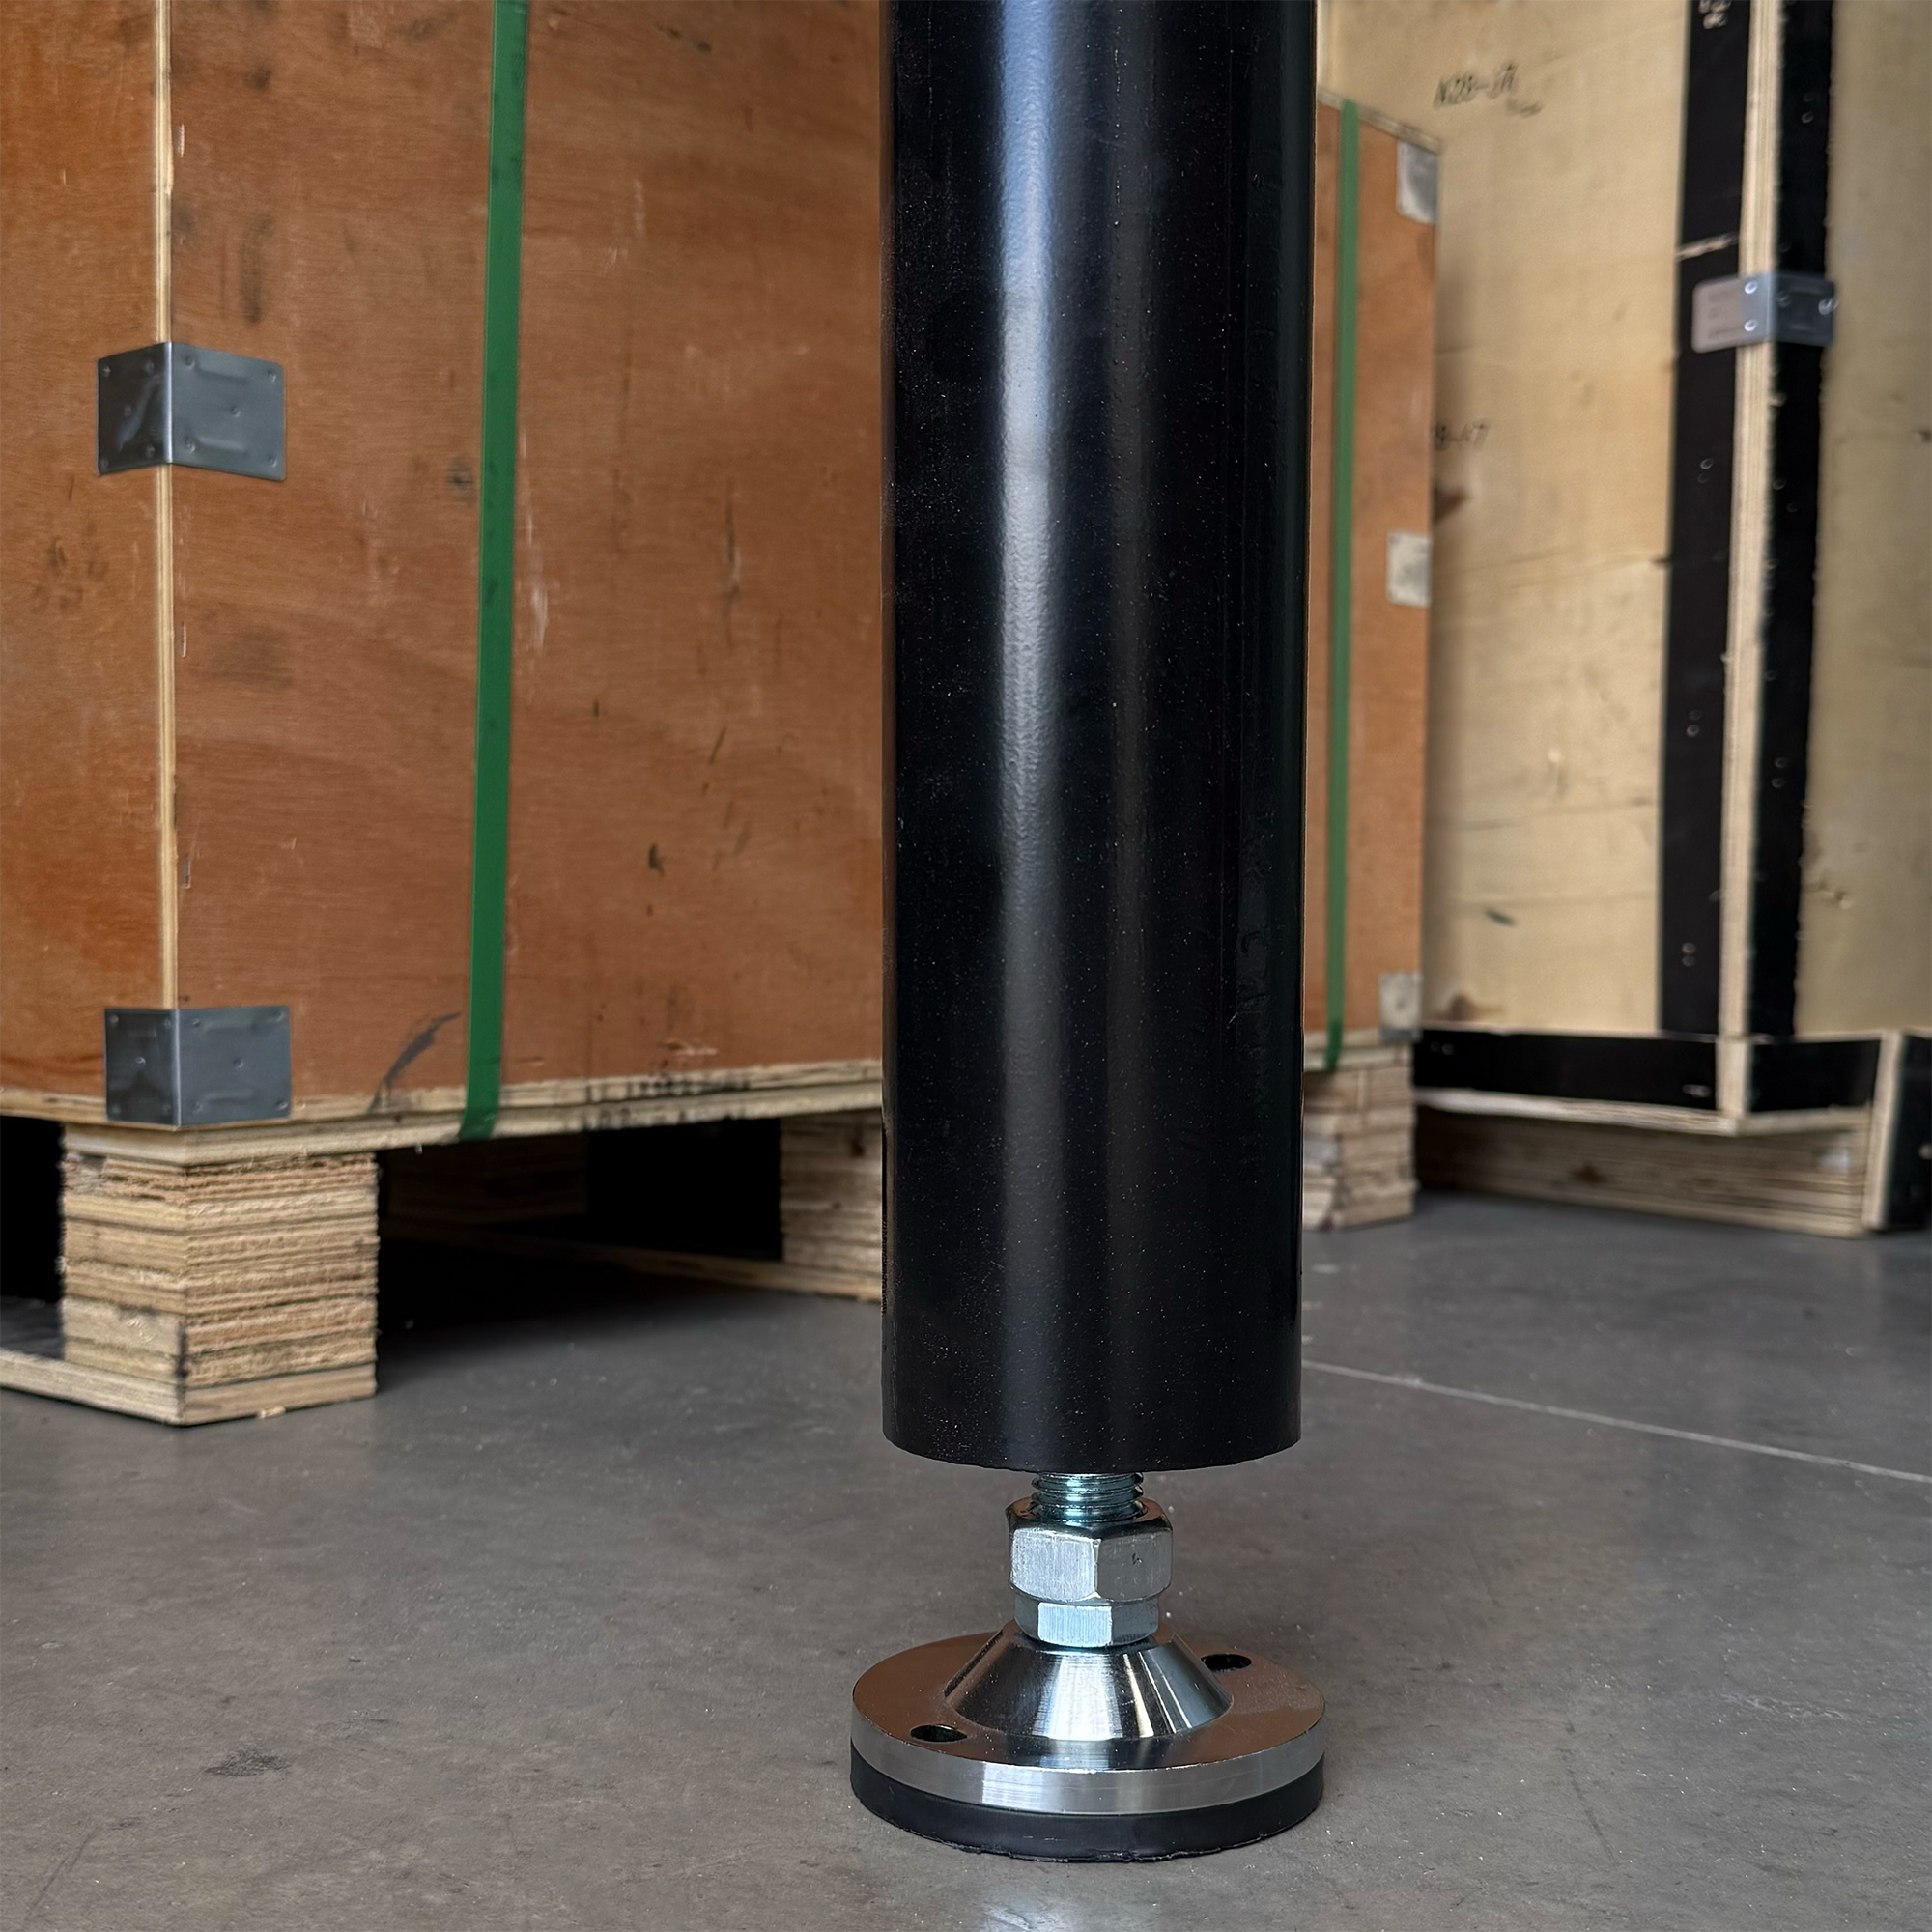
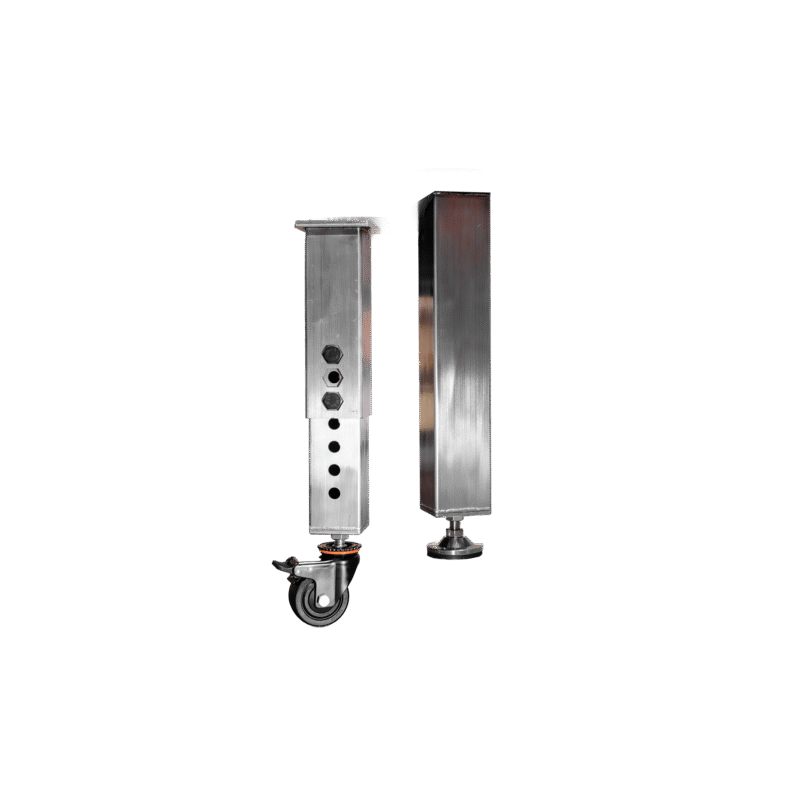
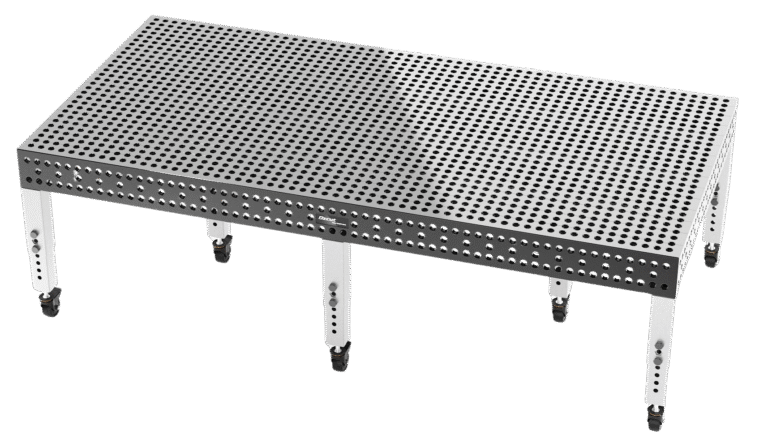
Fixed Legs
Fixed legs offer maximum stability for permanent setups
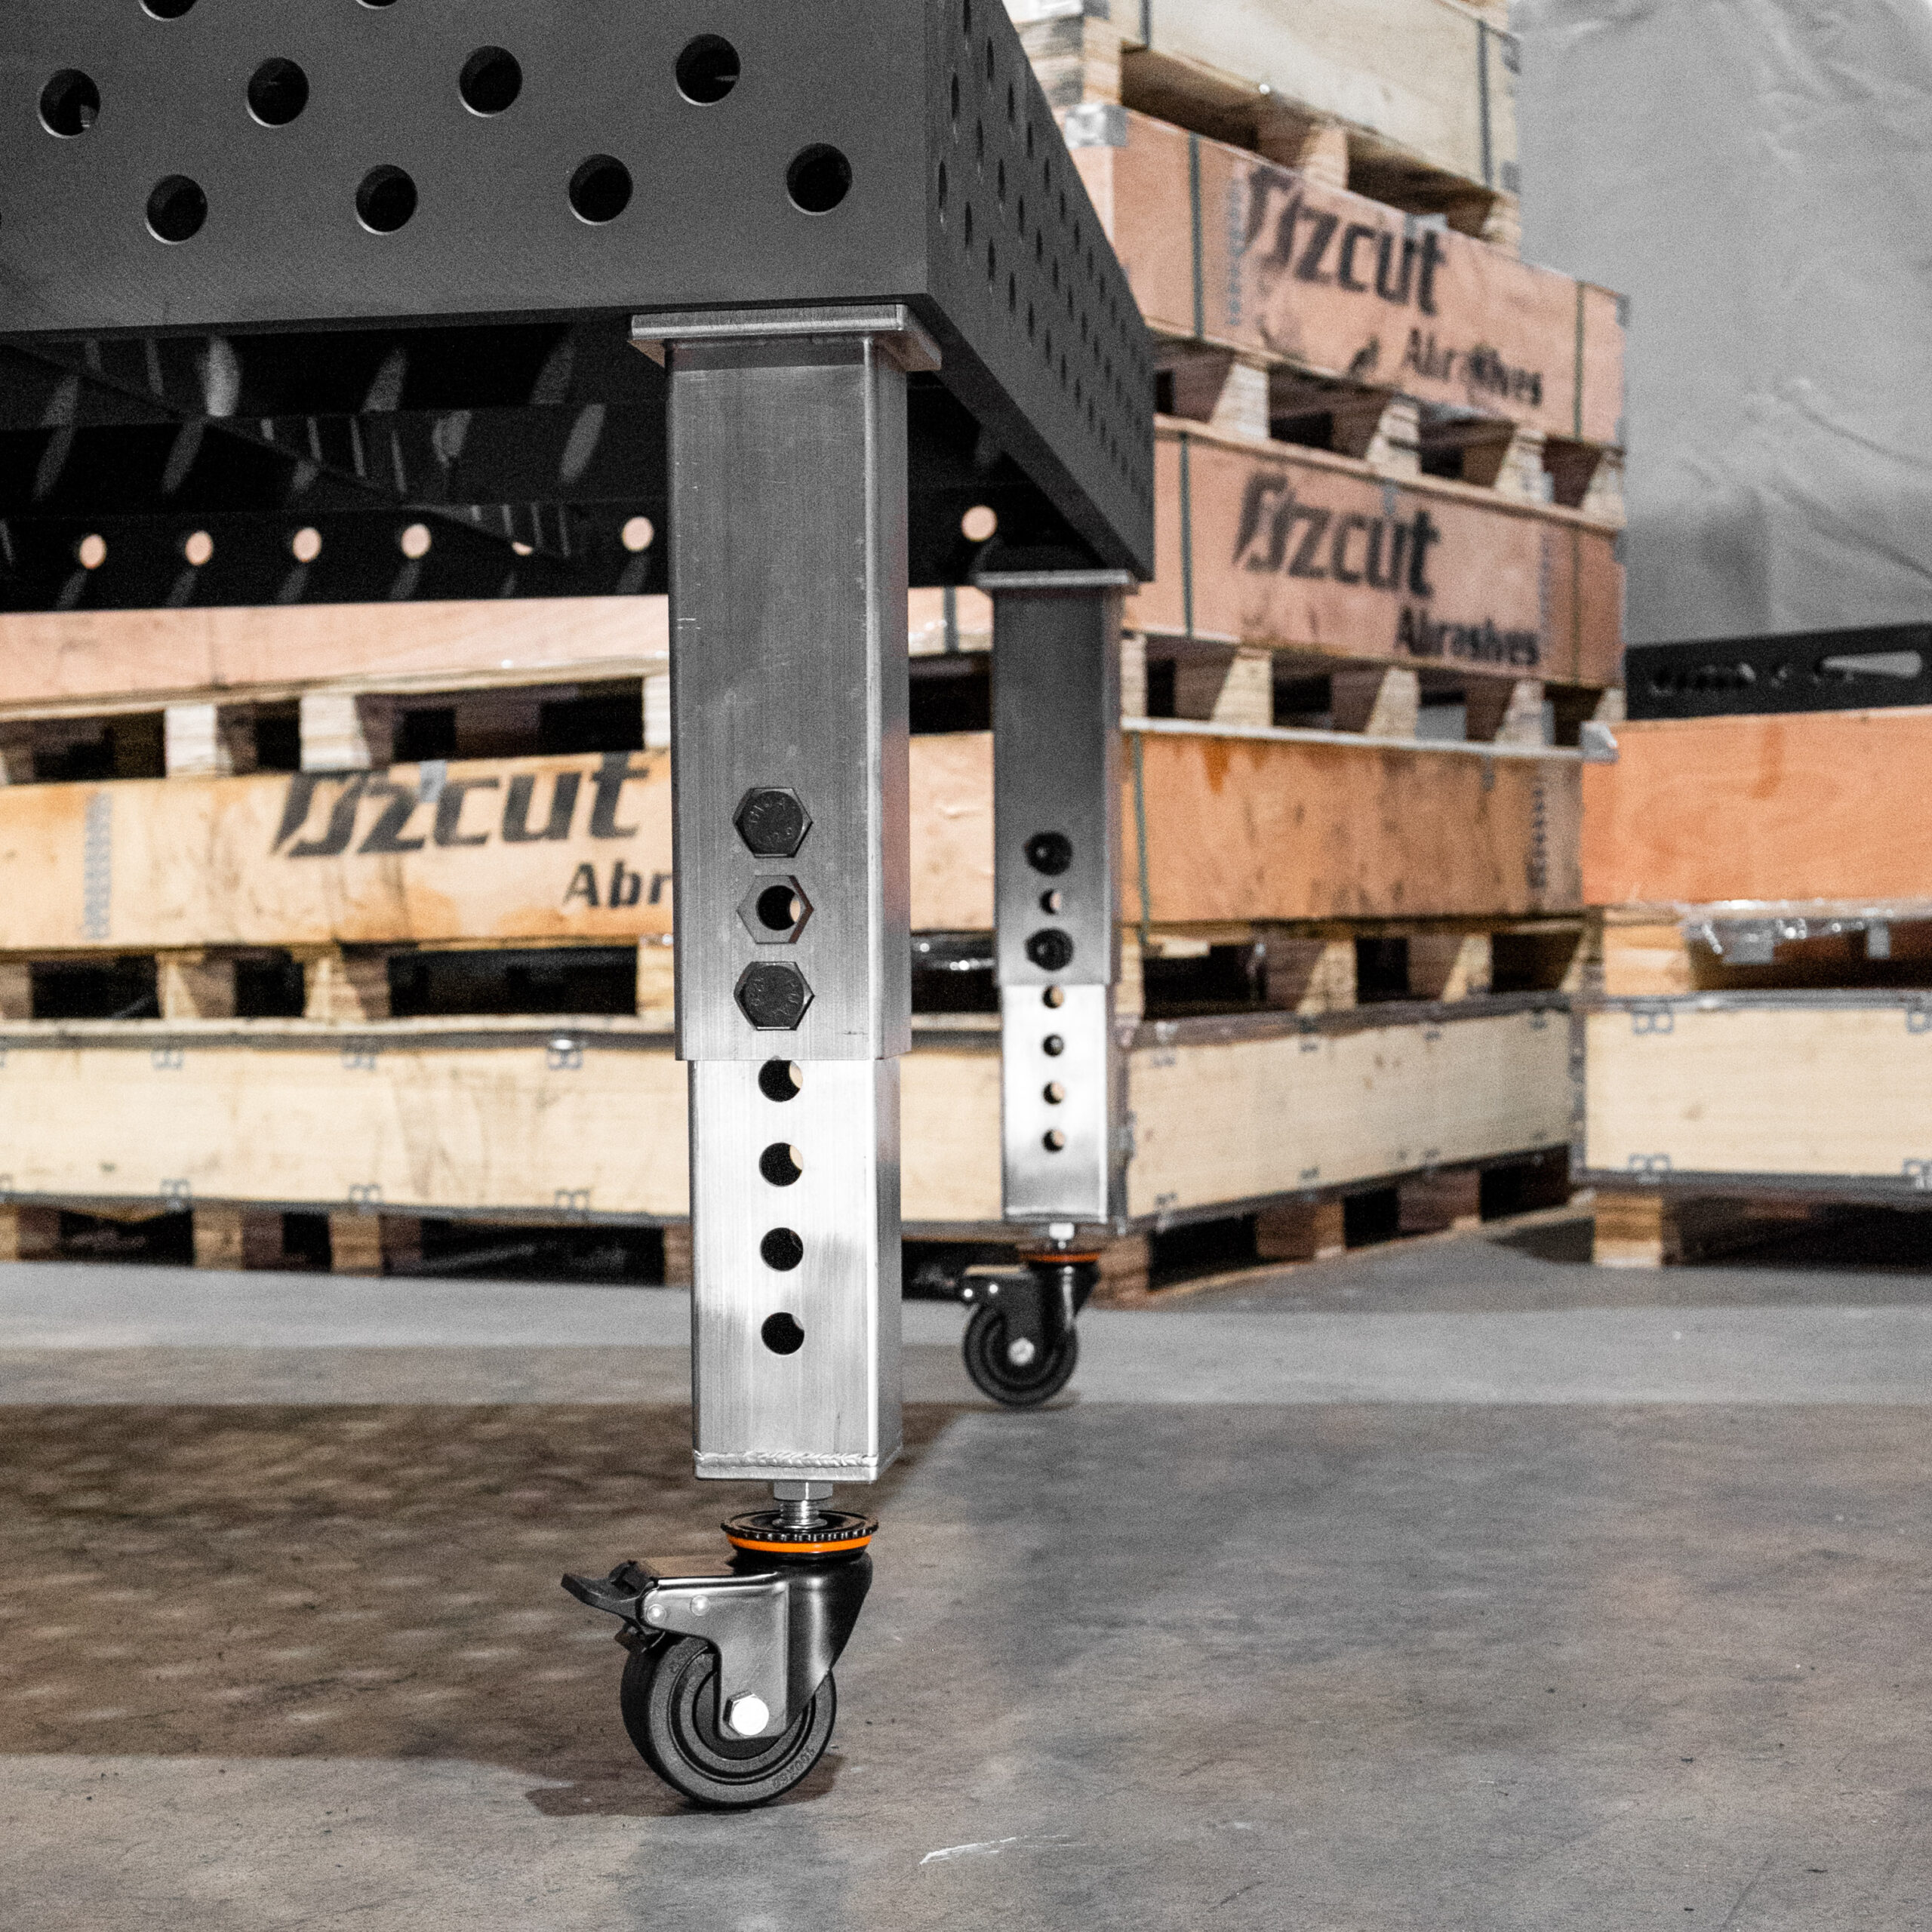
Adjustable Legs
Adjustable legs help you dial in the right working height
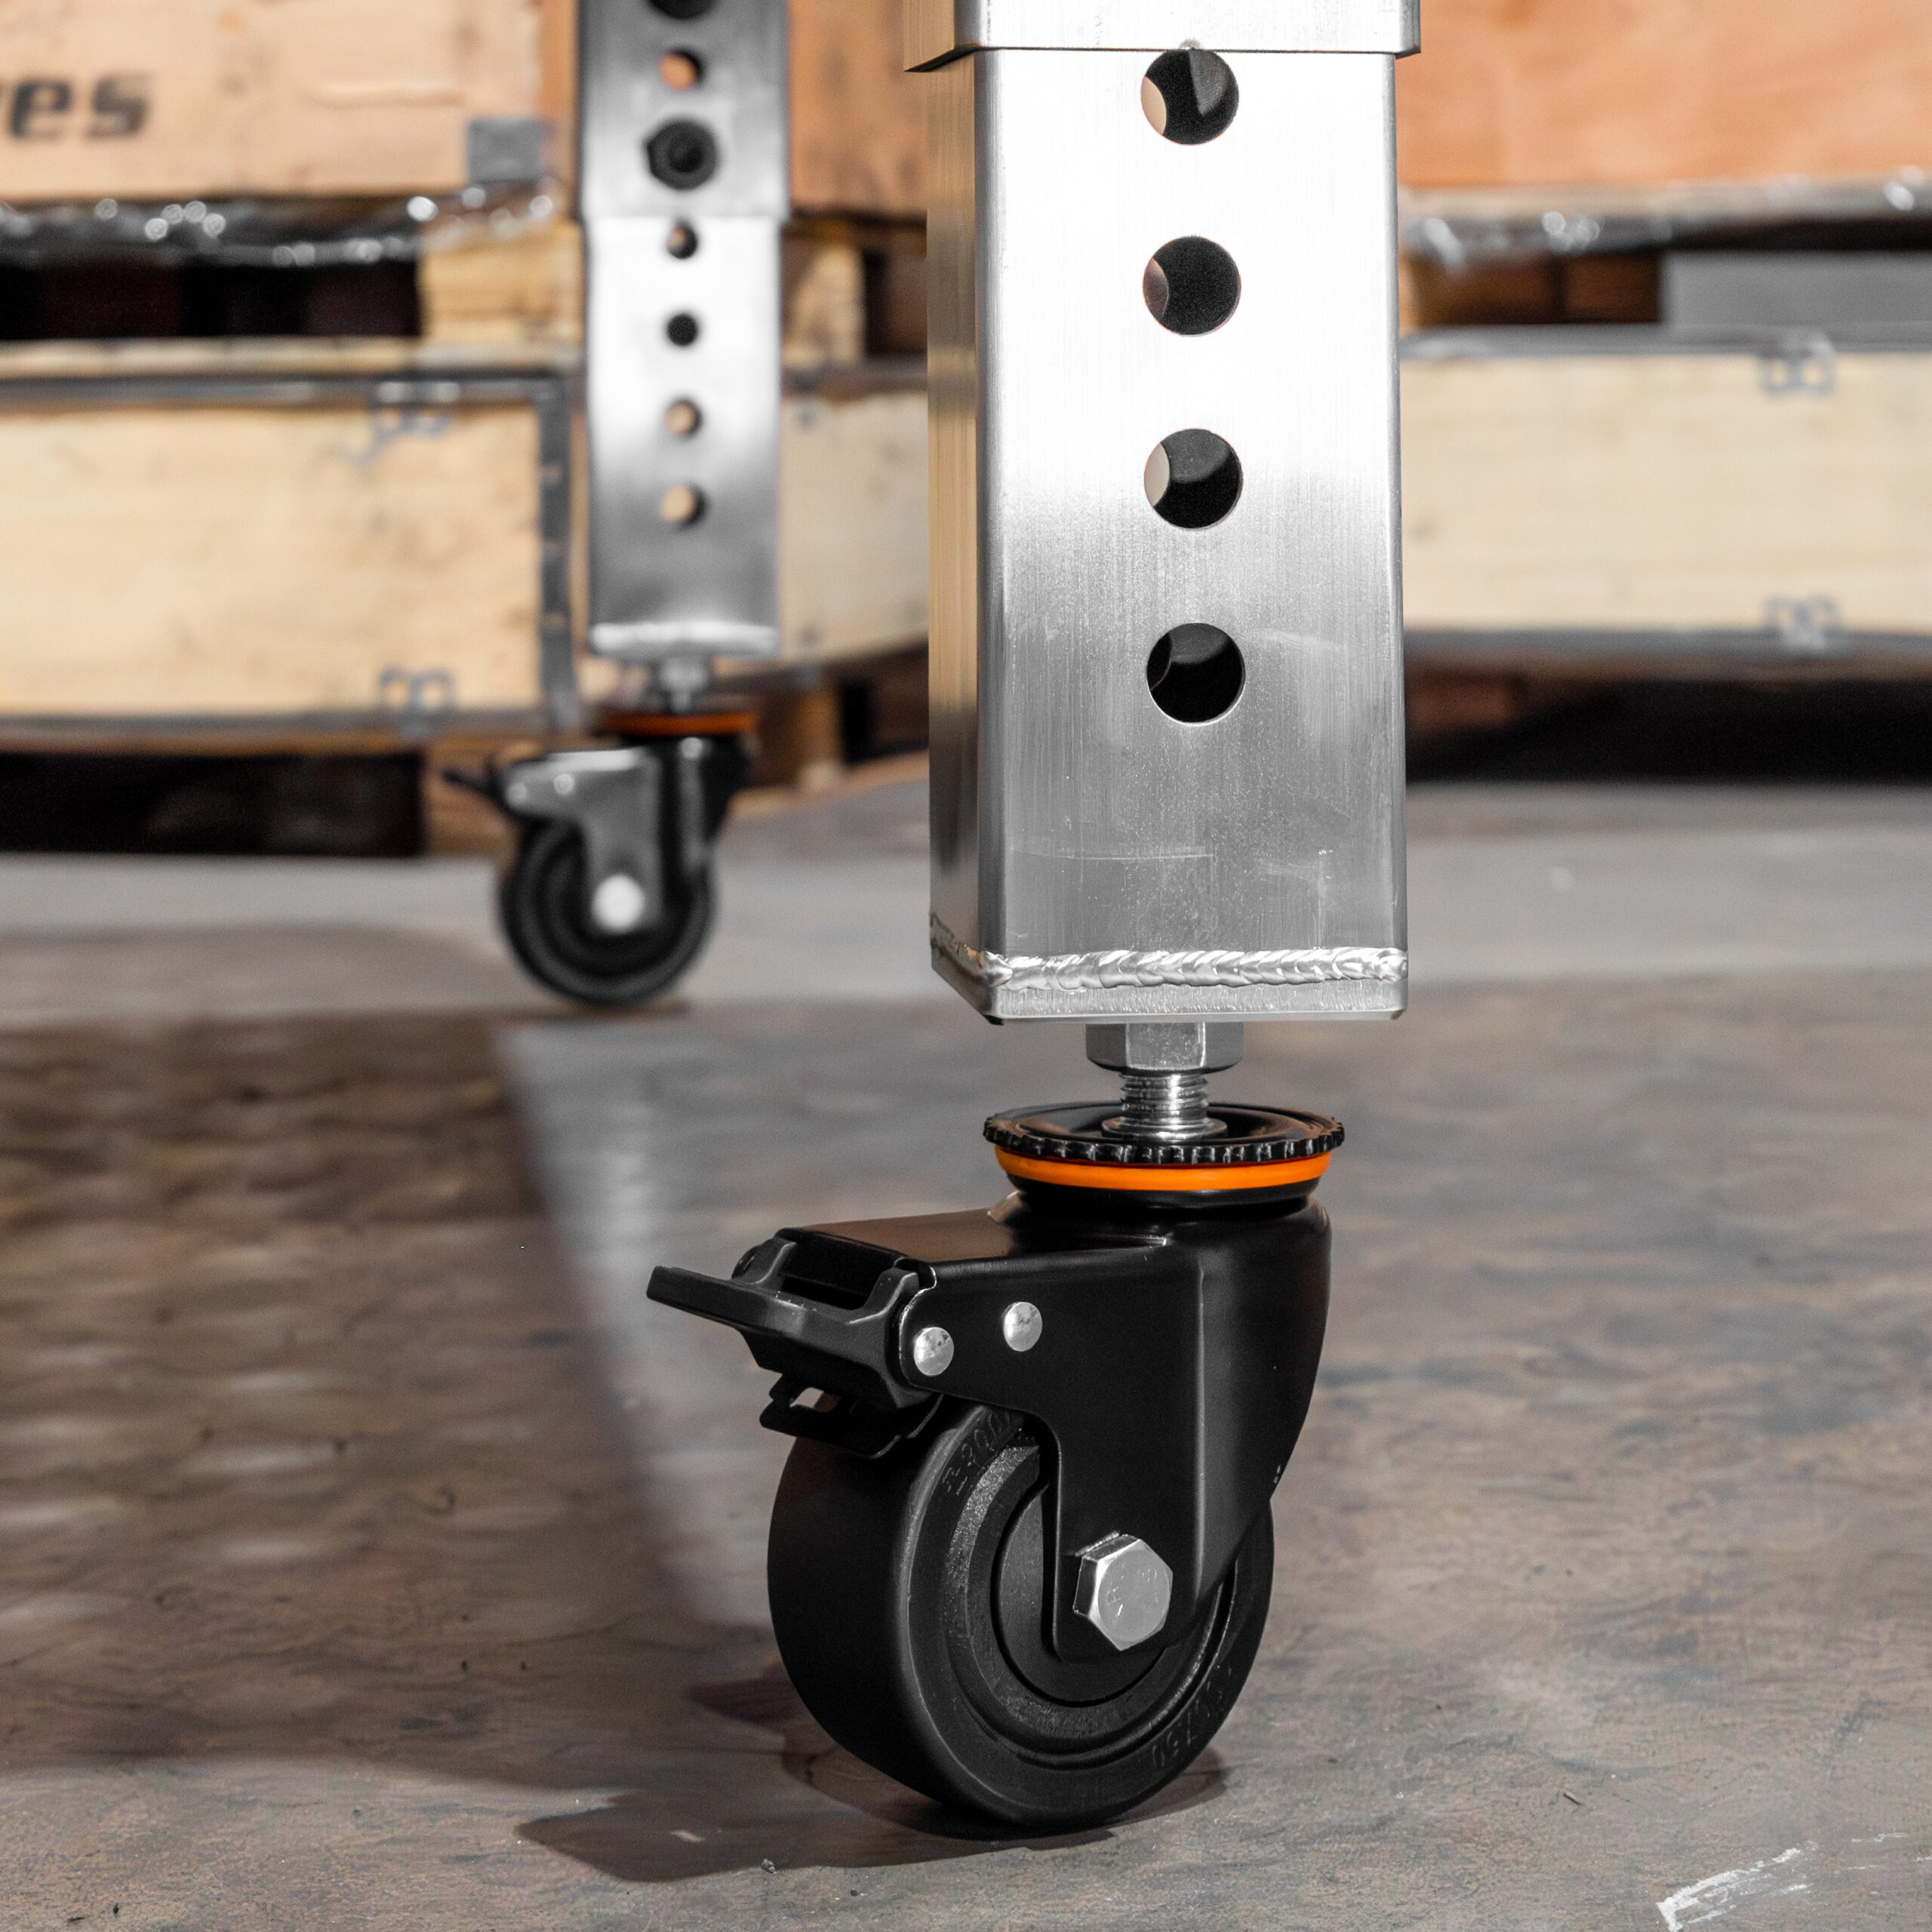
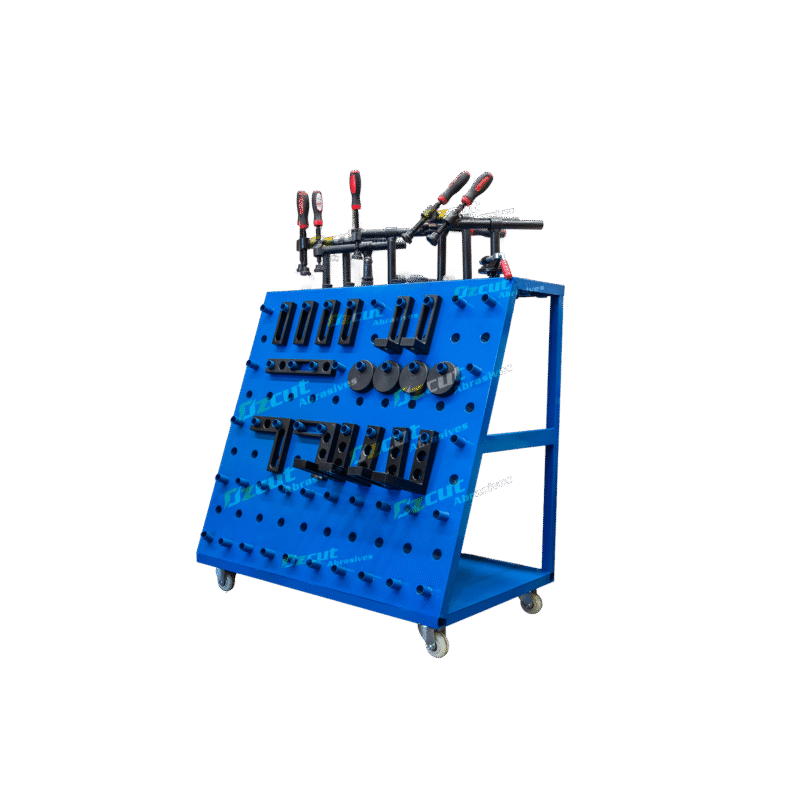
Caster Wheels
Caster wheels are useful in shops where space needs change

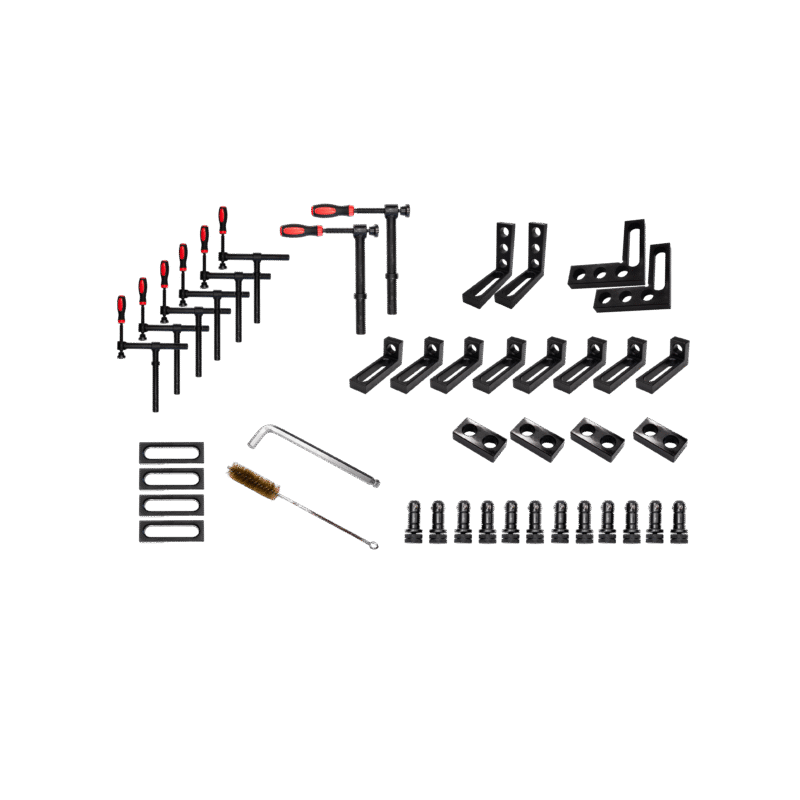
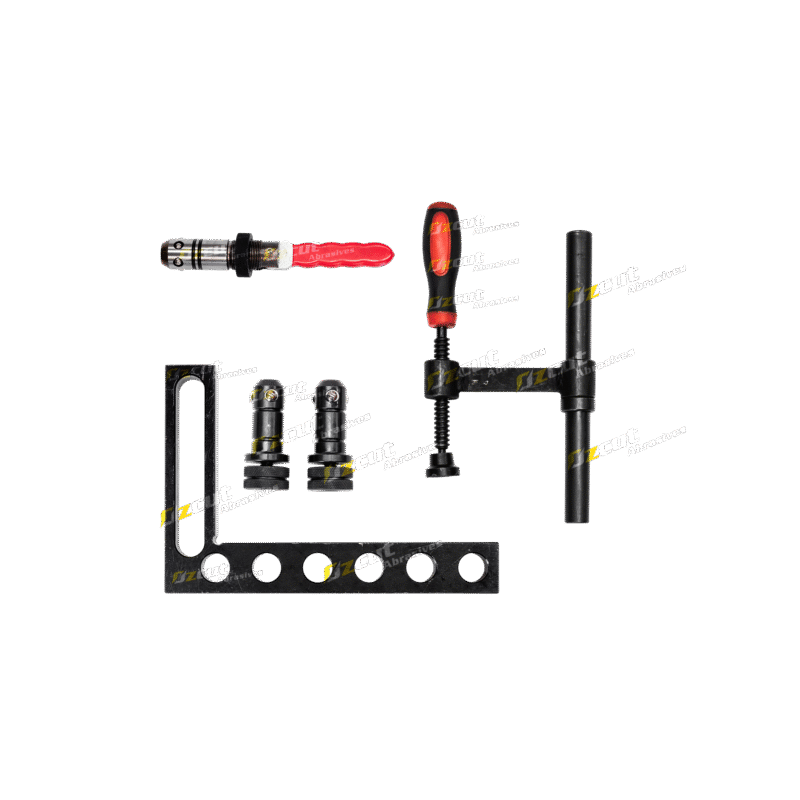
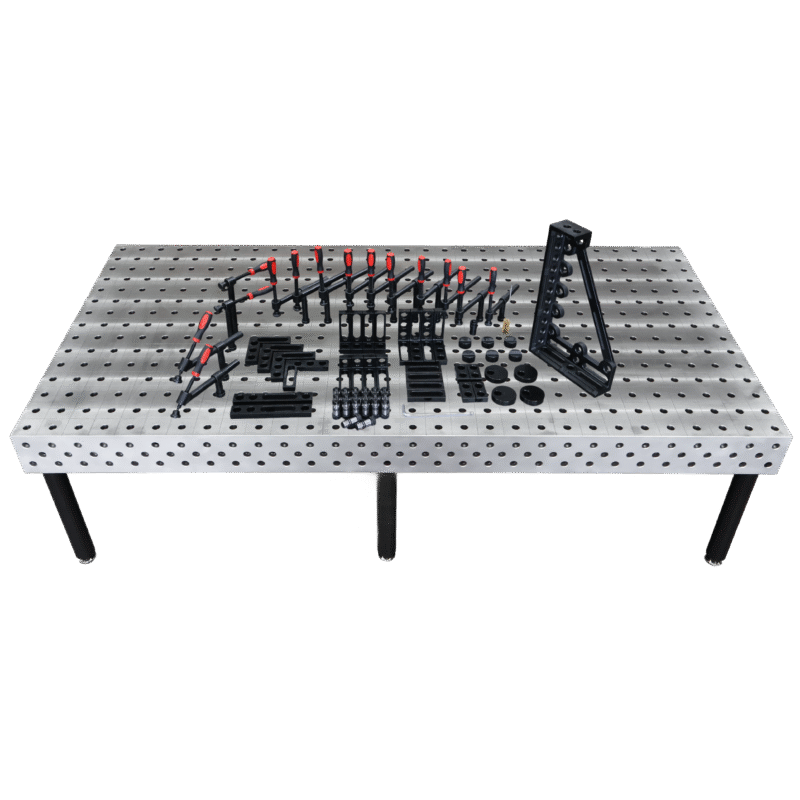
 8x Small Locating Squares A28-32
 2x Medium Locating Squares A28-35
 4x Extra Small Universal Stops A28-39
 4x Small Universal Stop A28-40
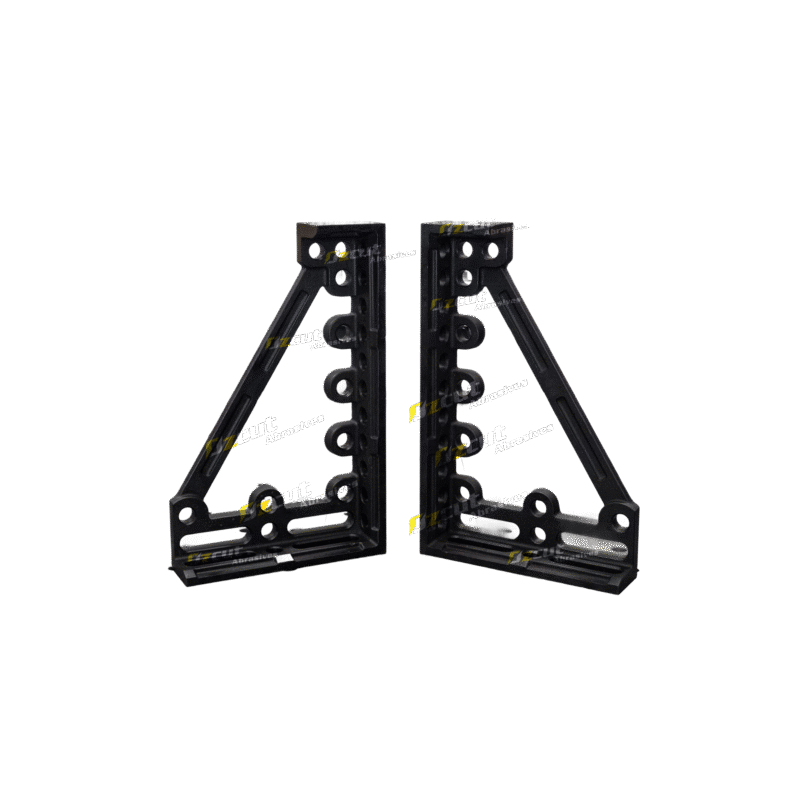
 2x Small Flat Square A28-46
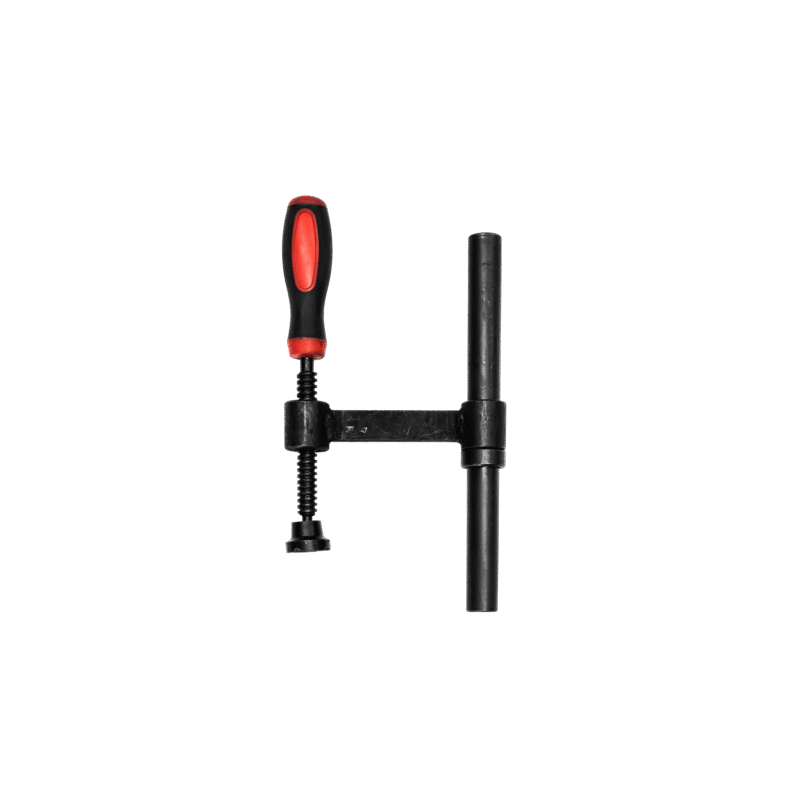
 6x 180°Clamps A28-67
 2x 90°Clamps A28-68
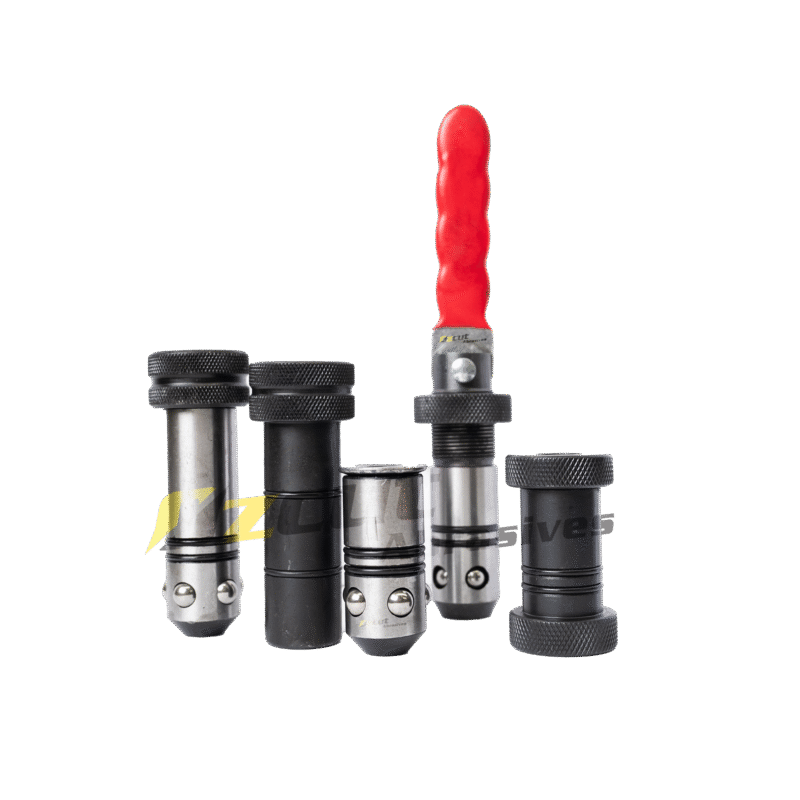
 6x Standard Ball Lock Pins A28-79
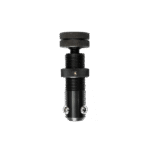 6x Adjustable Ball Lock Pins A28-79-ADJ
 1x Hex Key A28-94
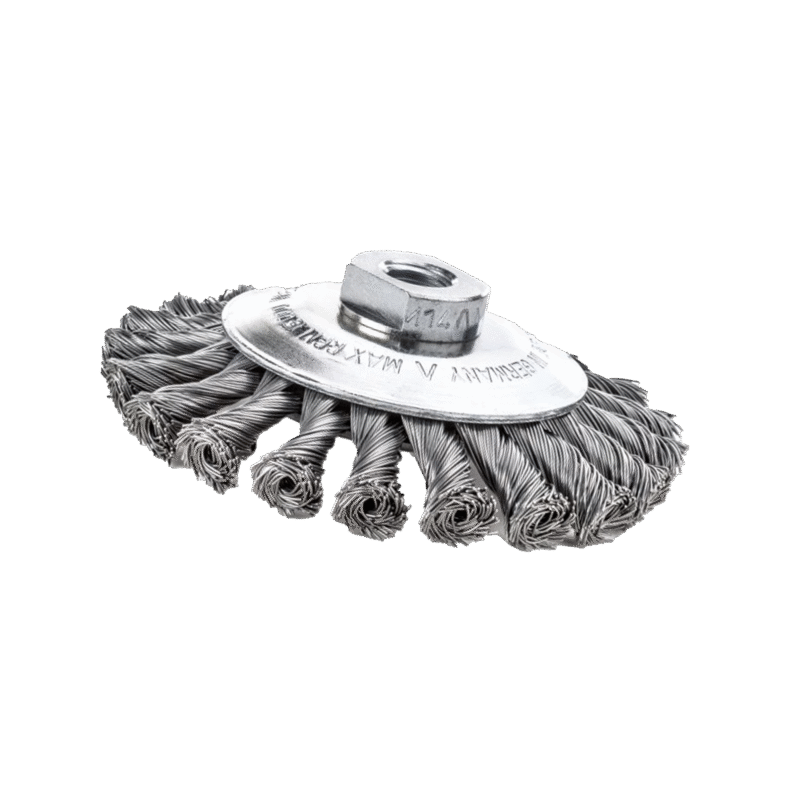
 1x Brush A28-95
 1x 600mm Cast iron Square A28-17
 2x Large Universal Stops A28-42
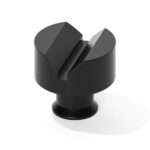 6x 58mm V Blocks A28-59
 4x 75mm Locating Discs A28-65
 2x 45°Clamps A28-69
 1x Earth Connector A28-91