

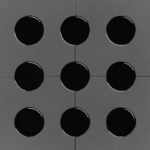
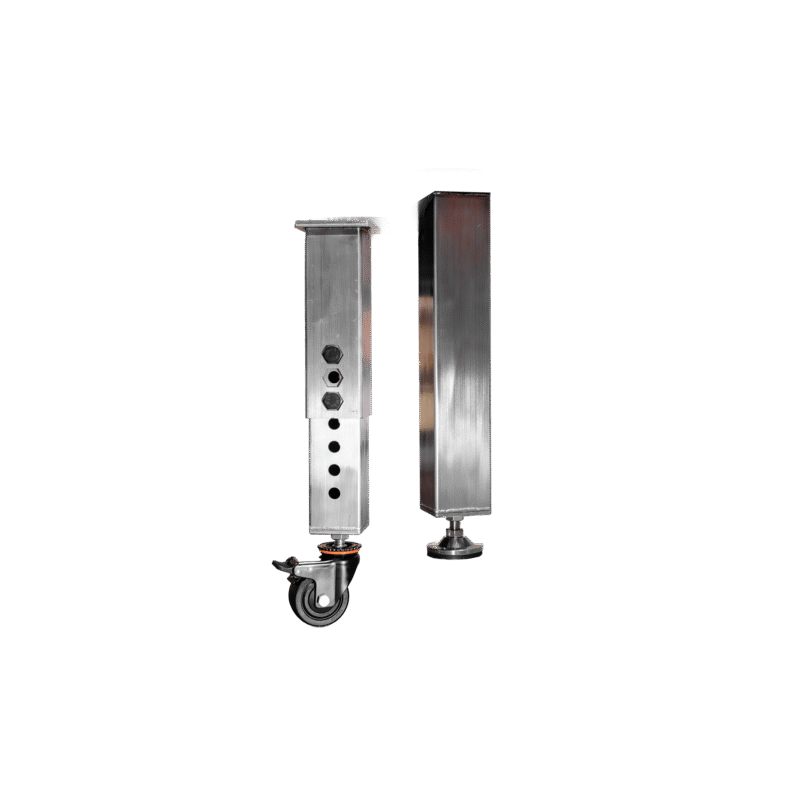
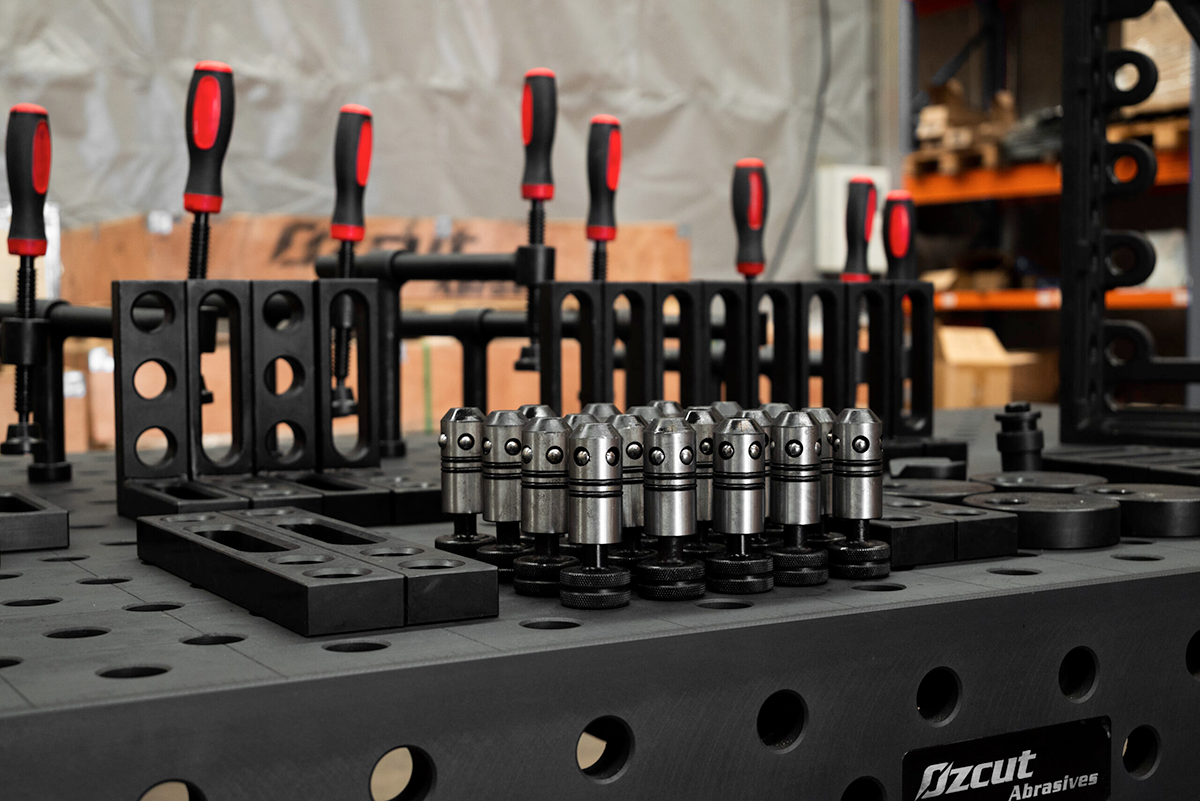
 Nitrided Steel
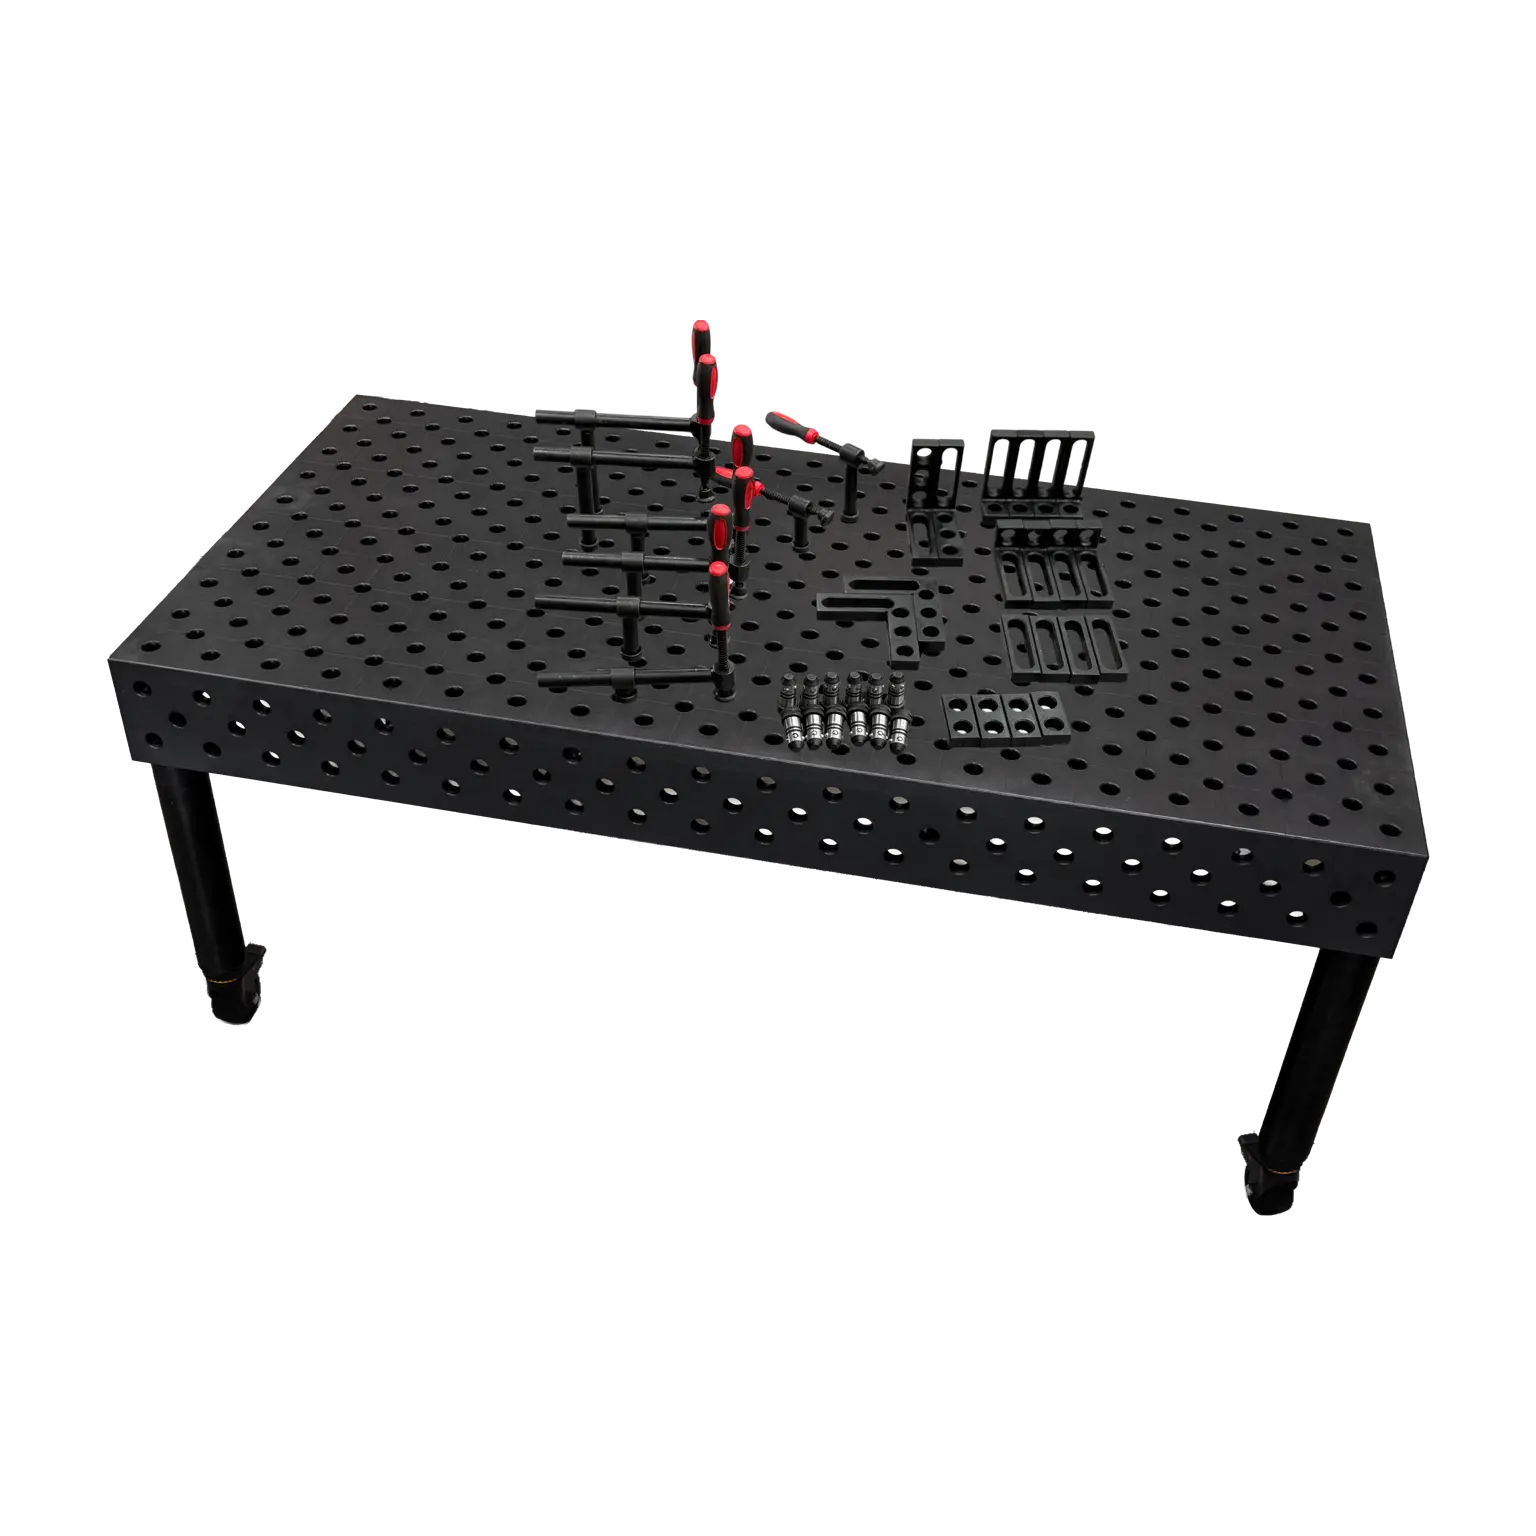
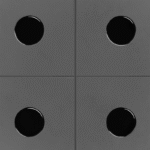 Standard Hole
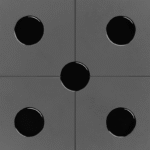 Diagonal Hole
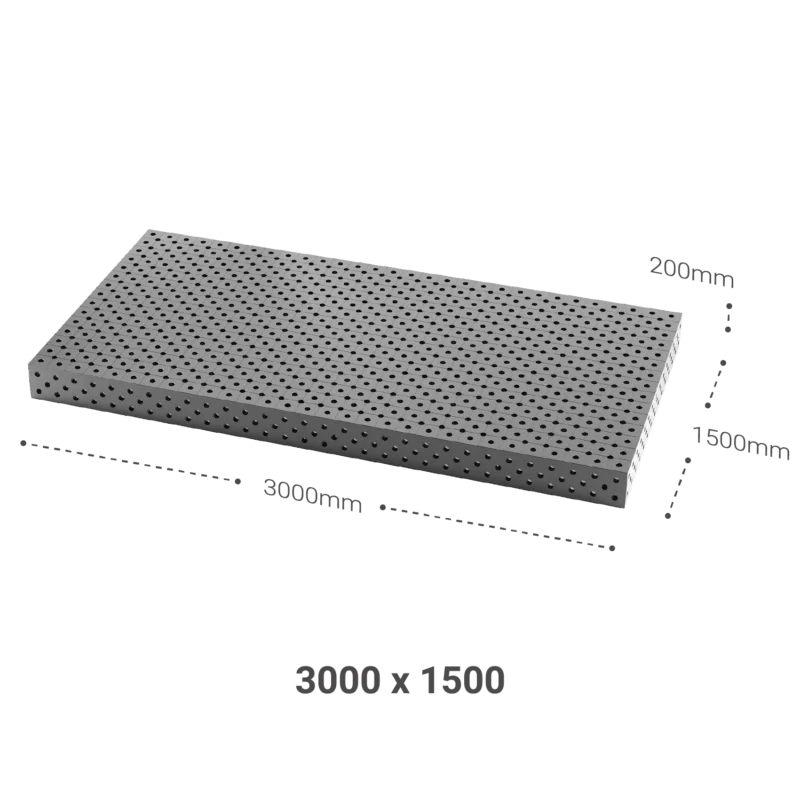
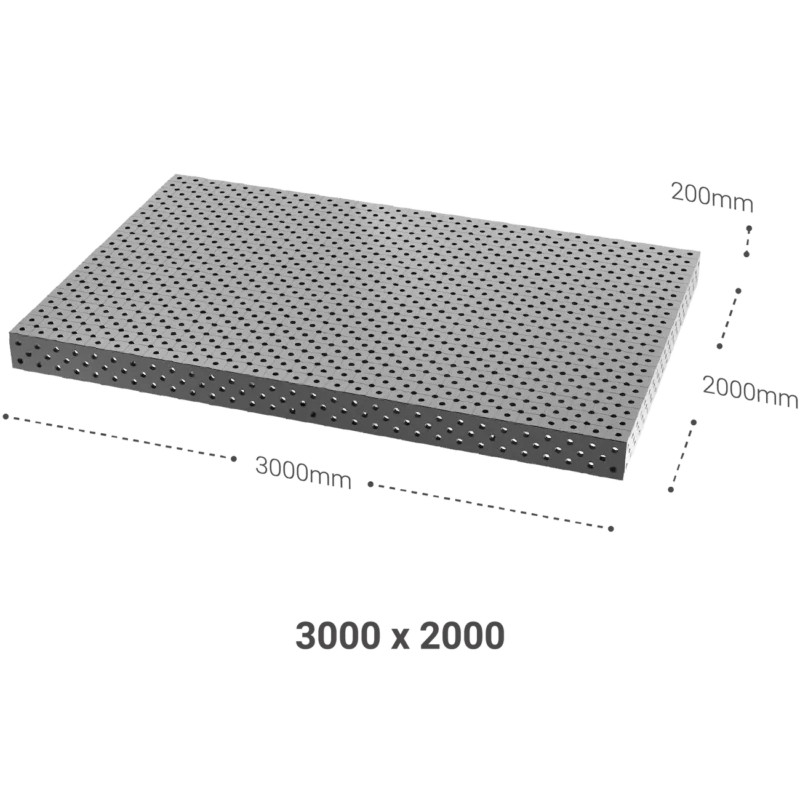
 50x50mm
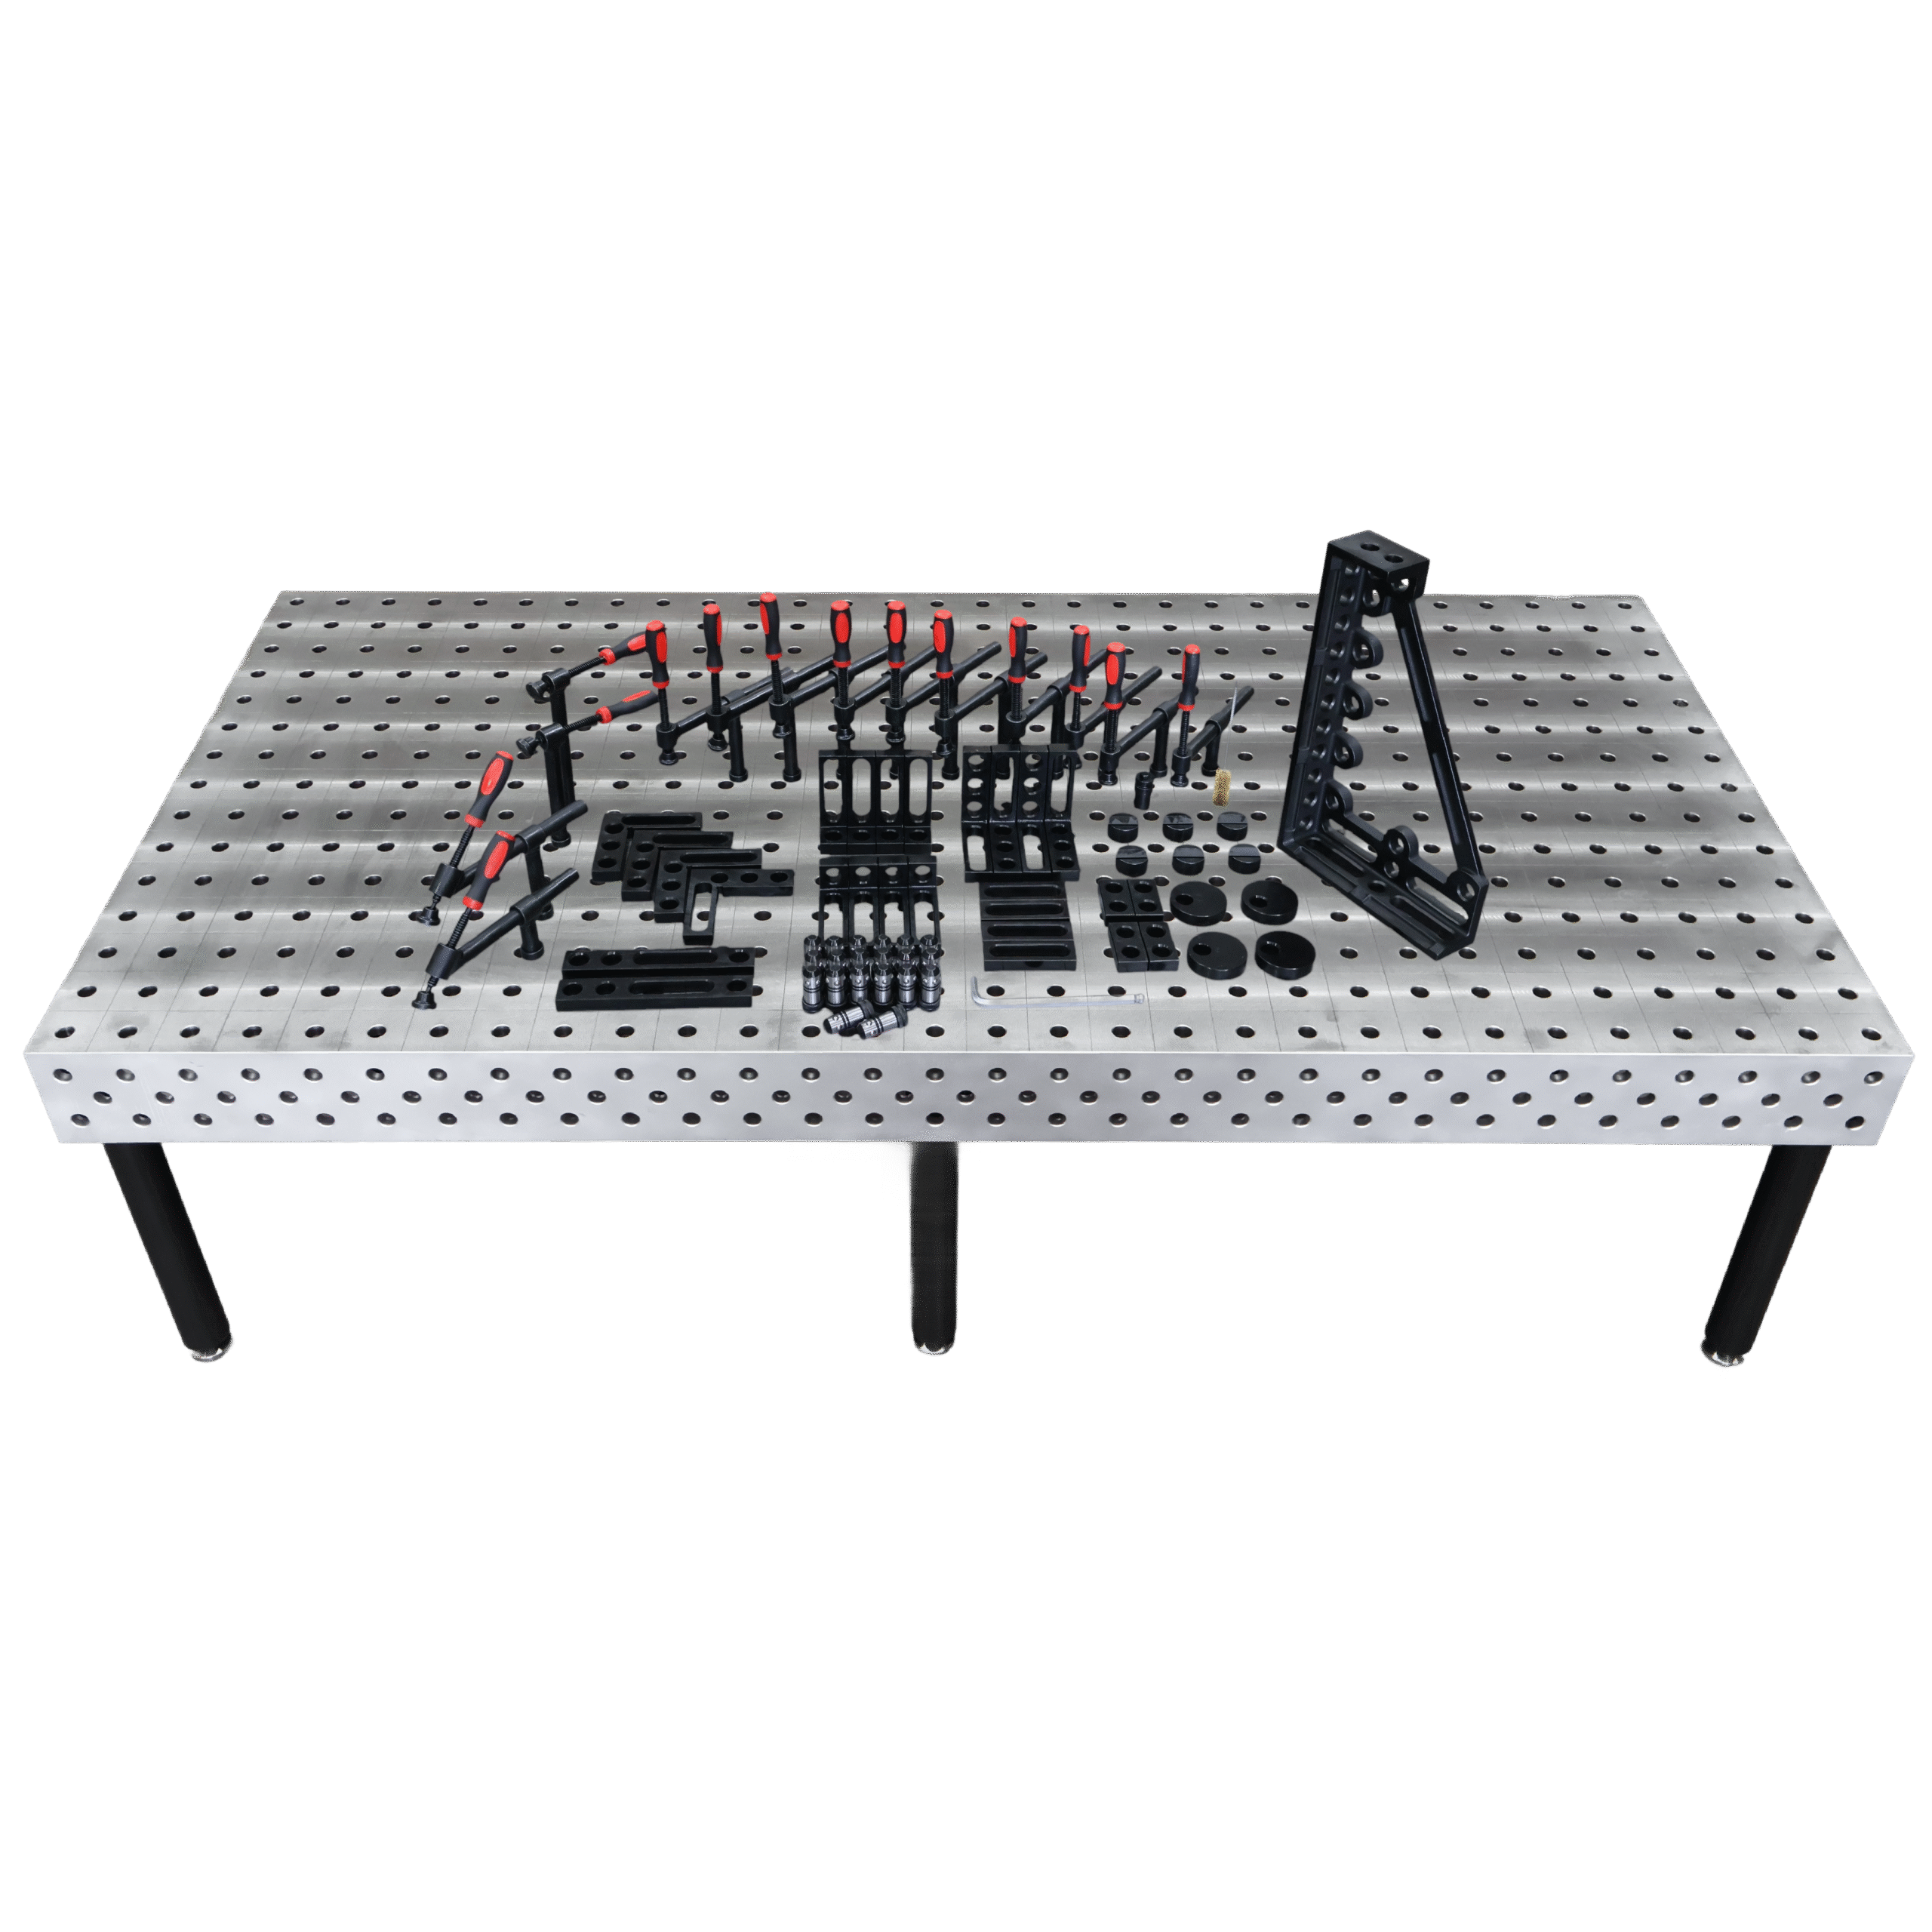


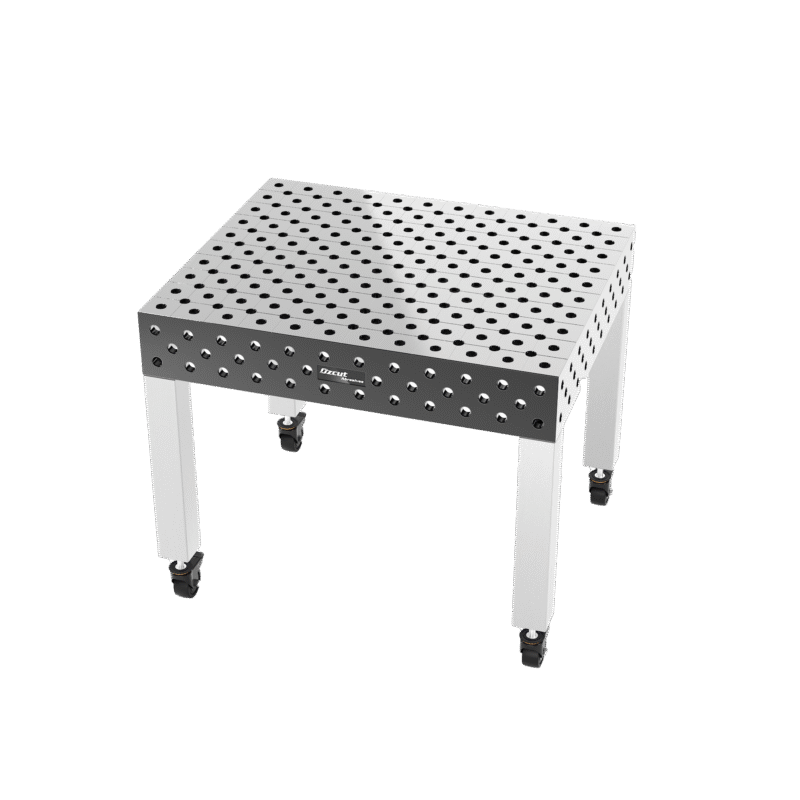
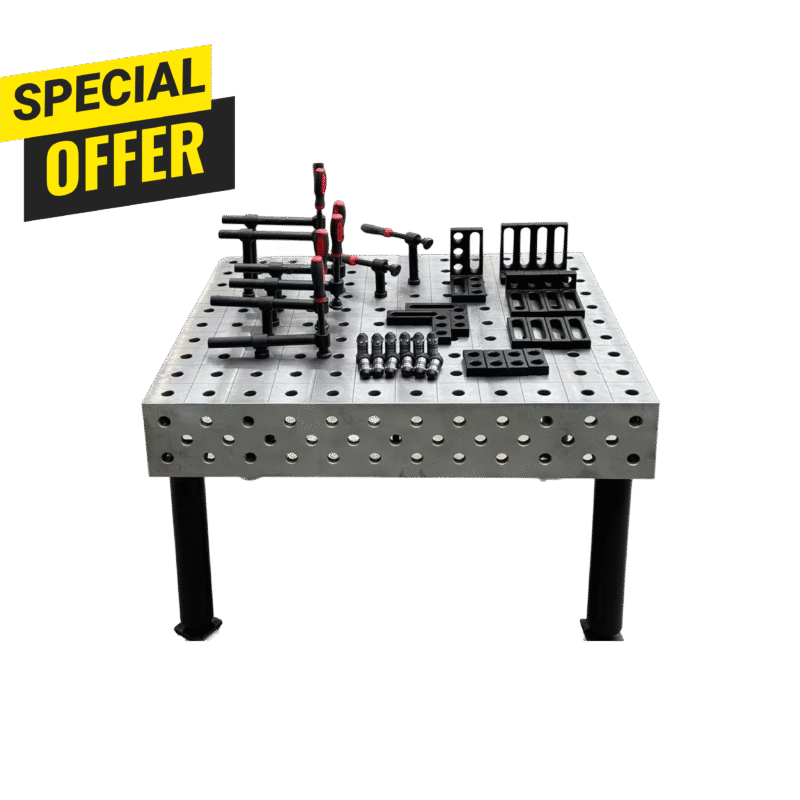
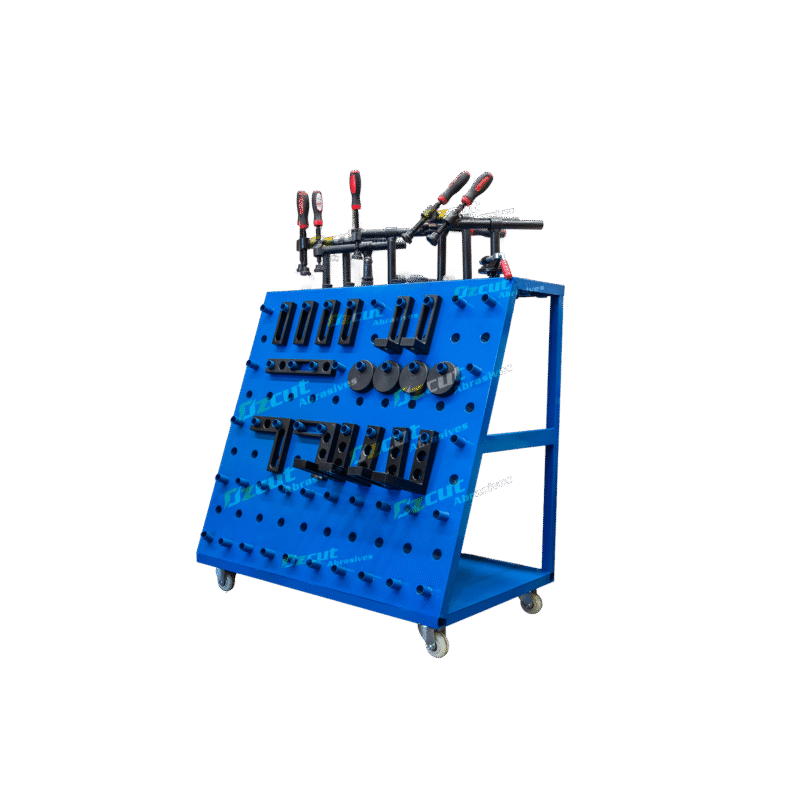


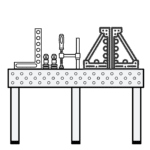
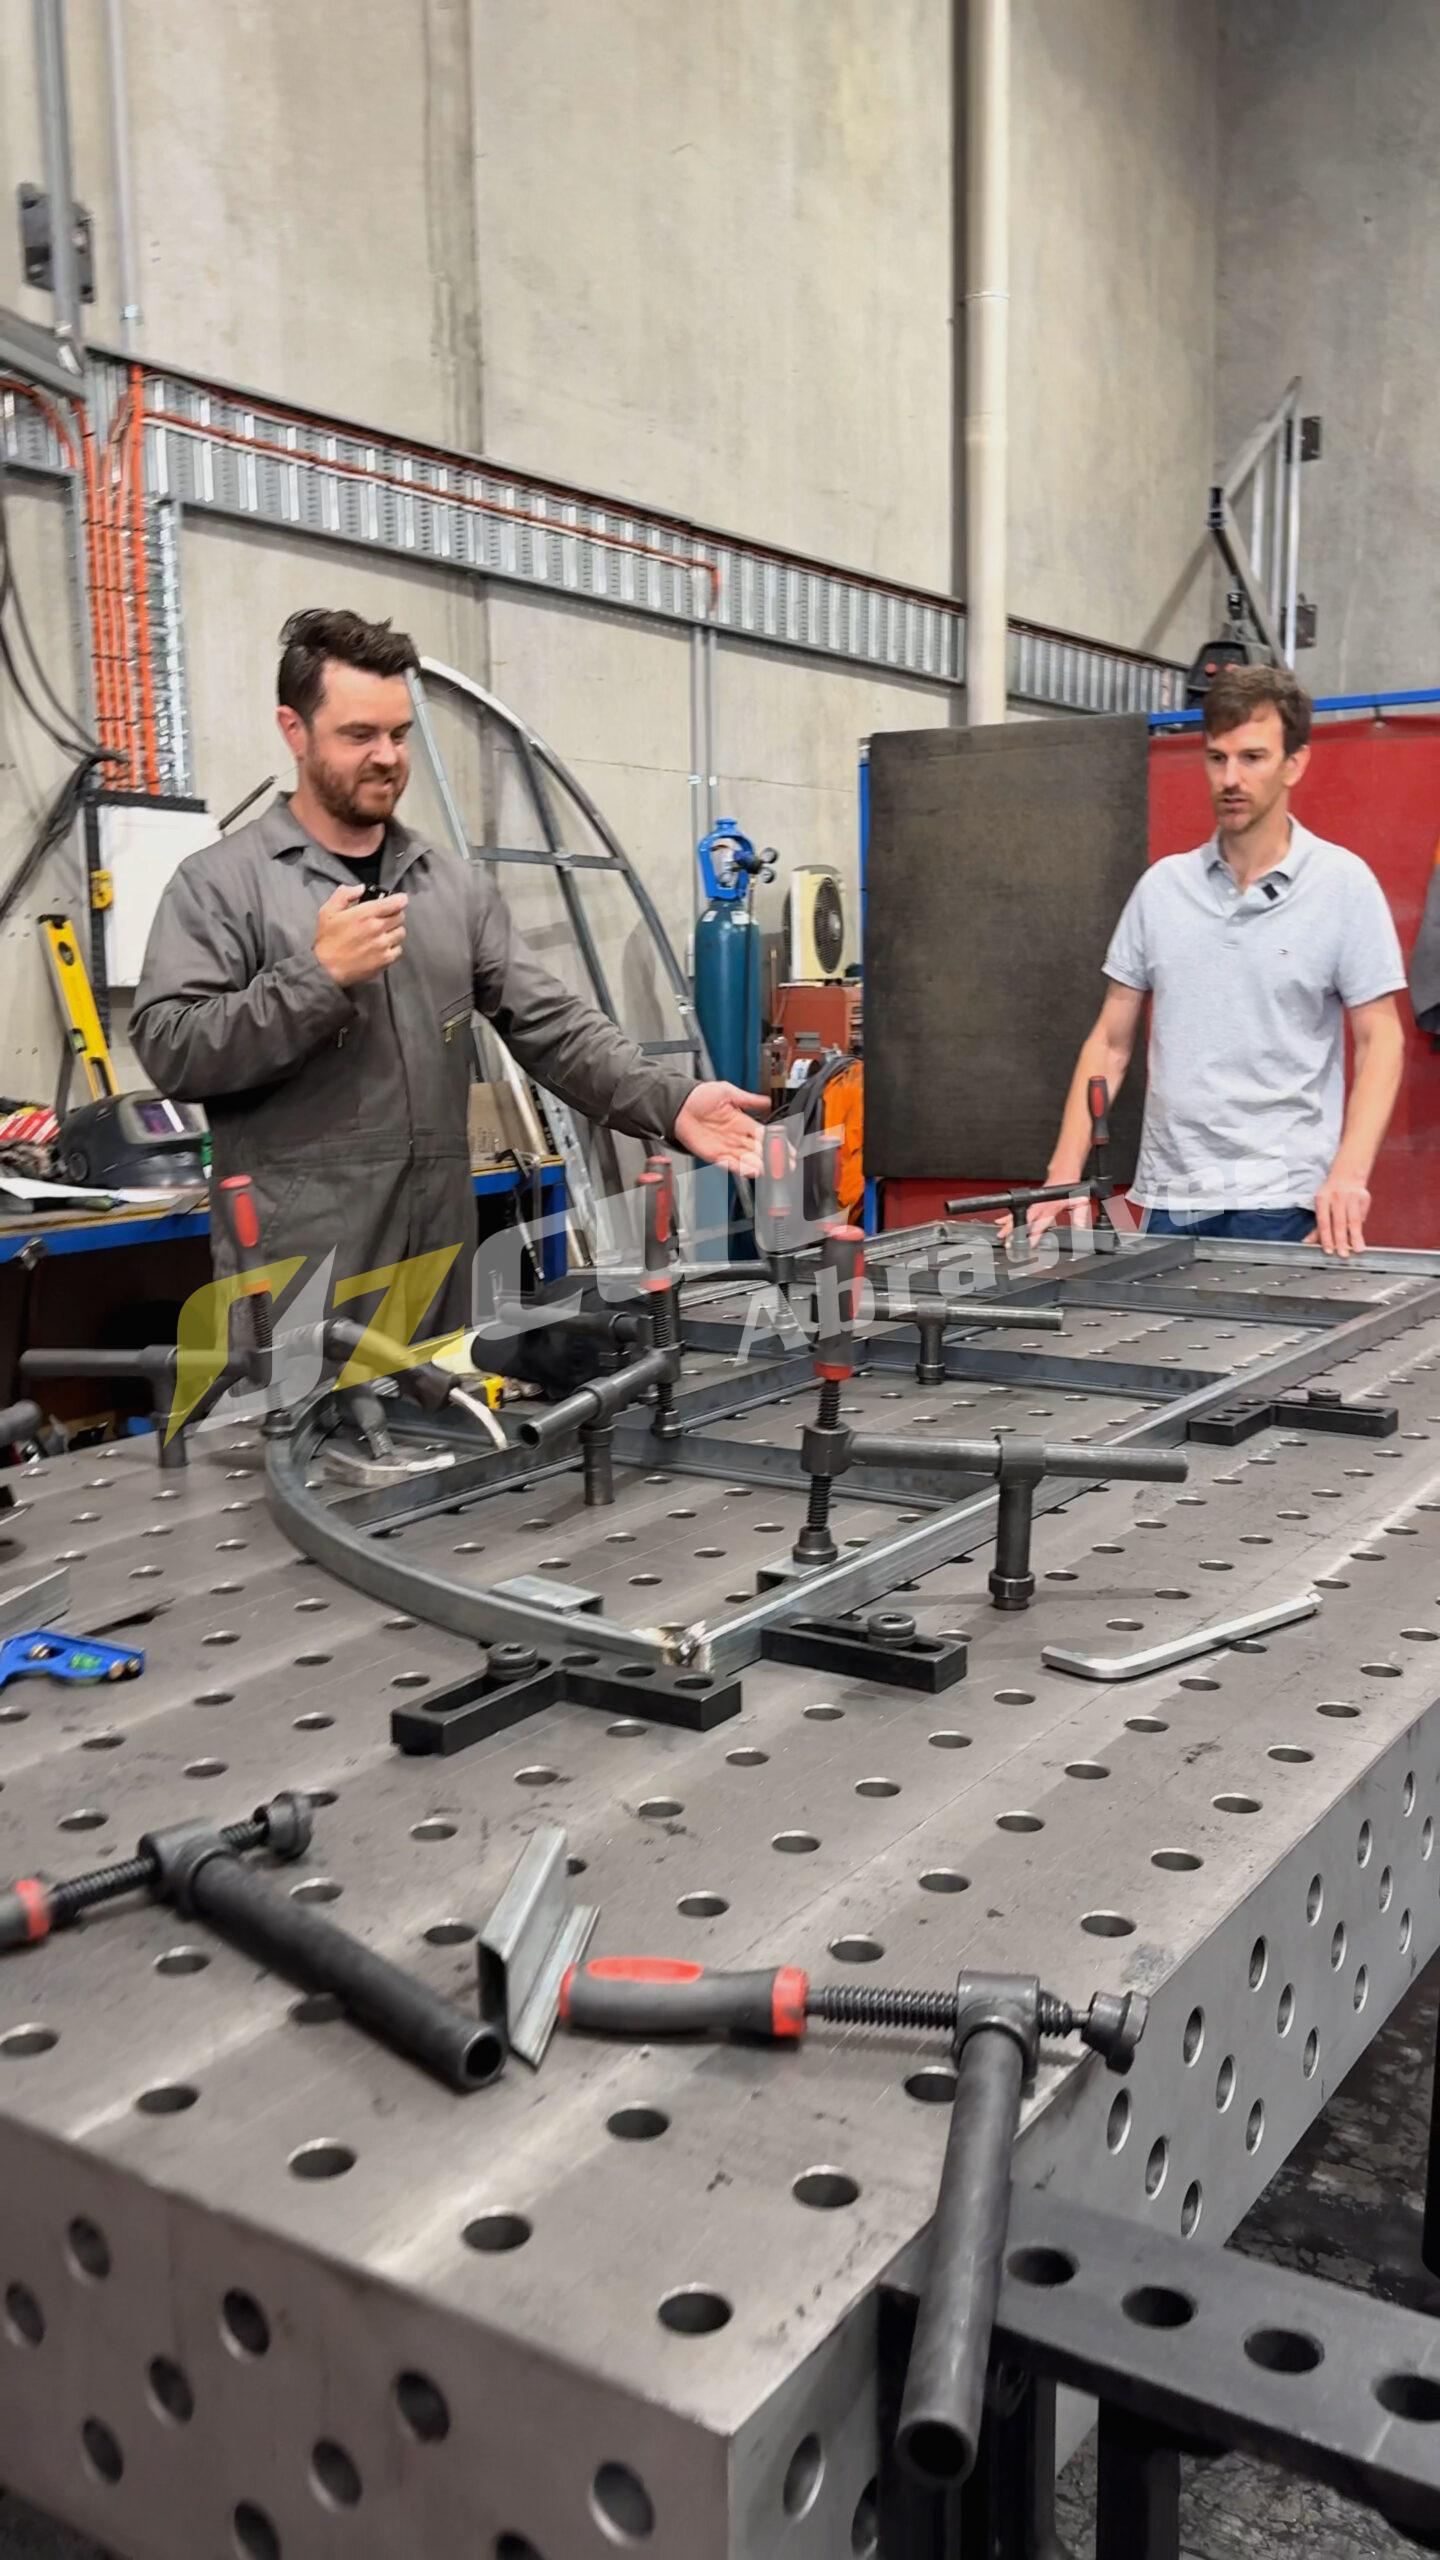
The Complete Guide to Welding Table Clamps & Fixture Pins for Faster, More Accurate Setups


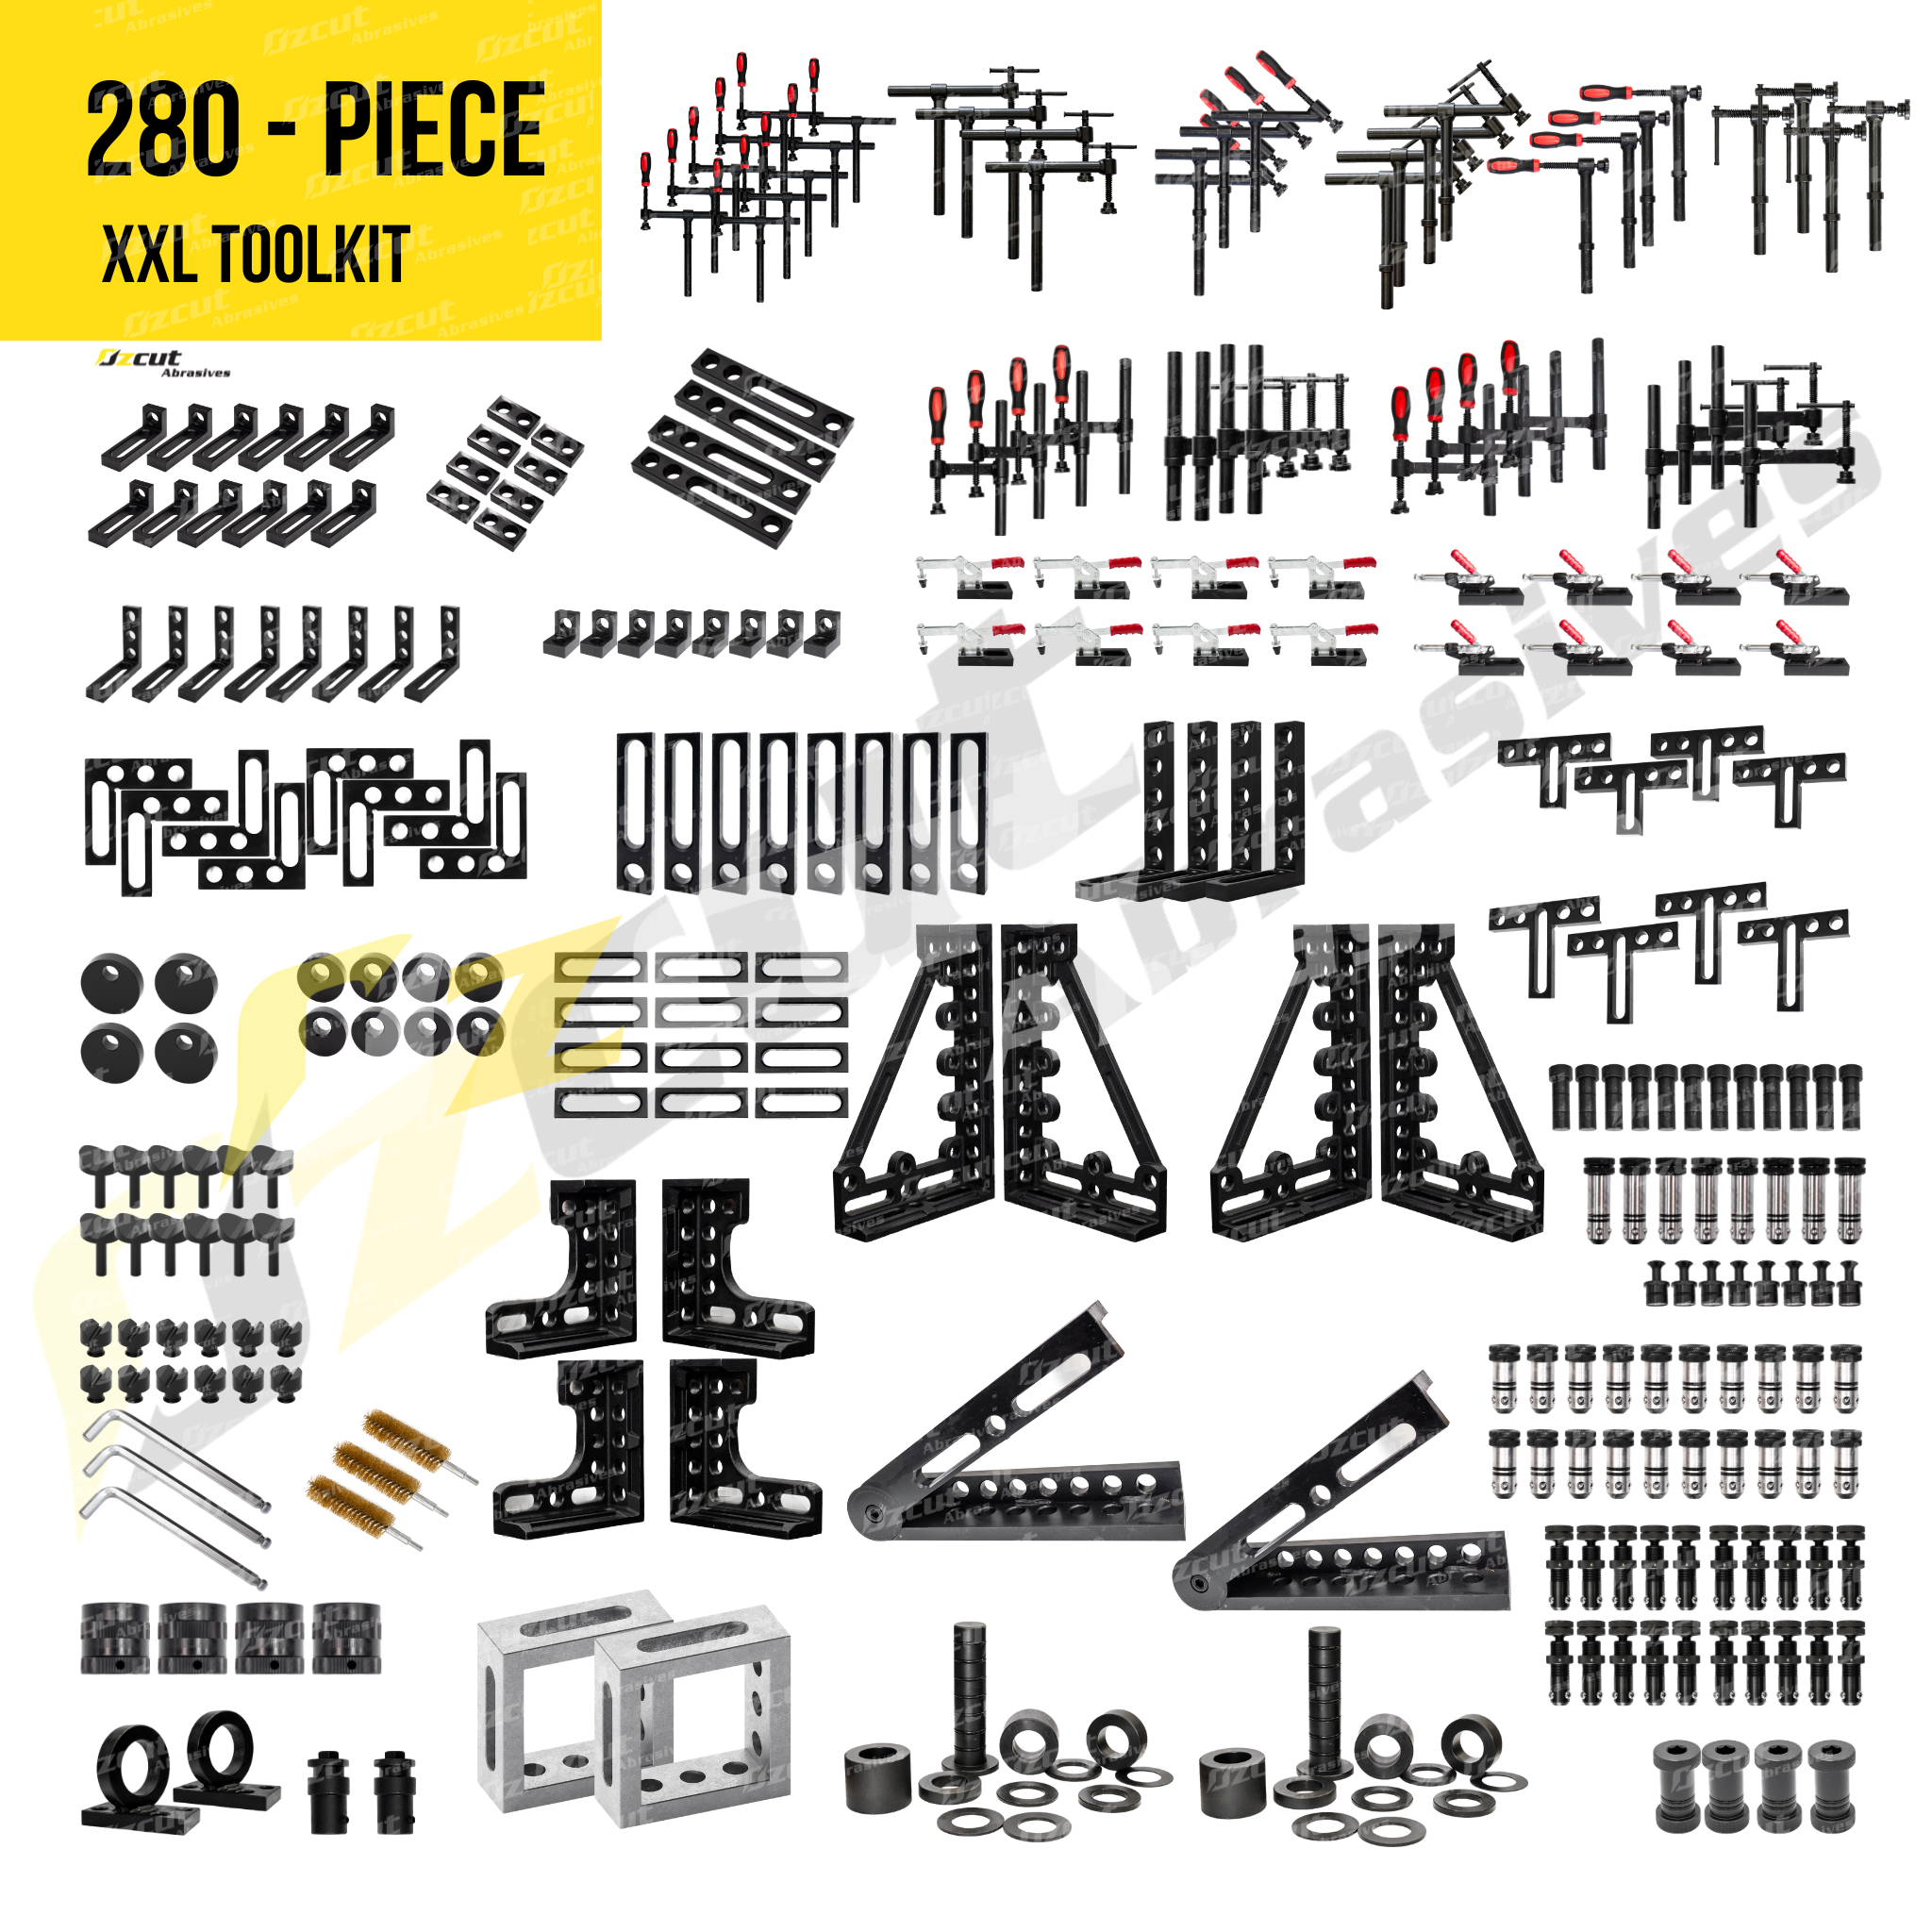
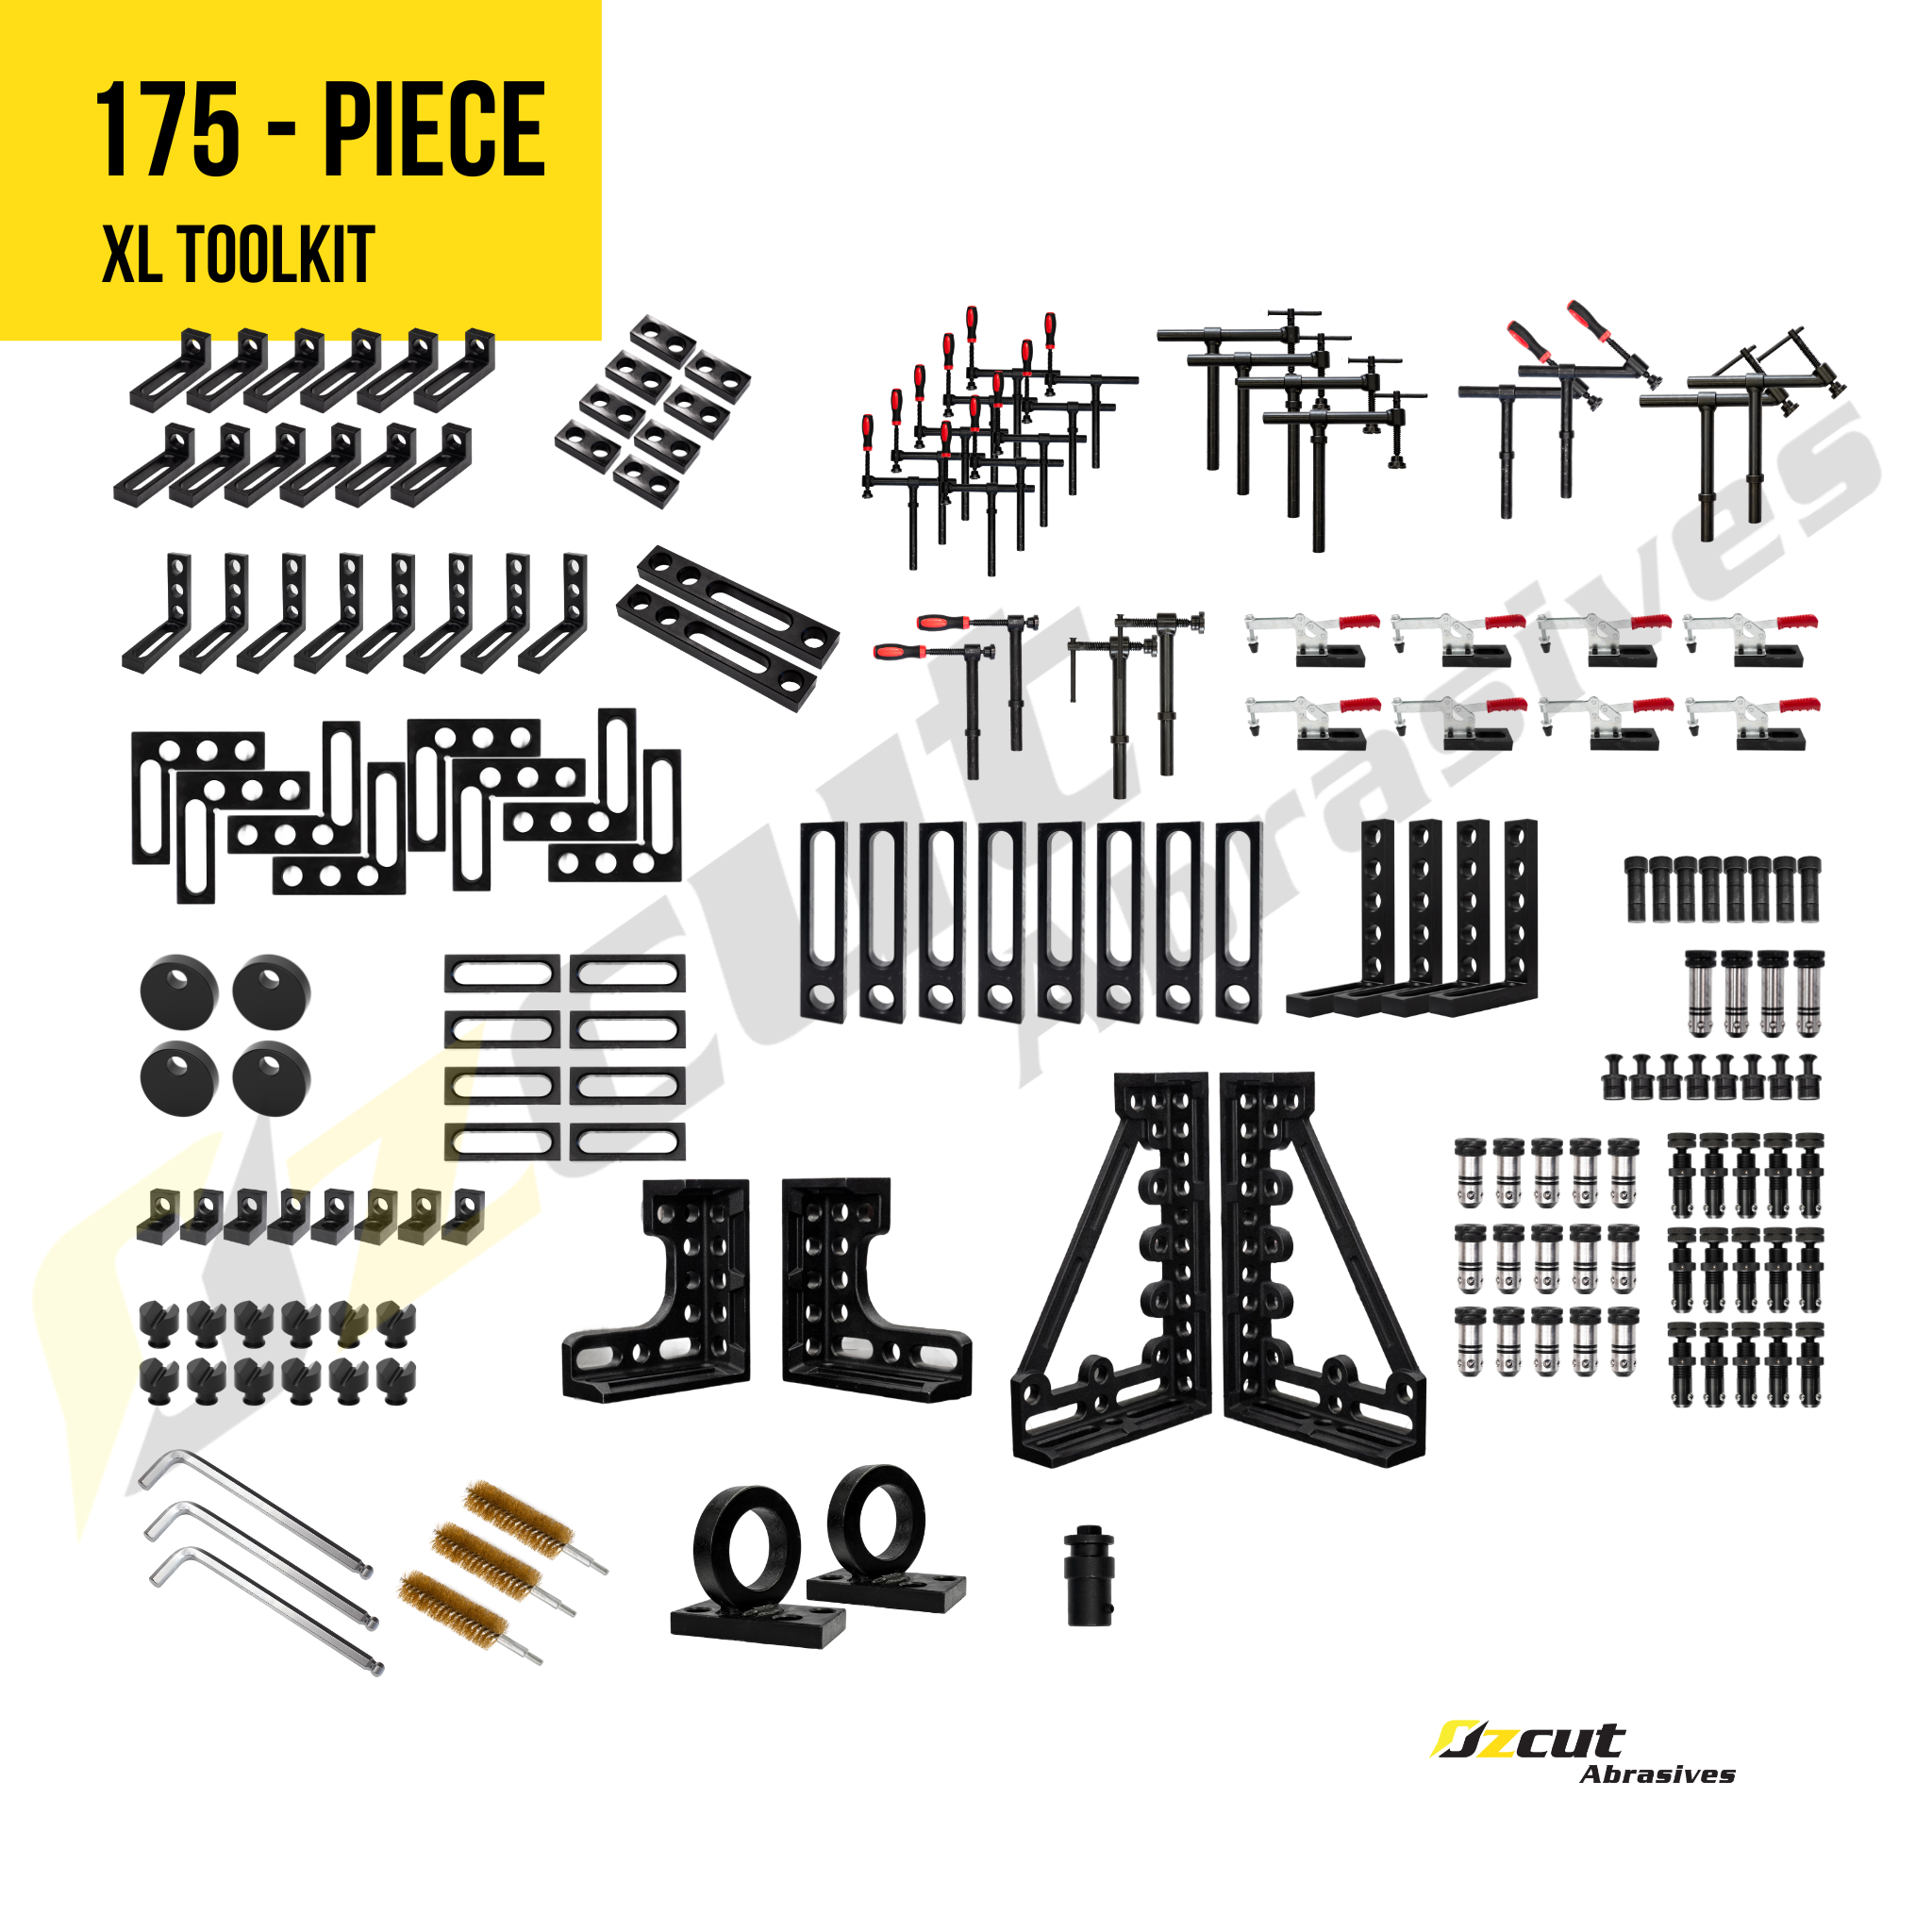


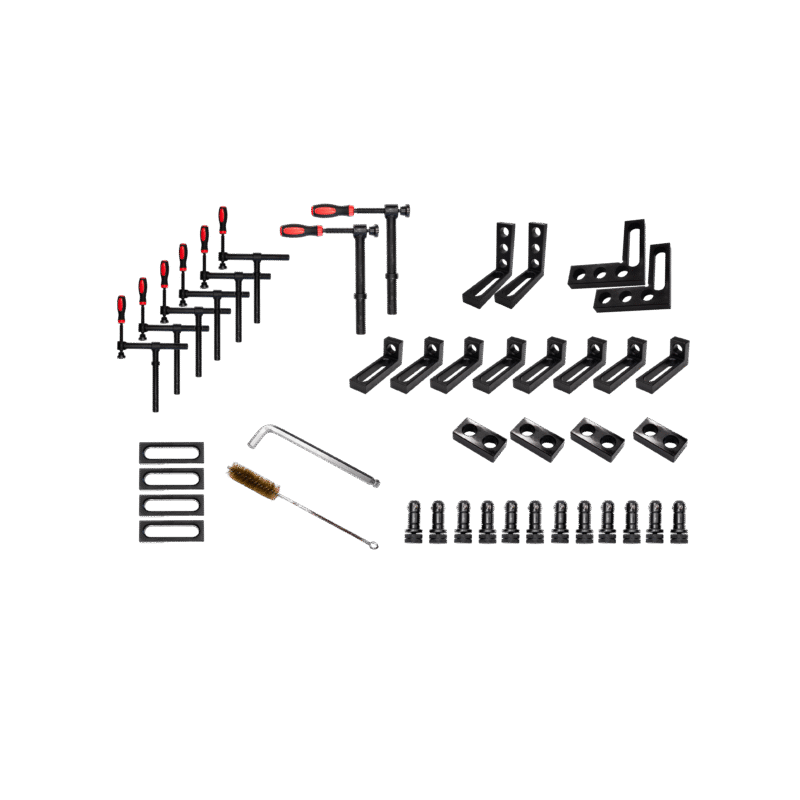
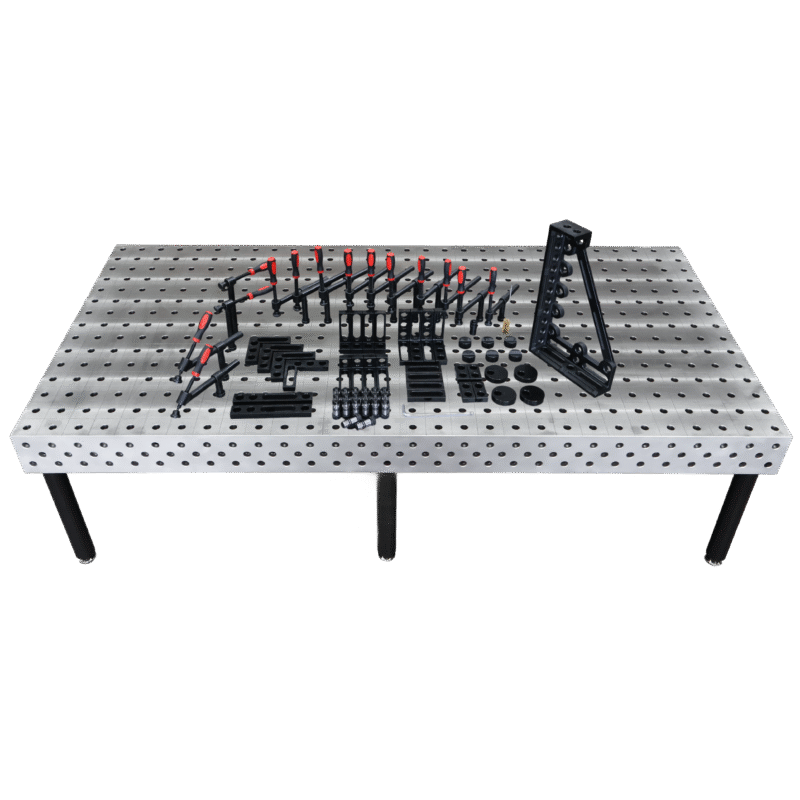
 8x Small Locating Squares A28-32
 2x Medium Locating Squares A28-35
 4x Extra Small Universal Stops A28-39
 4x Small Universal Stop A28-40
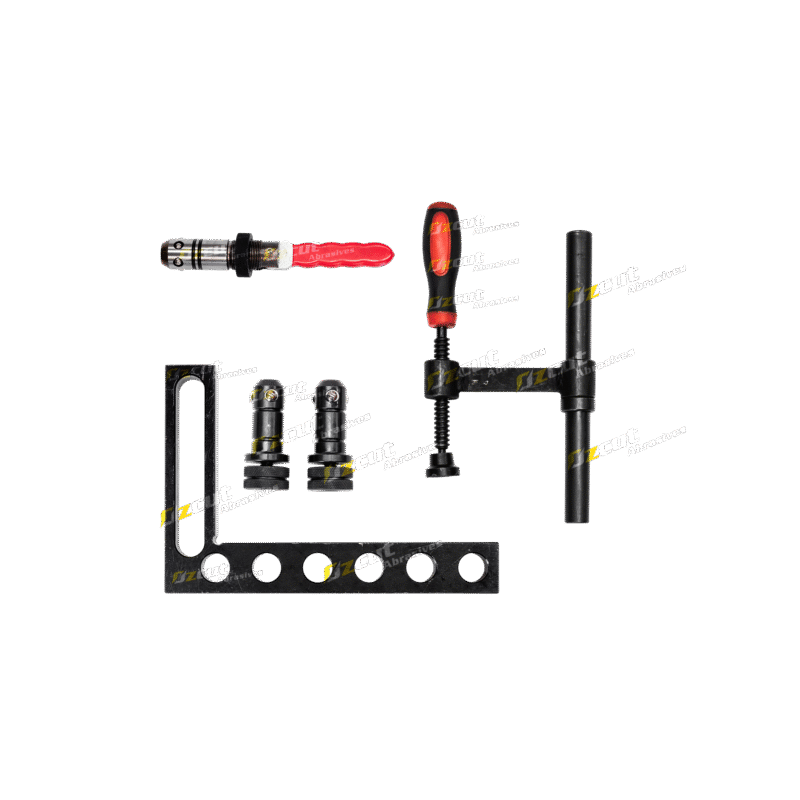
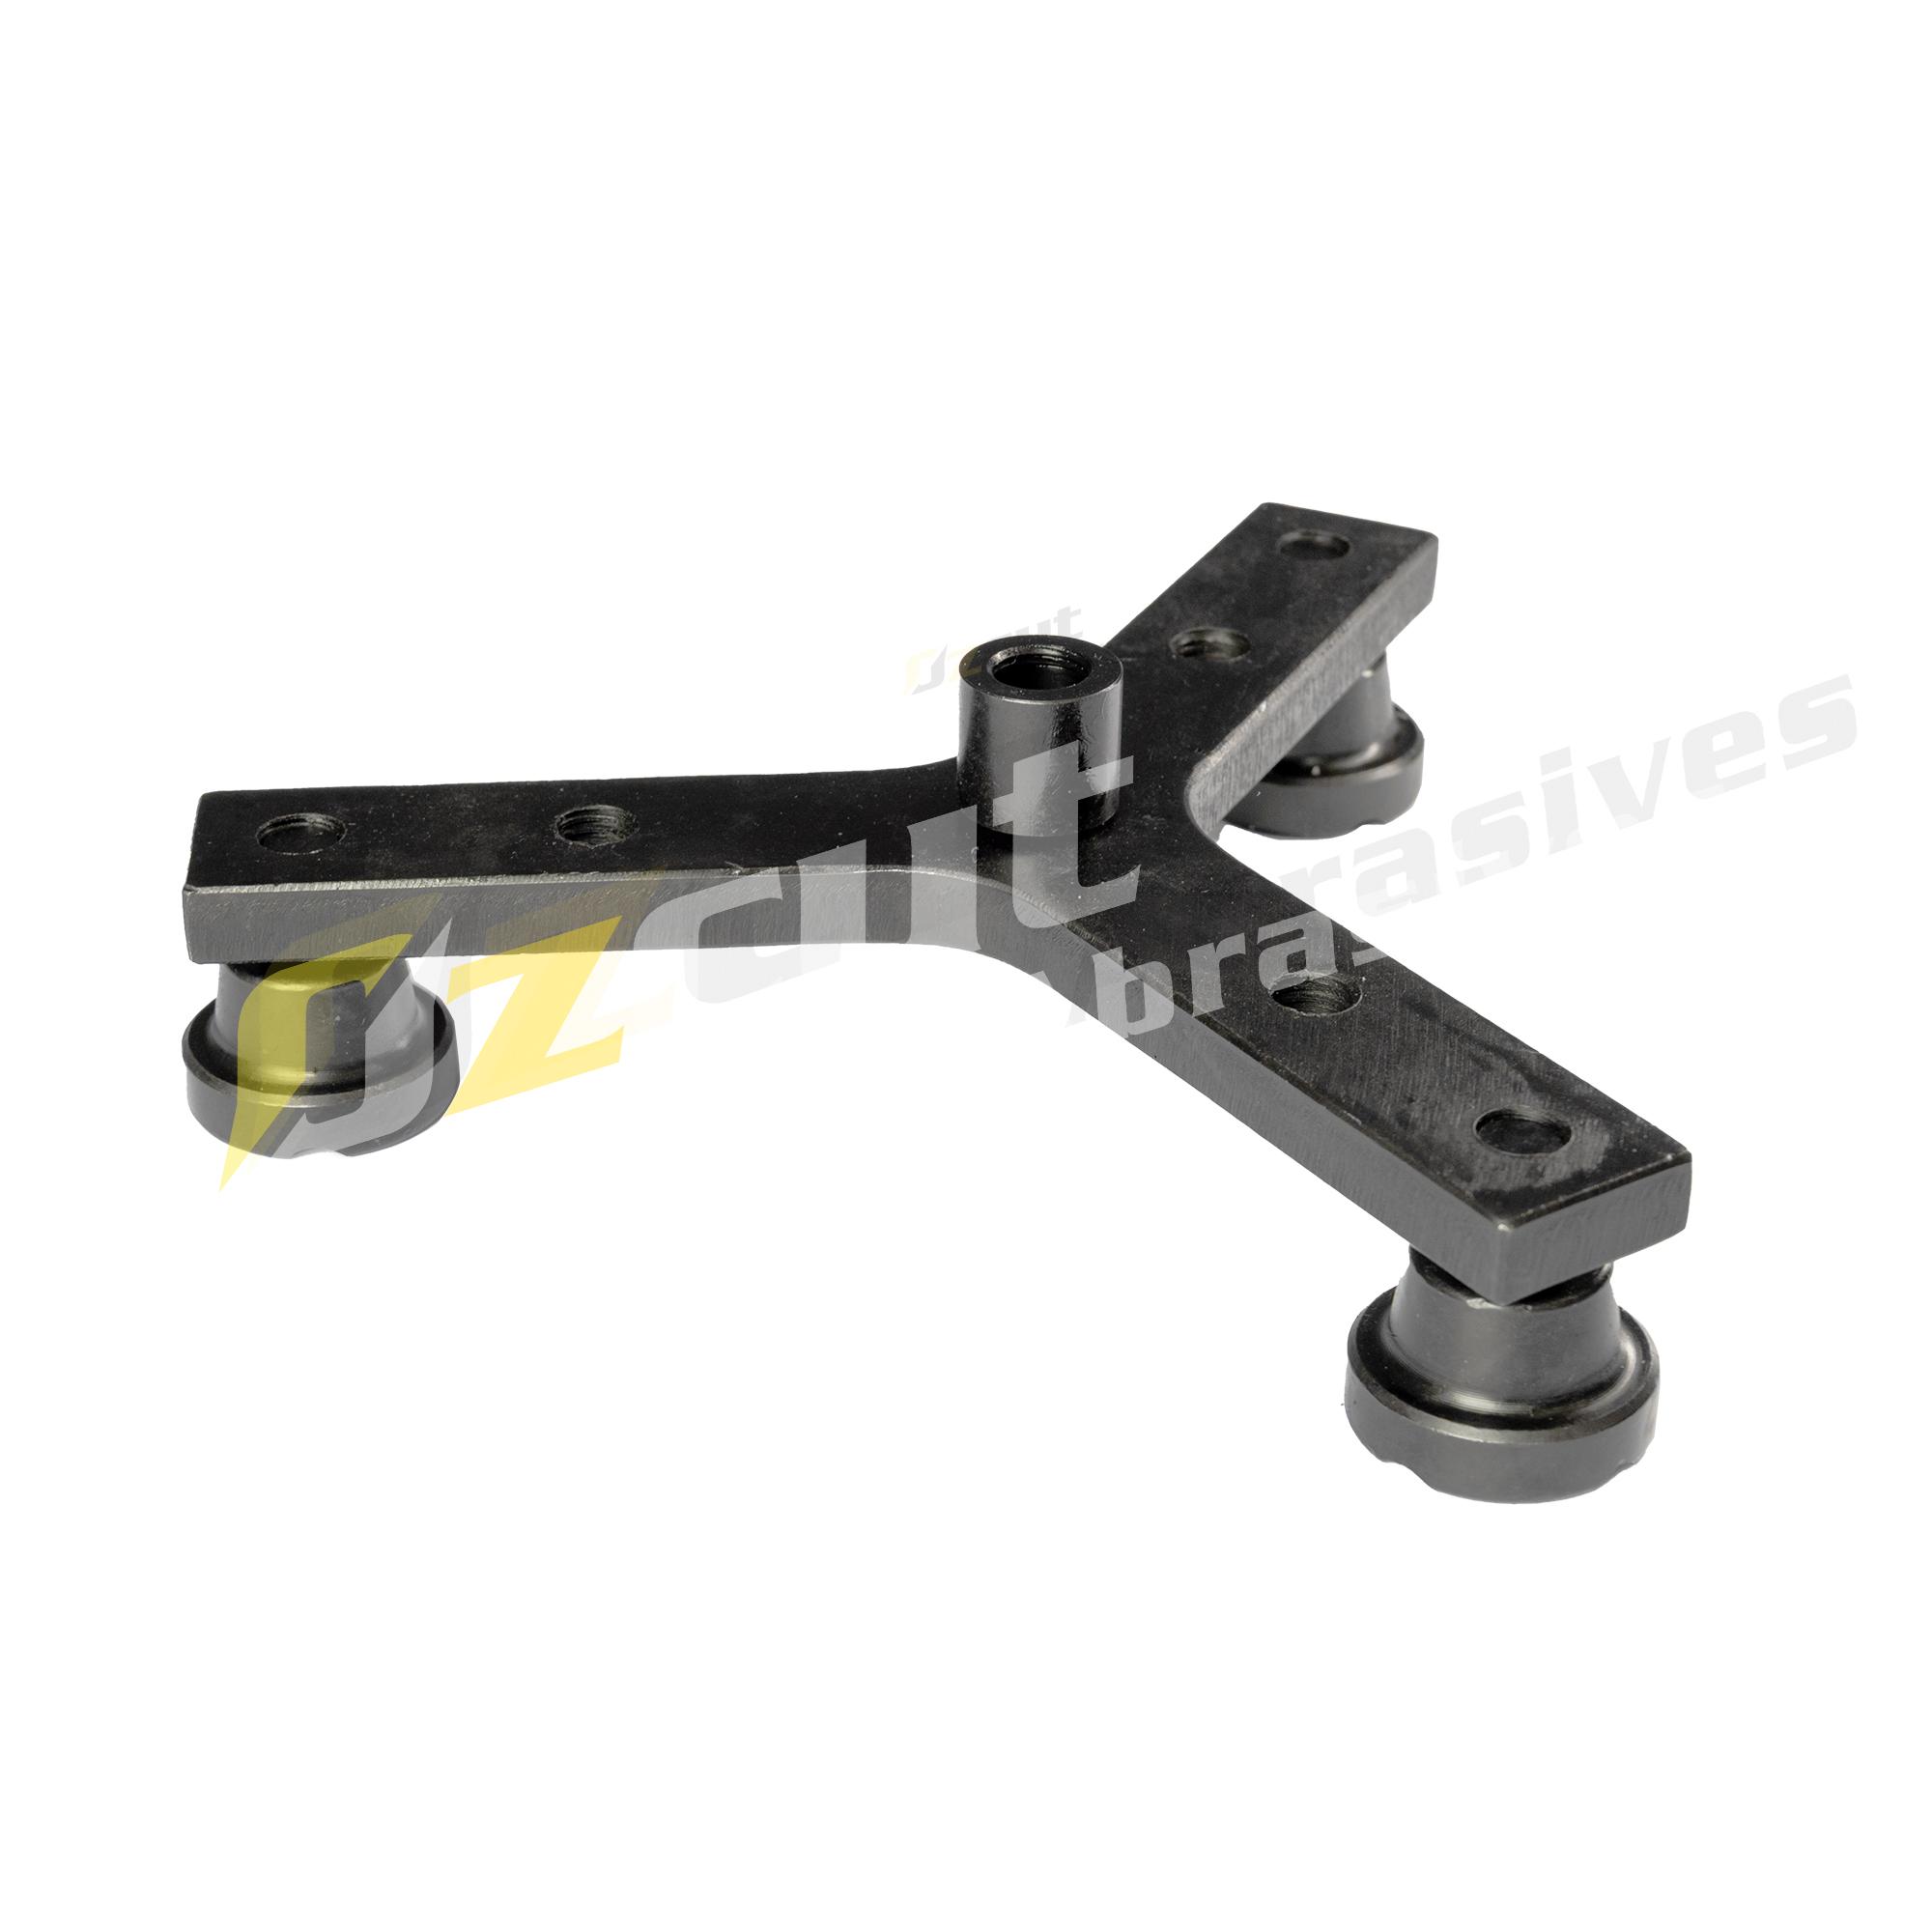
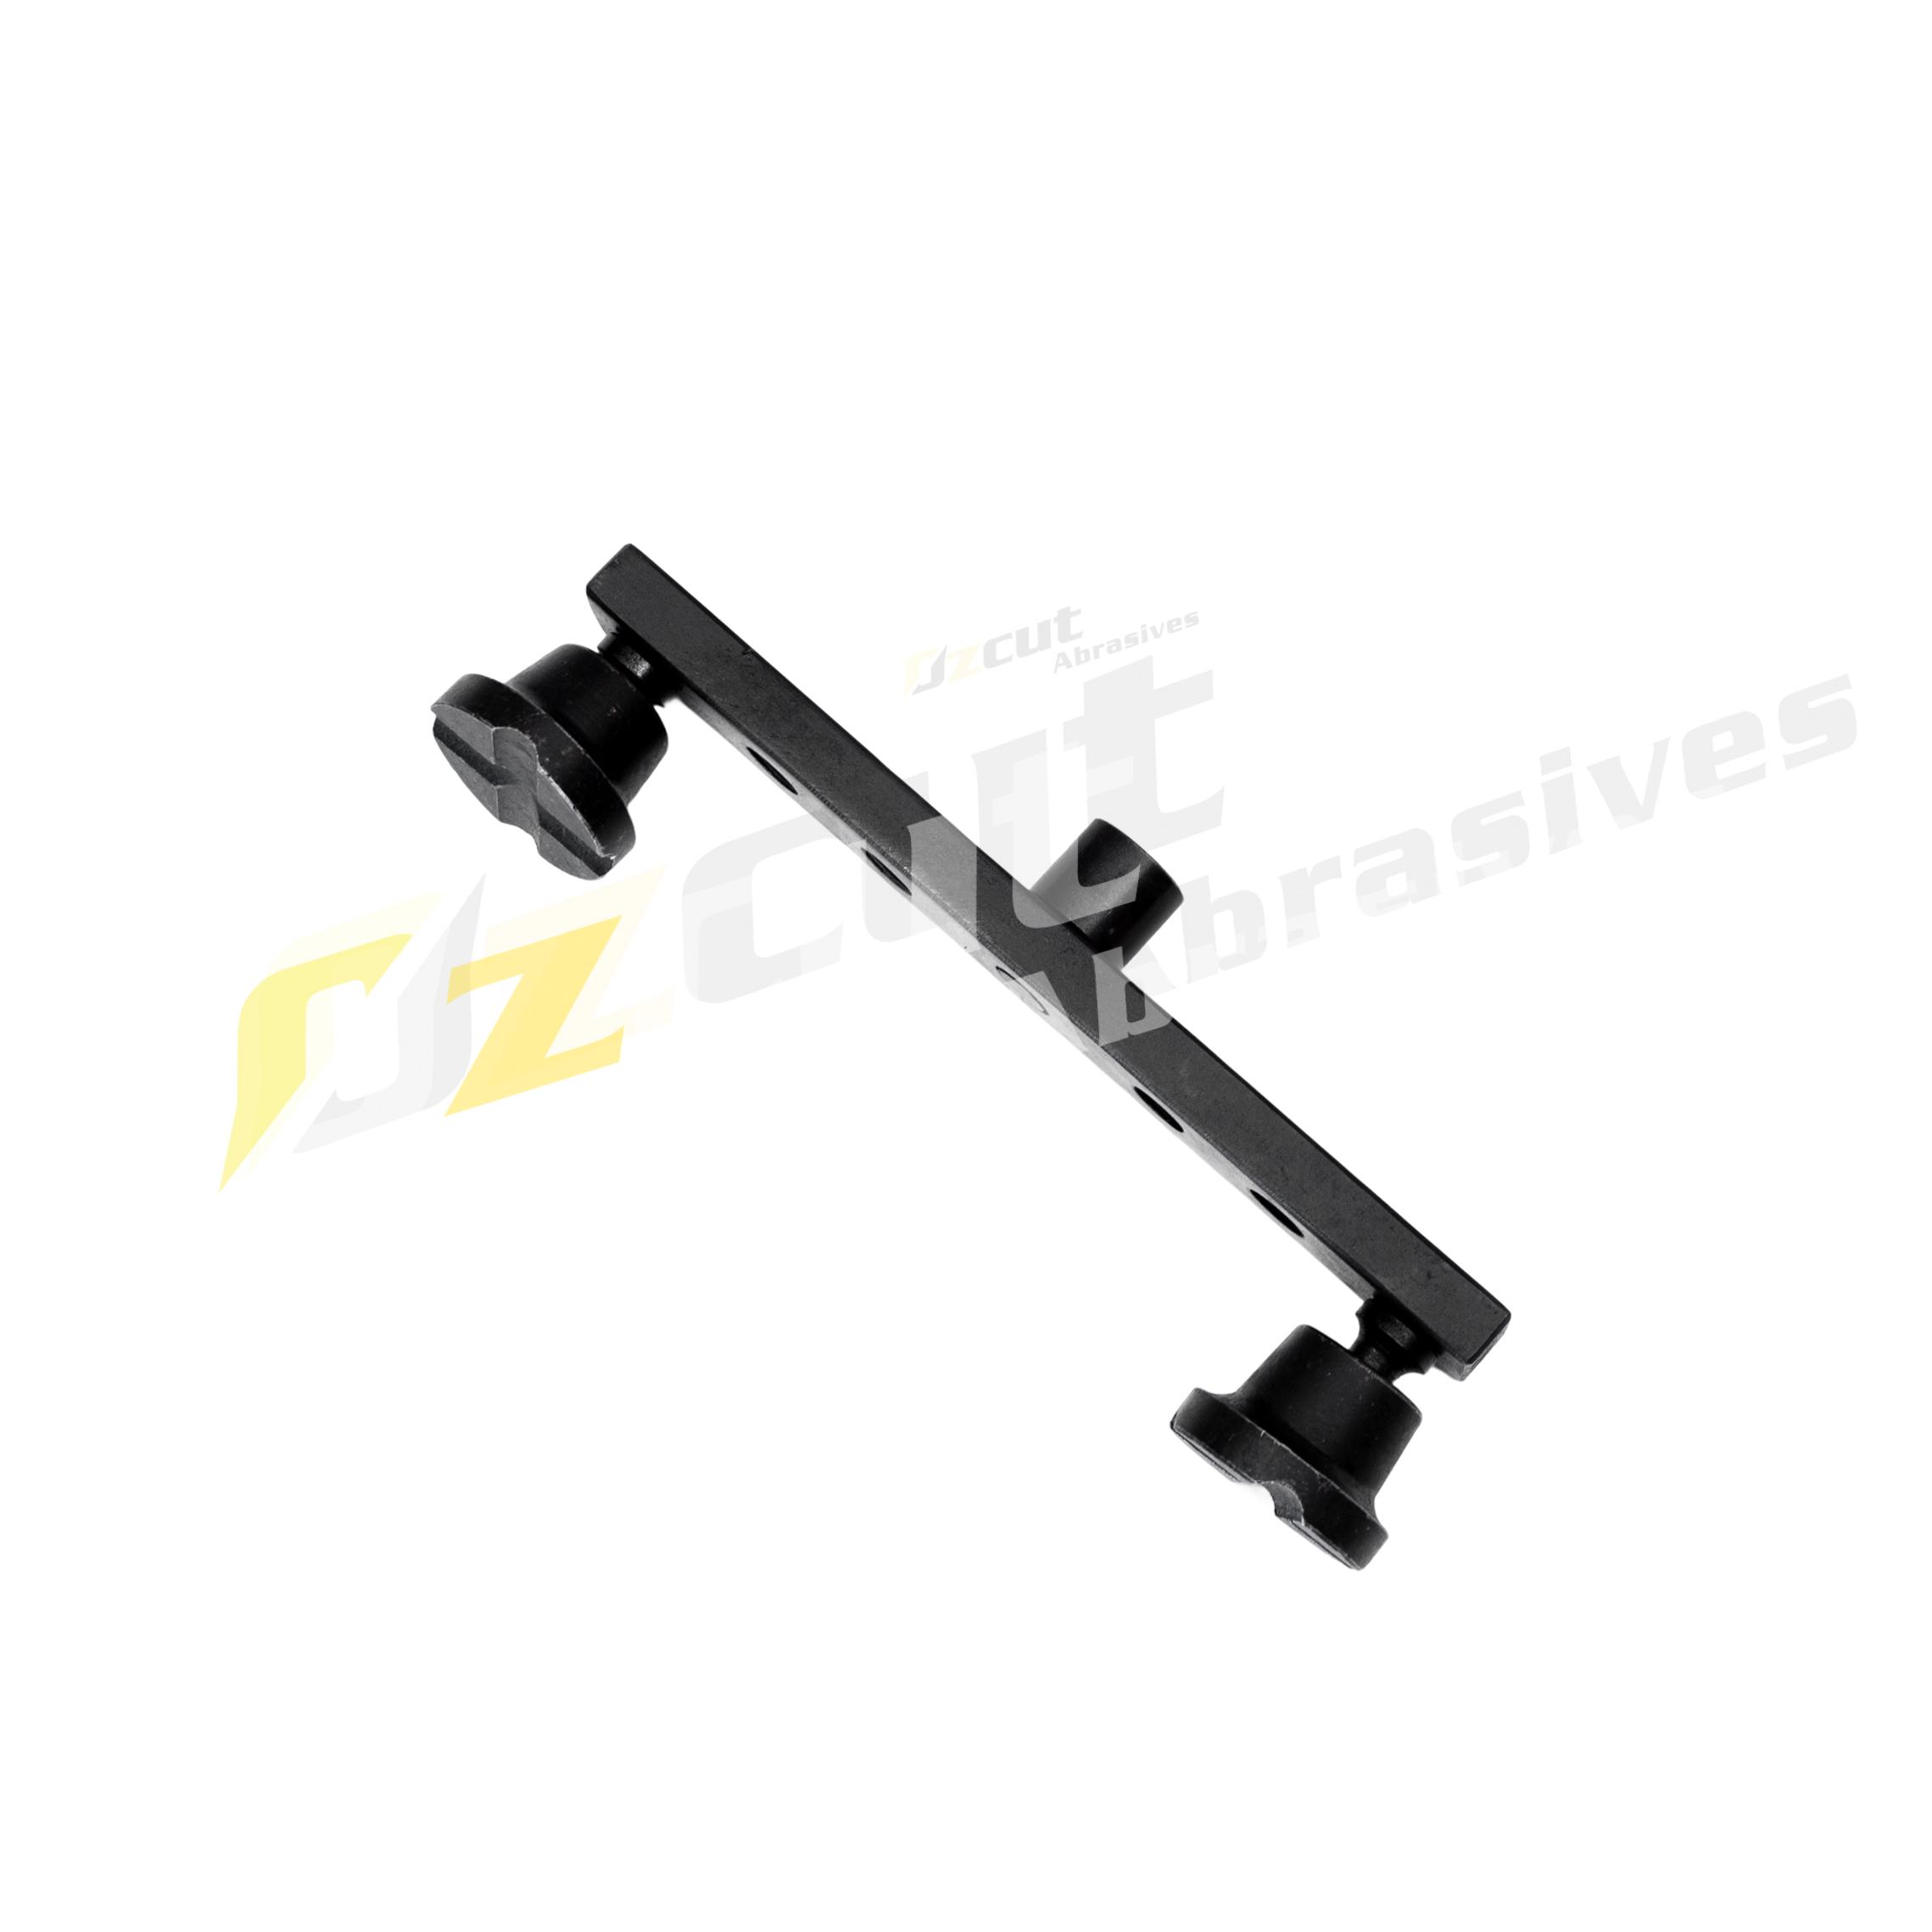
 2x Small Flat Square A28-46
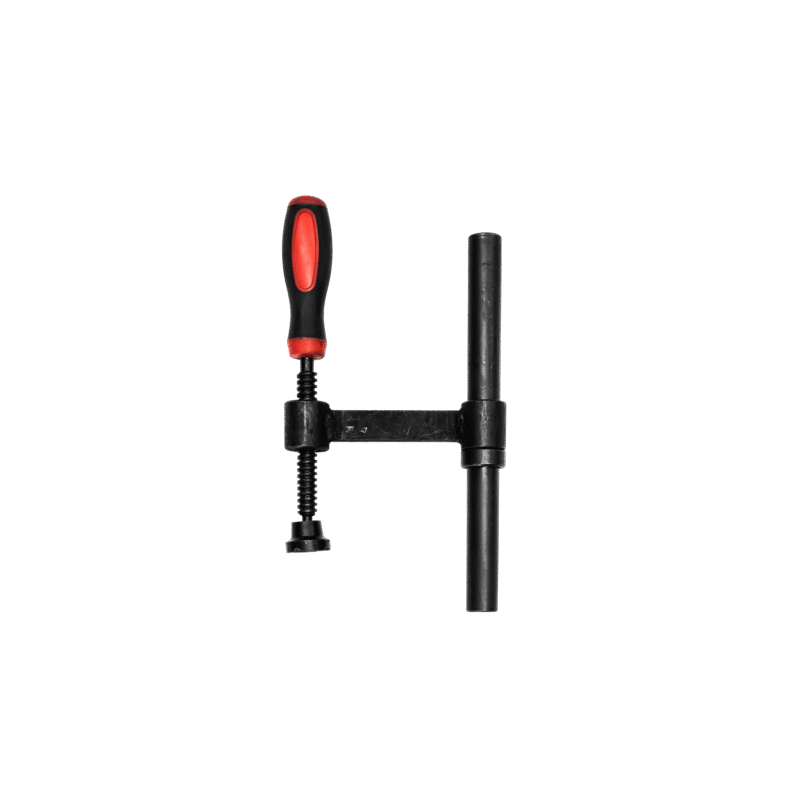
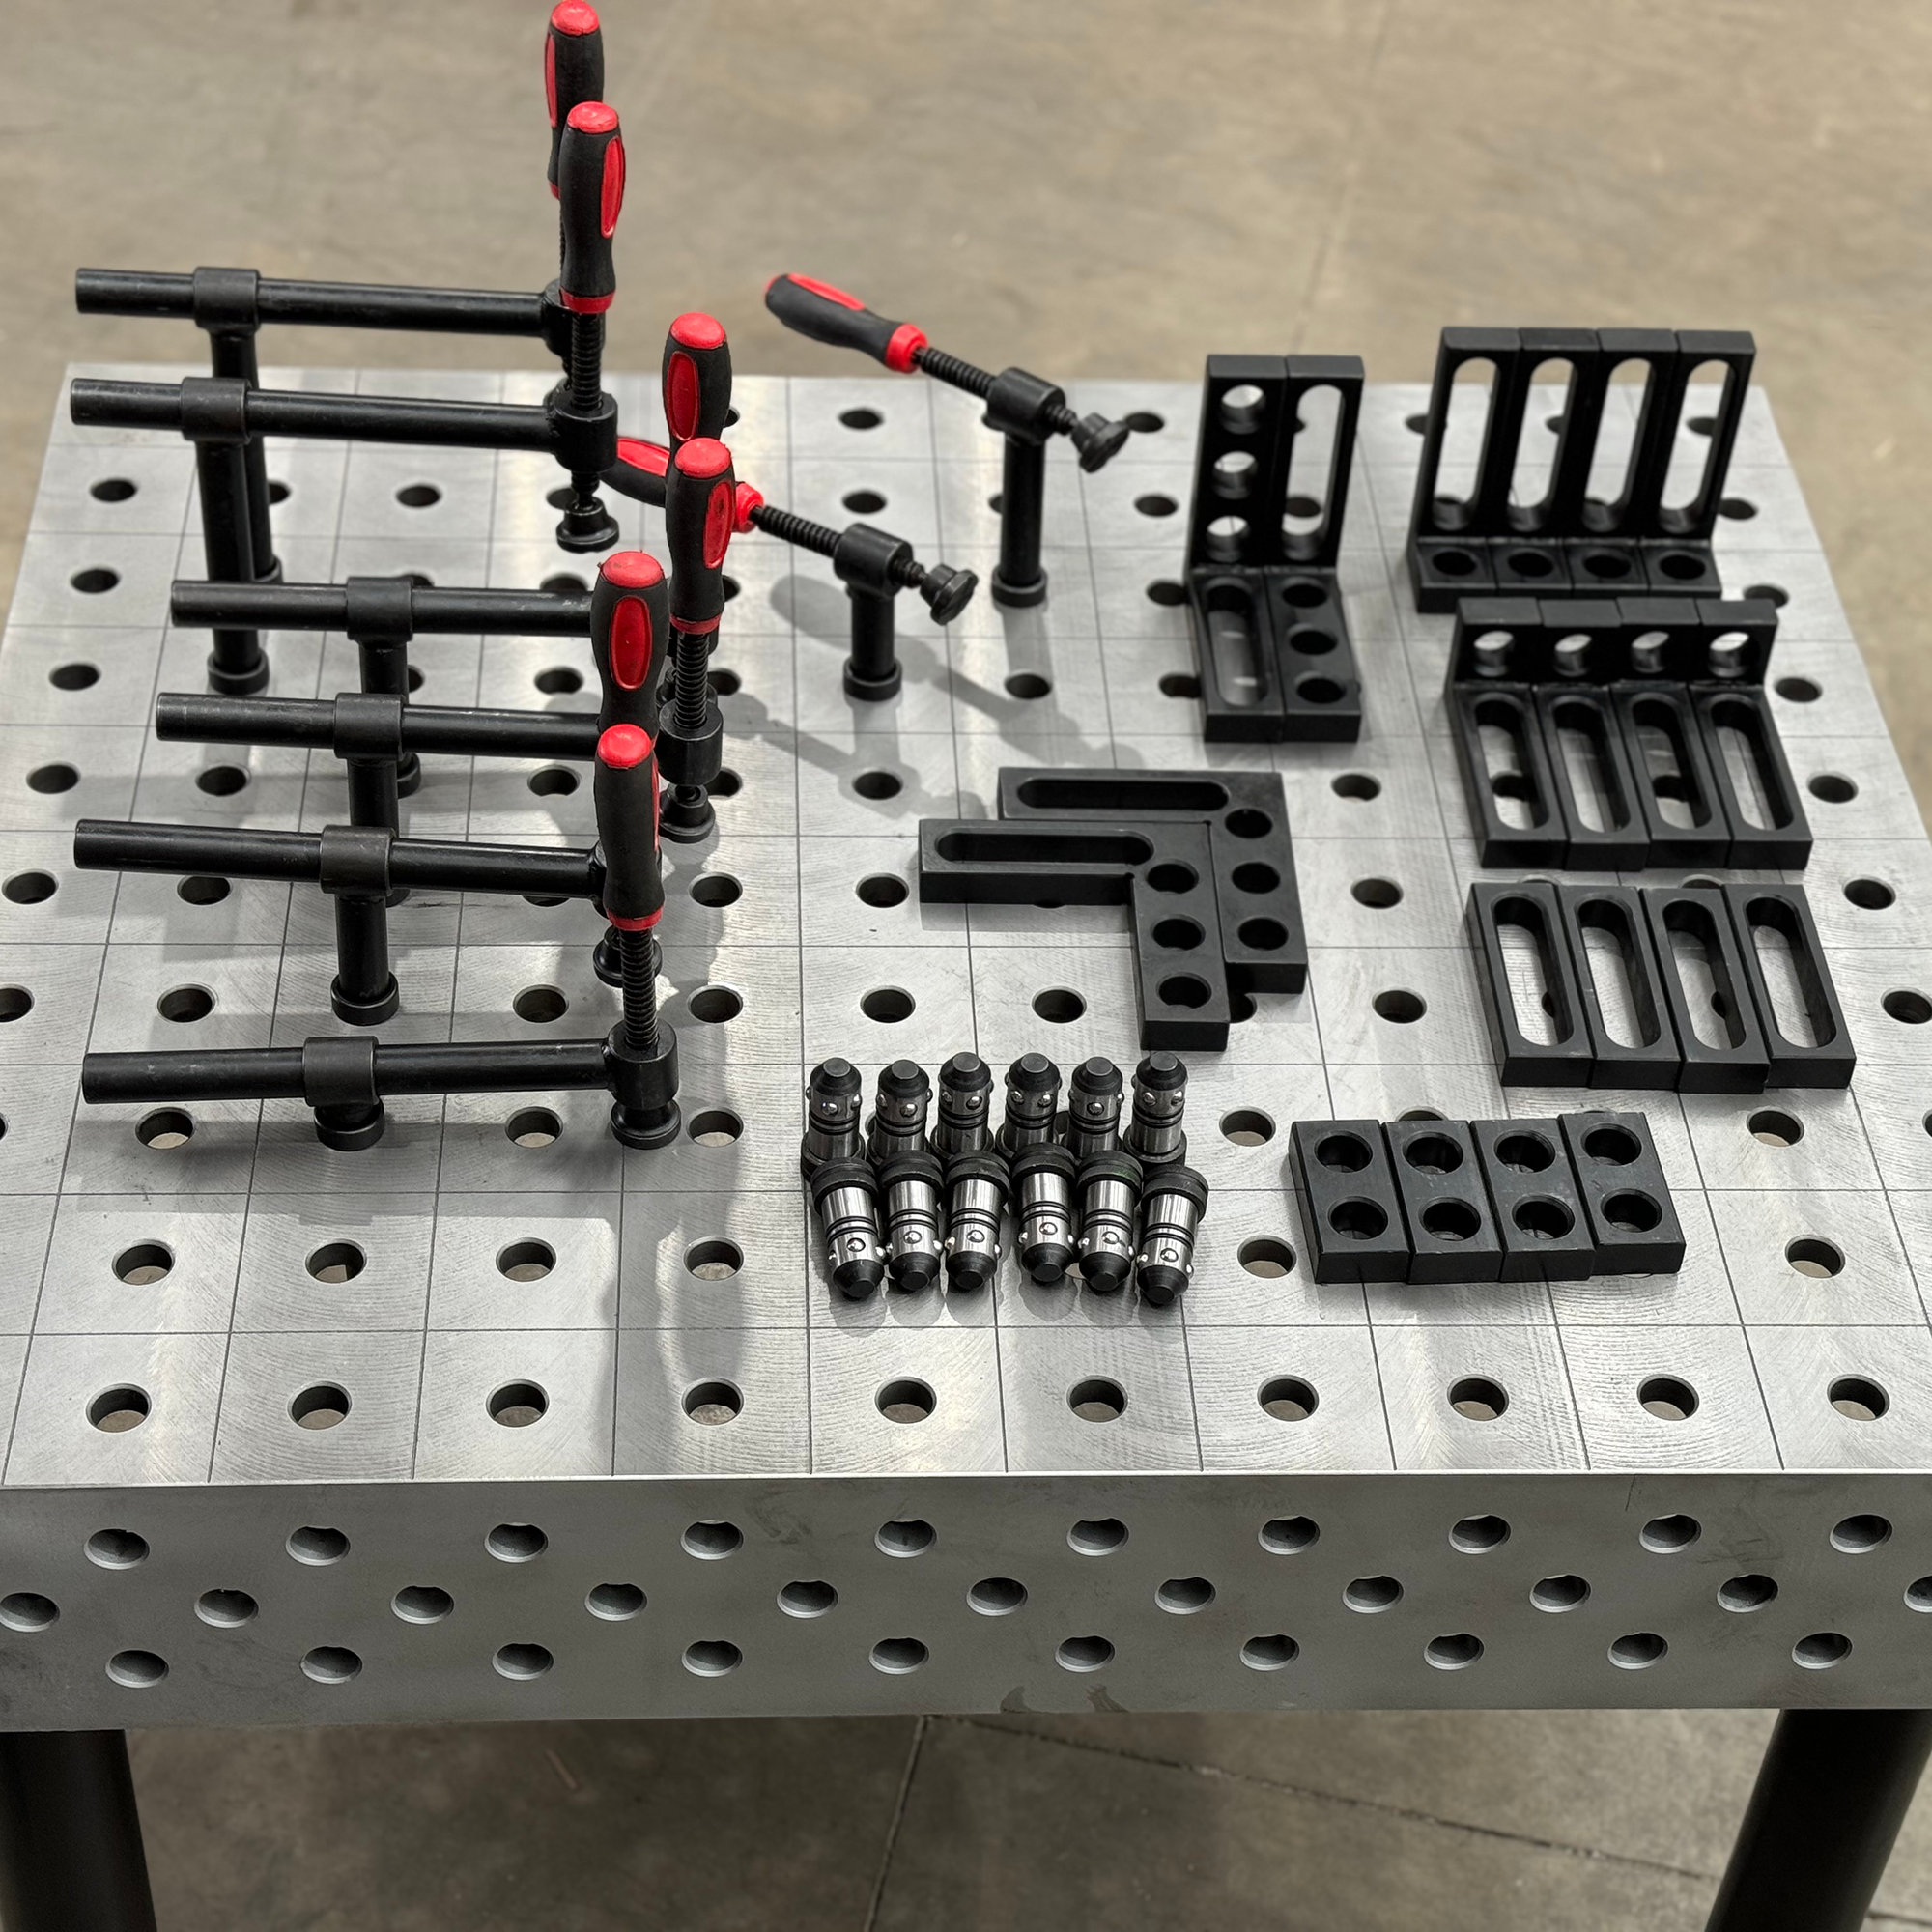
 6x 180°Clamps A28-67
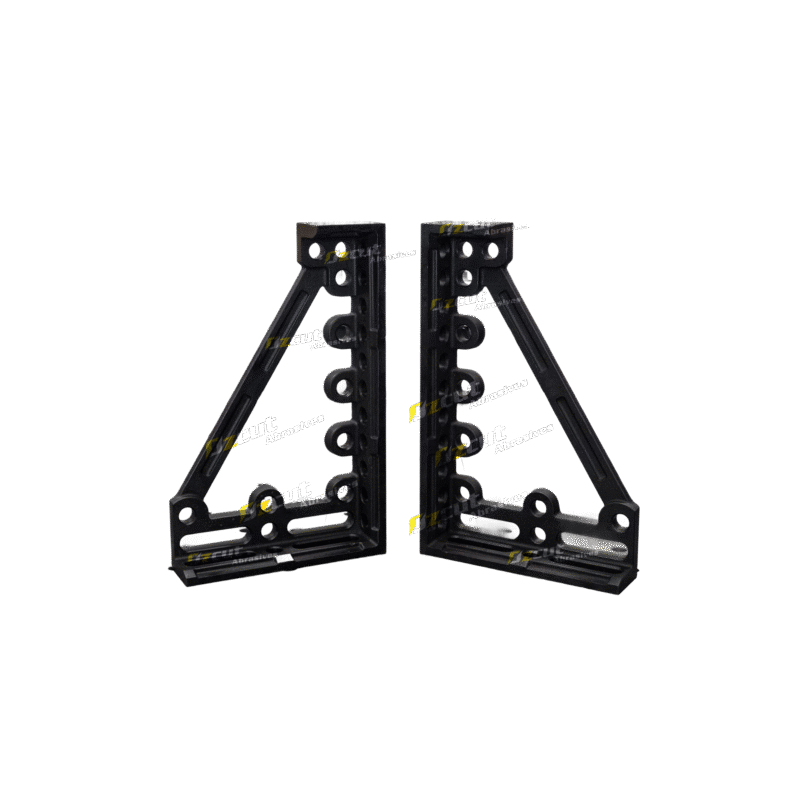
 2x 90°Clamps A28-68
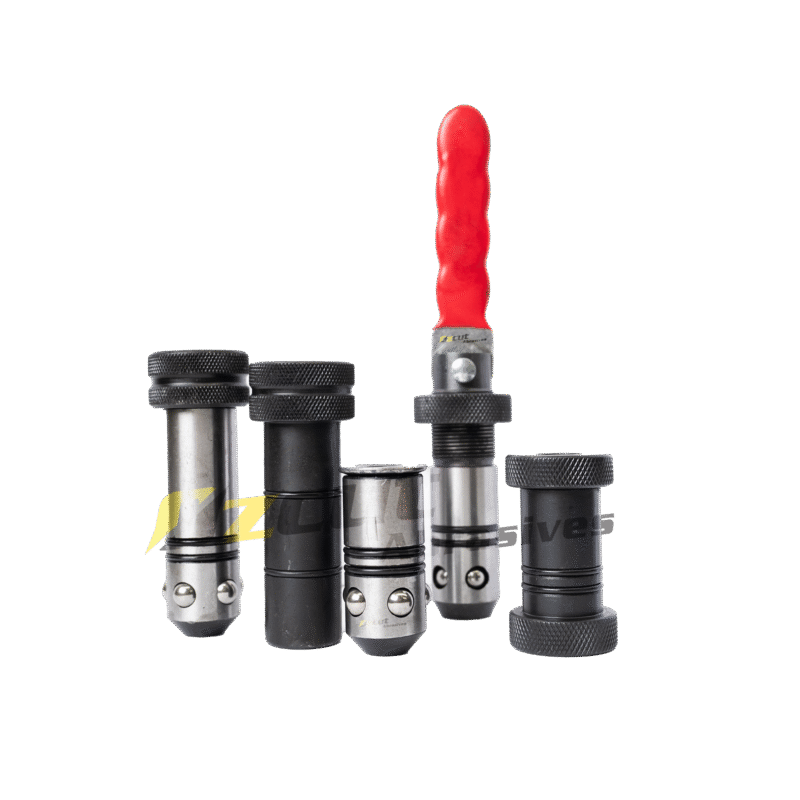
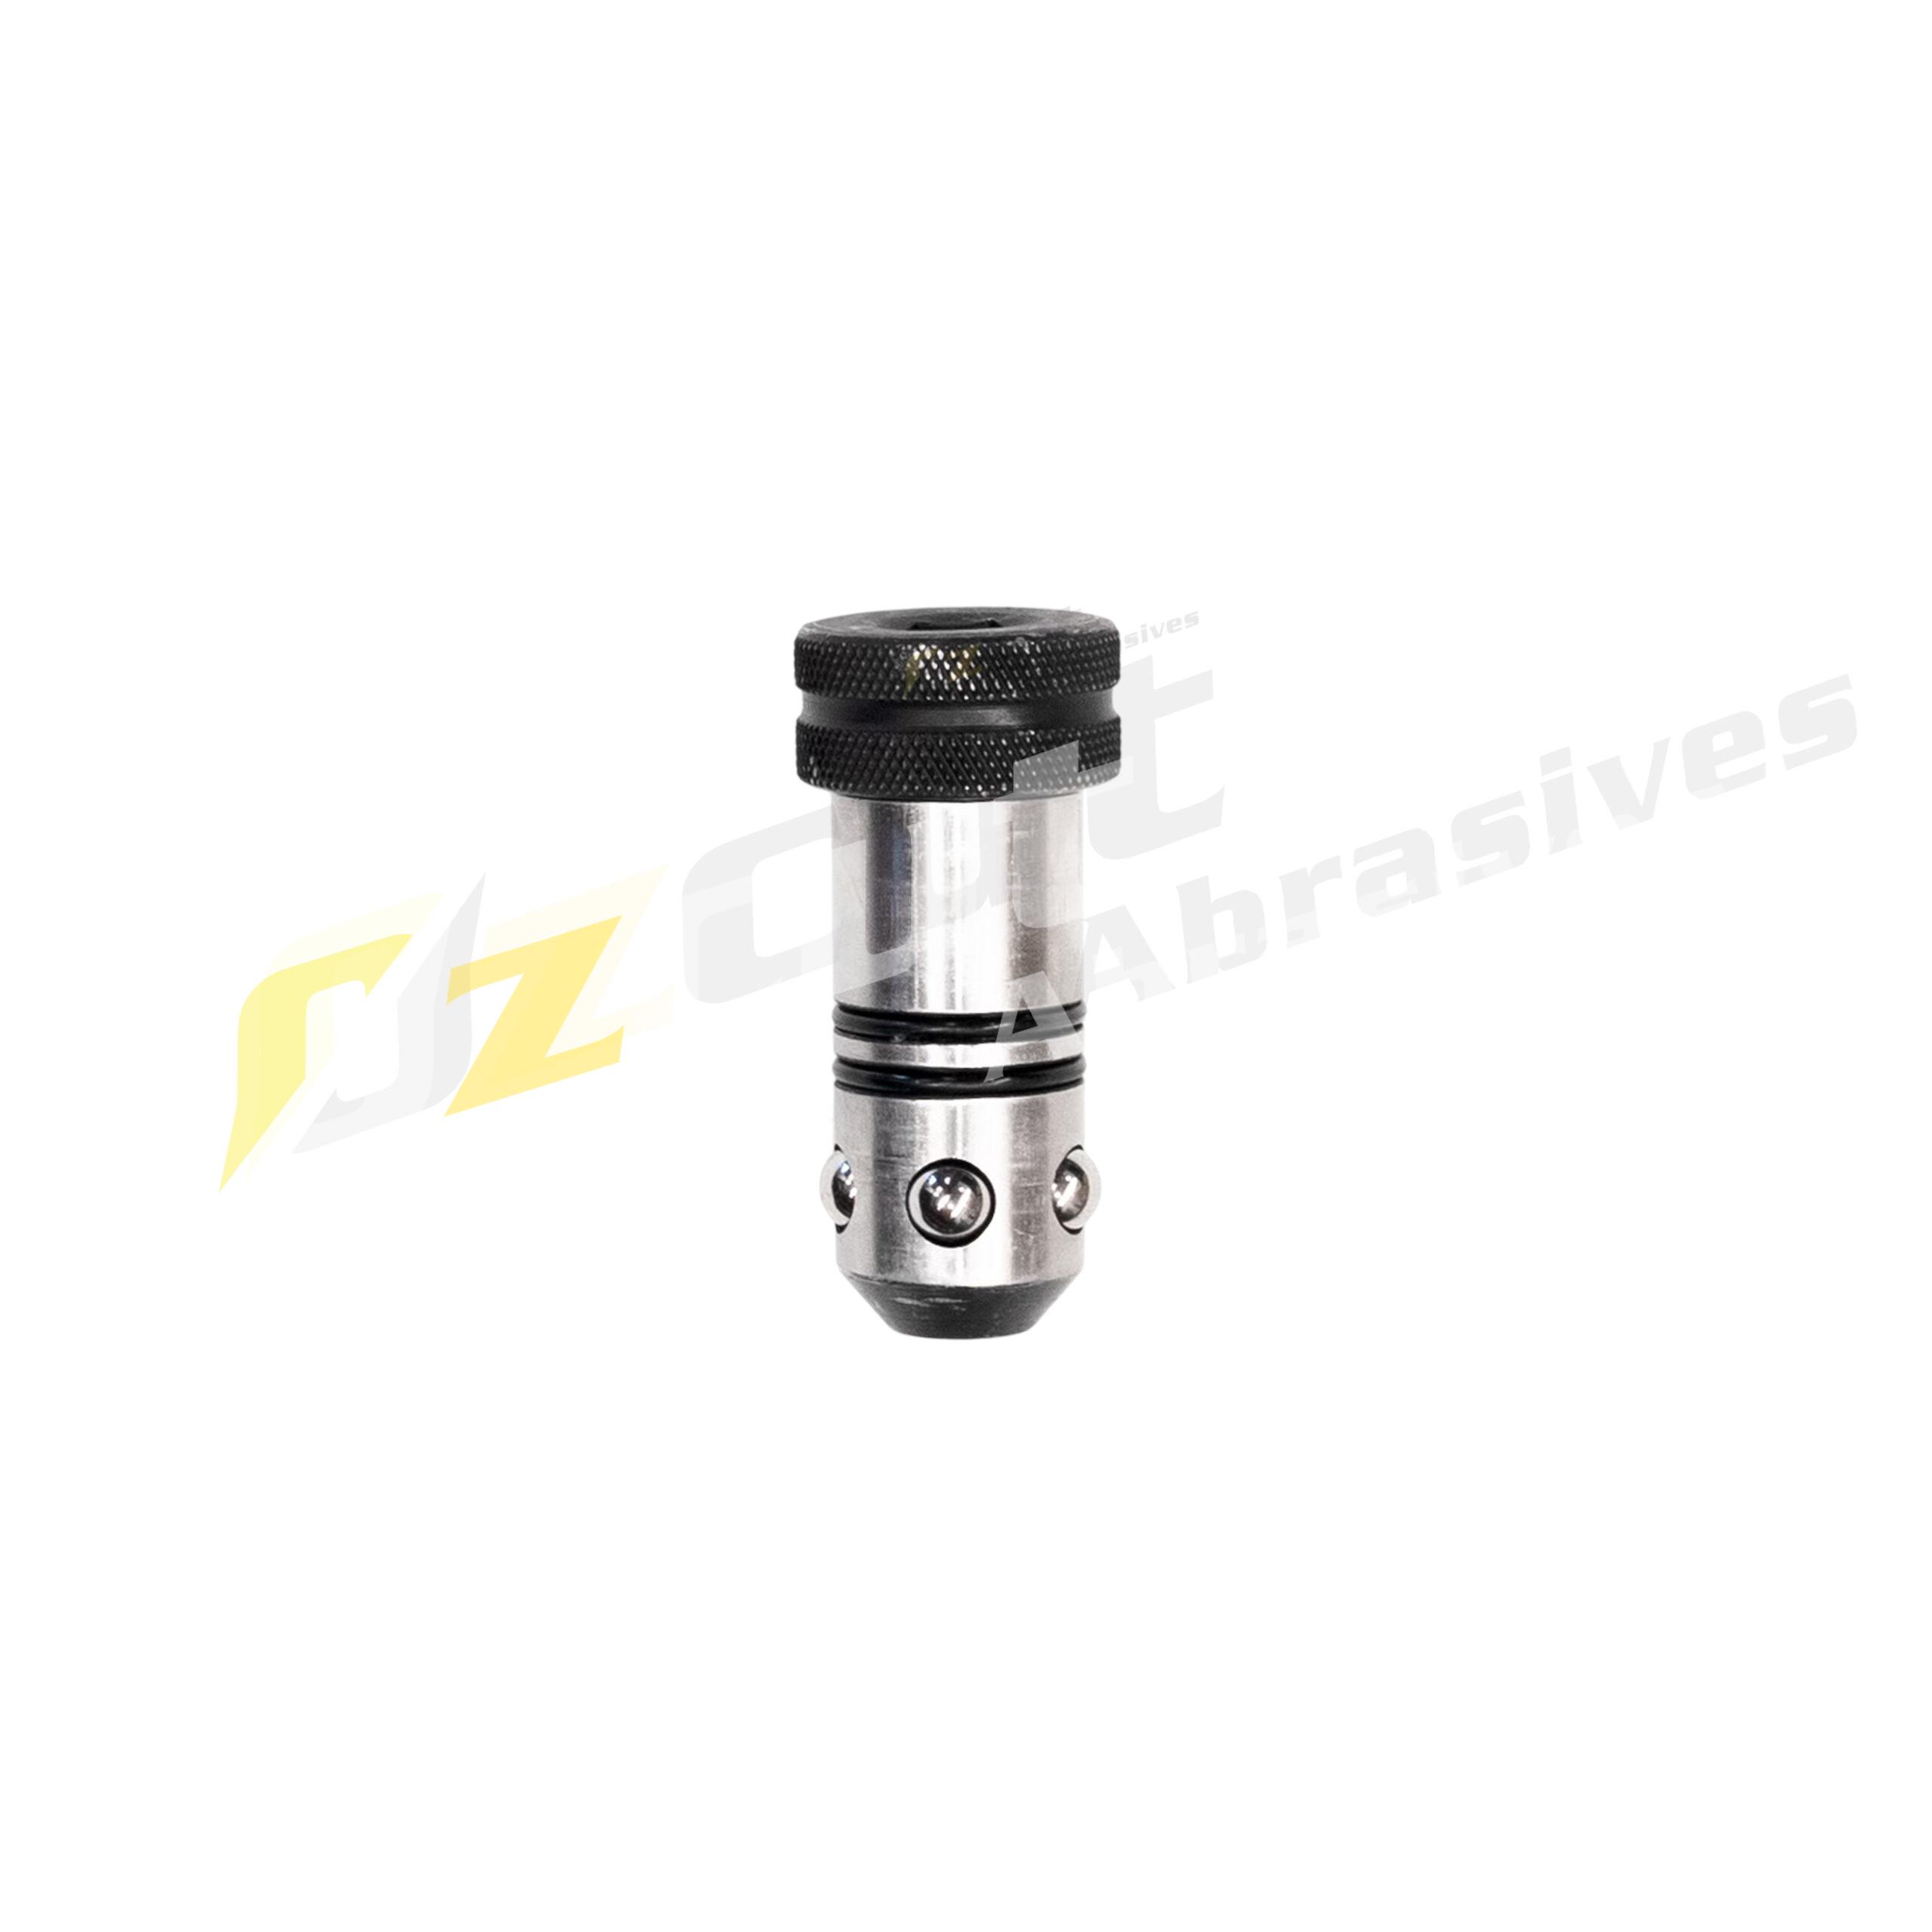
 6x Standard Ball Lock Pins A28-79
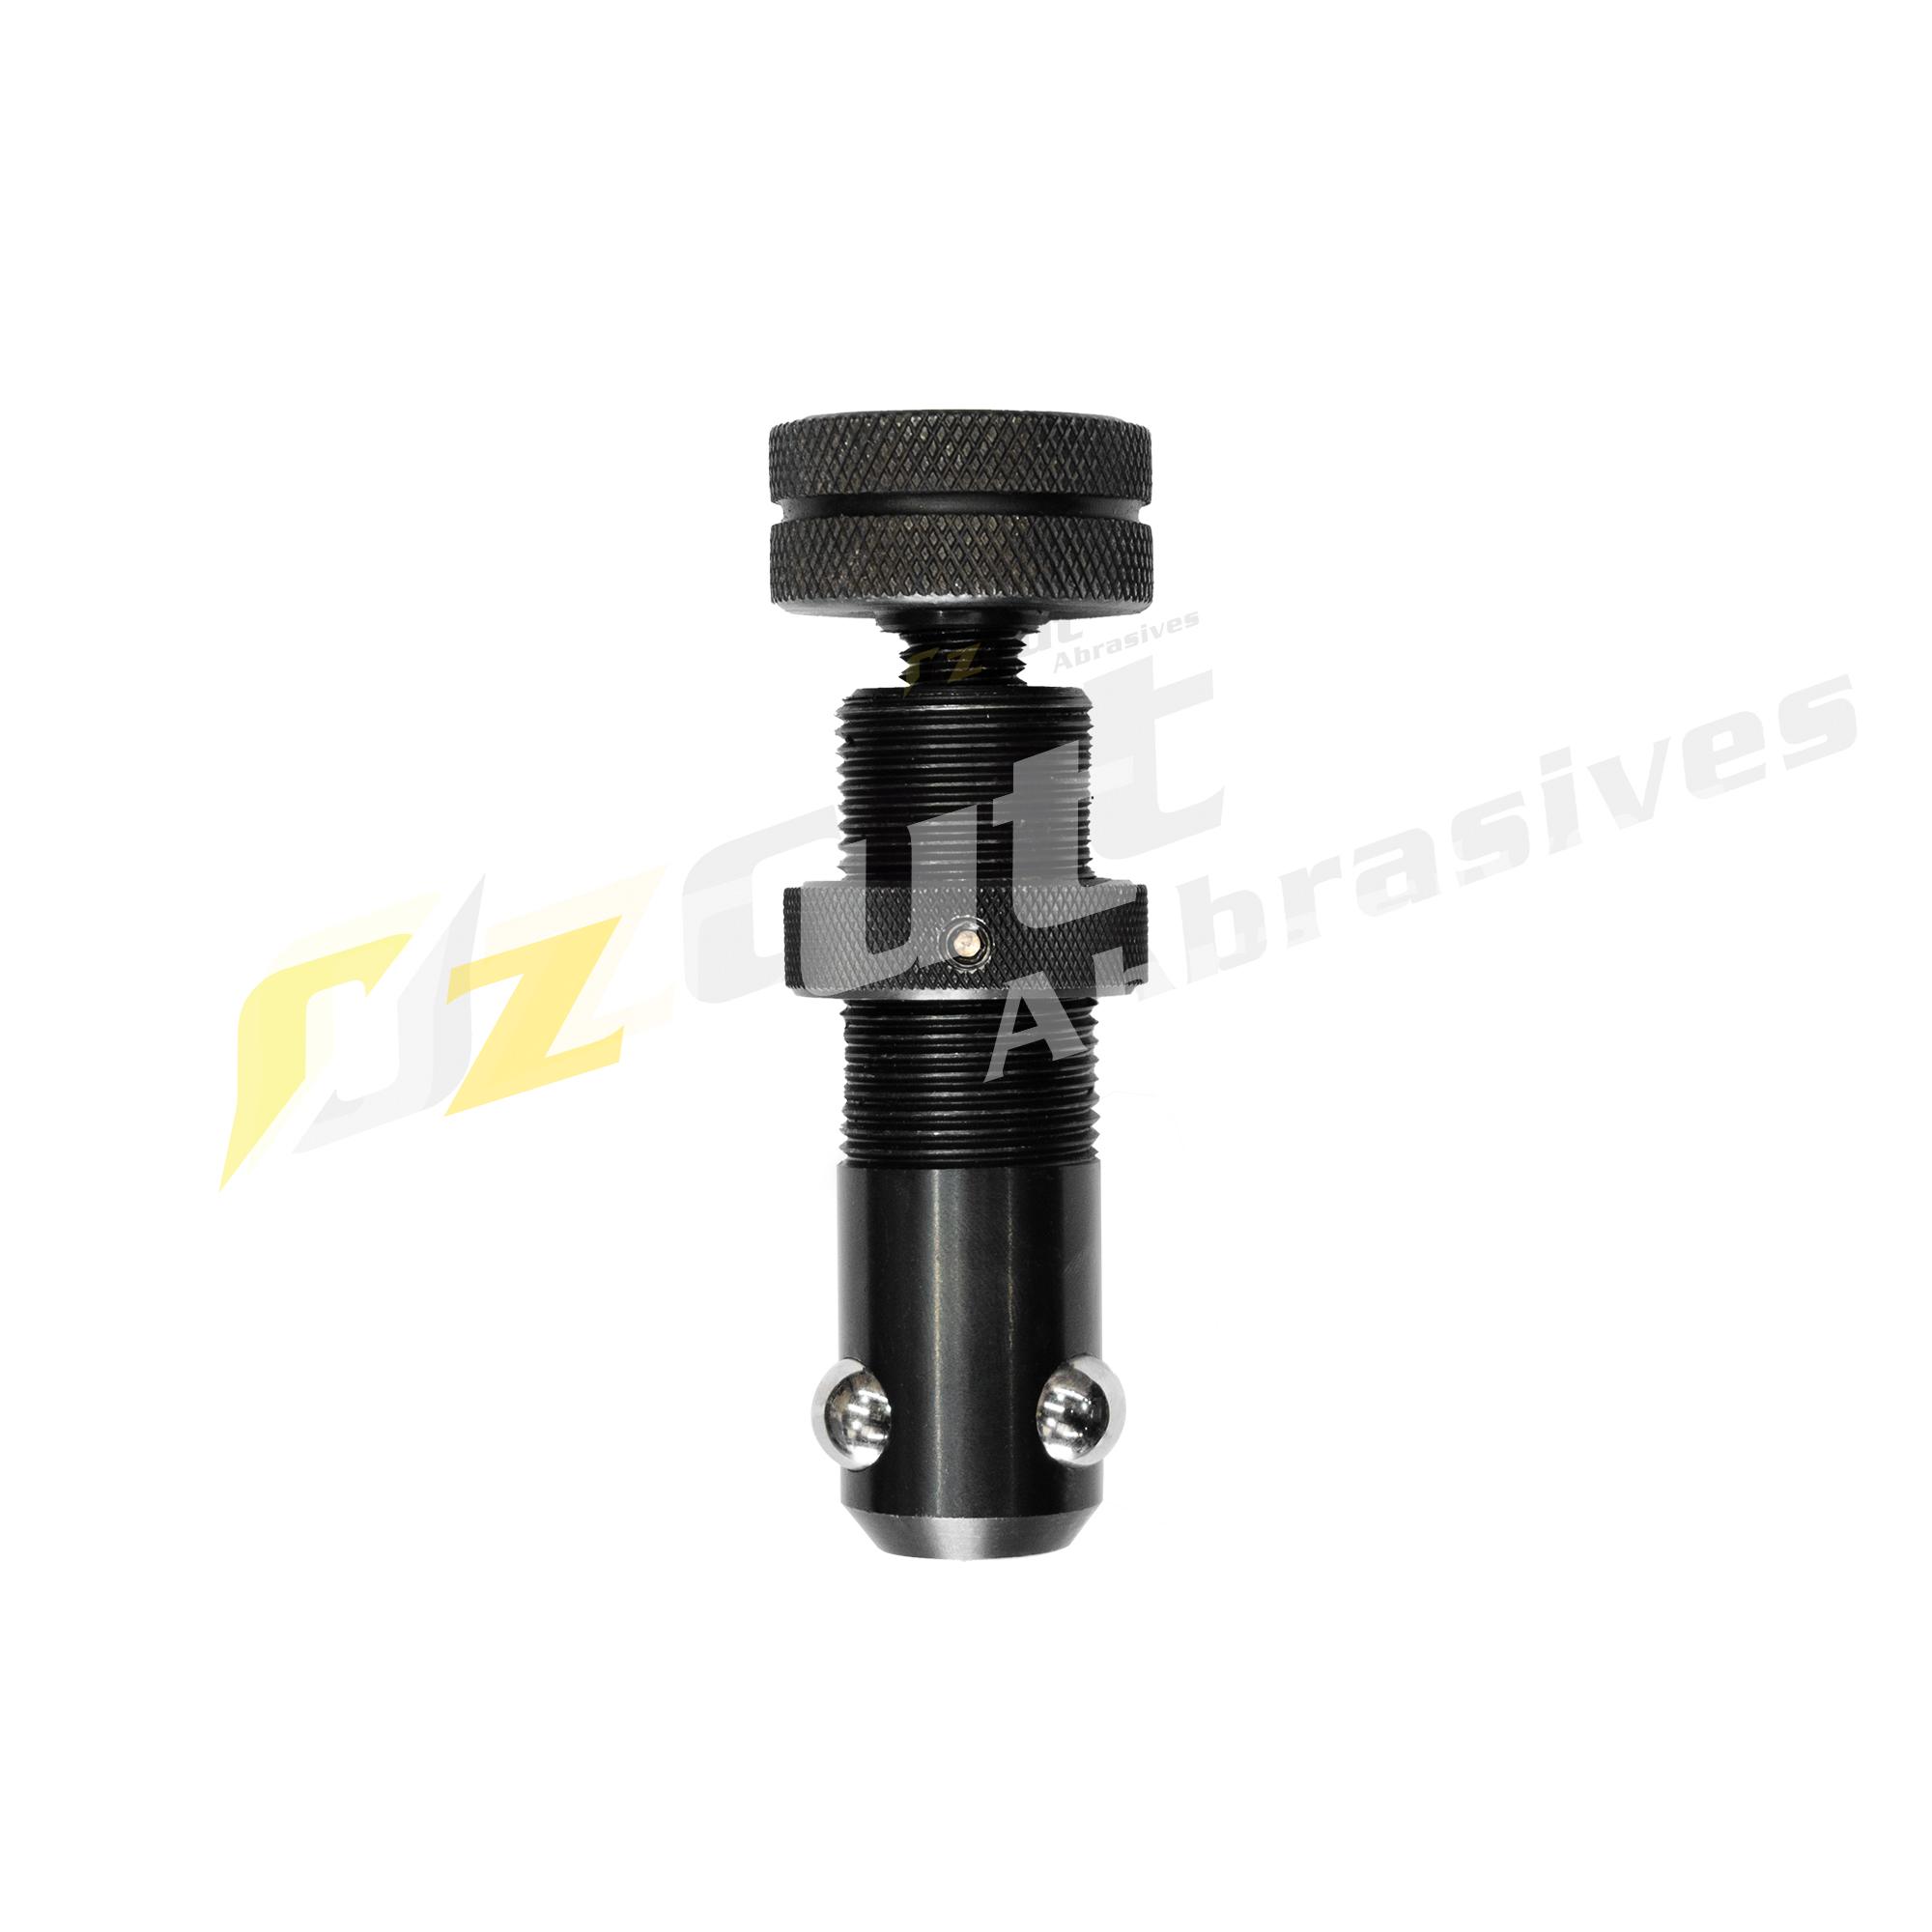
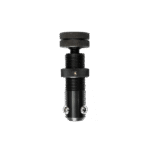 6x Adjustable Ball Lock Pins A28-79-ADJ
 1x Hex Key A28-94
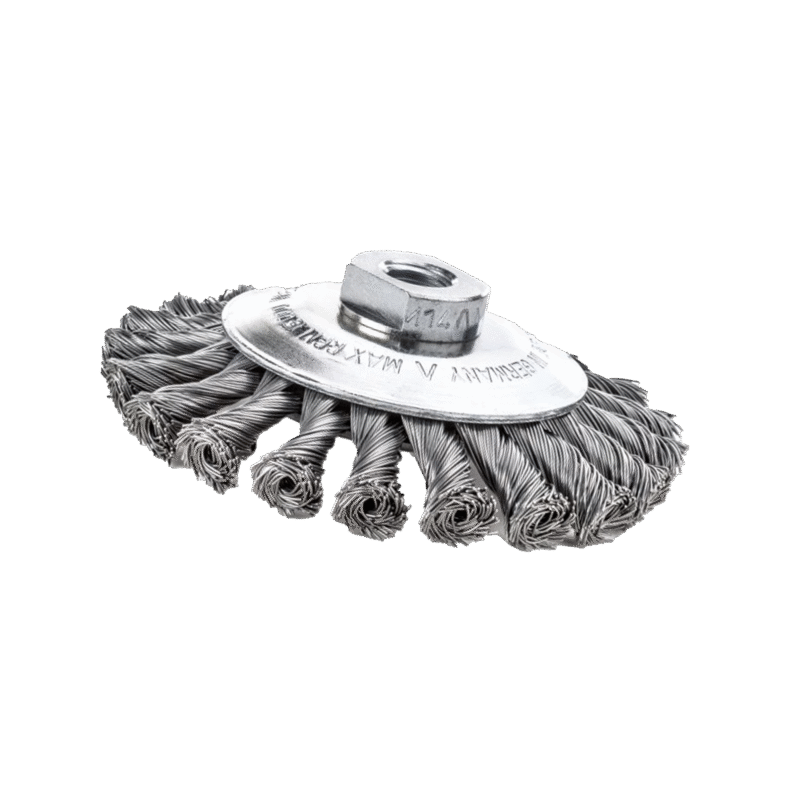
 1x Brush A28-95

 1x 600mm Cast iron Square A28-17
 2x Large Universal Stops A28-42
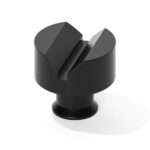 6x 58mm V Blocks A28-59
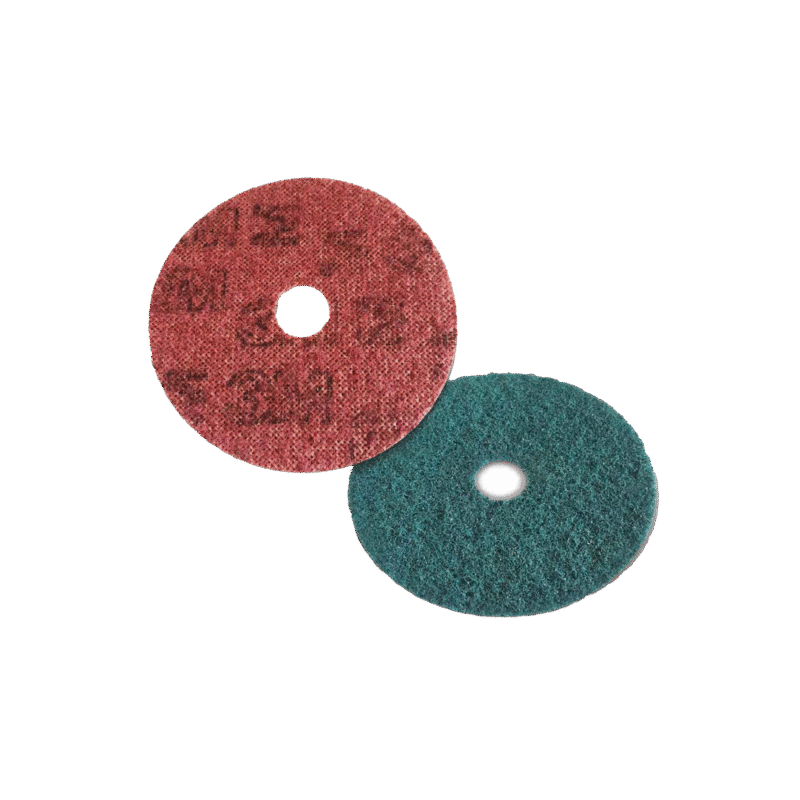
 4x 75mm Locating Discs A28-65
 2x 45°Clamps A28-69
 1x Earth Connector A28-91